Ana içeriğe geç

Samsung Galaxy J3V Back Camera Replacement

Neye ihtiyacın var

  1. Samsung Galaxy J3V Back Camera Replacement, Front Camera: adım 1, 3 resimden 1. Samsung Galaxy J3V Back Camera Replacement, Front Camera: adım 1, 3 resimden 2. Samsung Galaxy J3V Back Camera Replacement, Front Camera: adım 1, 3 resimden 3.
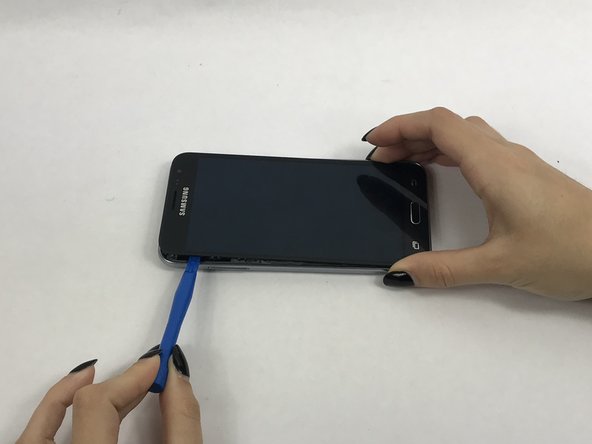
    • Place your thumb on the top left corner and pry the tab open and lift off the back cover.

  2. Samsung Galaxy J3V Back Camera Replacement: adım 2, 3 resimden 1. Samsung Galaxy J3V Back Camera Replacement: adım 2, 3 resimden 2. Samsung Galaxy J3V Back Camera Replacement: adım 2, 3 resimden 3.
    • Remove the ten 2.0 mm screws with the Phillips #J000 screwdriver.

  3. Samsung Galaxy J3V Back Camera Replacement: adım 3, 3 resimden 1. Samsung Galaxy J3V Back Camera Replacement: adım 3, 3 resimden 2. Samsung Galaxy J3V Back Camera Replacement: adım 3, 3 resimden 3.
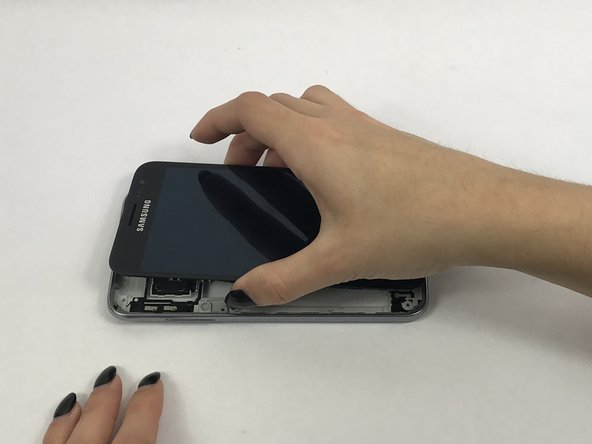
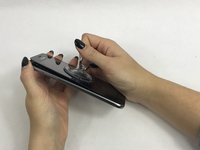
    • Use a small suction cup to pull the screen up. Then slip a small plastic opening tool under the screen to pry it upwards.

    • If this is the first time the screen is being removed then there will be adhesive around the edges of the screen. It may be difficult to remove the screen because of this adhesive seal and it is going to take a few tries and some force to pry the entire screen off.

  4. Samsung Galaxy J3V Back Camera Replacement: adım 4, 3 resimden 1. Samsung Galaxy J3V Back Camera Replacement: adım 4, 3 resimden 2. Samsung Galaxy J3V Back Camera Replacement: adım 4, 3 resimden 3.
    • Use tweezers to flip tab of the front camera to remove it.

  5. Samsung Galaxy J3V Back Camera Replacement, Motherboard: adım 5, 3 resimden 1. Samsung Galaxy J3V Back Camera Replacement, Motherboard: adım 5, 3 resimden 2. Samsung Galaxy J3V Back Camera Replacement, Motherboard: adım 5, 3 resimden 3.
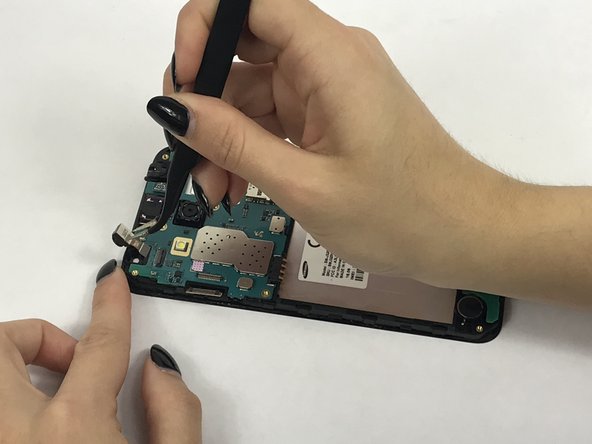
    • Remove connector tab with spudger then carefully remove headphone jack with tweezers.

  6. Samsung Galaxy J3V Back Camera Replacement: adım 6, 2 resimden 1. Samsung Galaxy J3V Back Camera Replacement: adım 6, 2 resimden 2.
    • Remove these connectors from the motherboard with spudger.

  7. Samsung Galaxy J3V Back Camera Replacement: adım 7, 2 resimden 1. Samsung Galaxy J3V Back Camera Replacement: adım 7, 2 resimden 2.
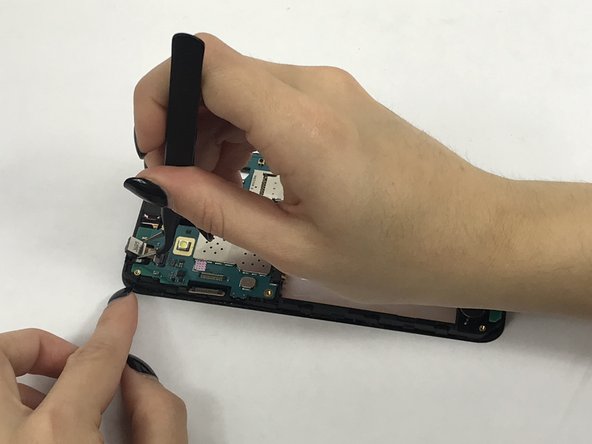
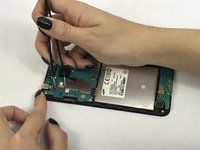
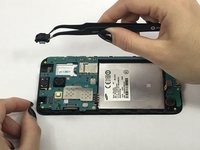
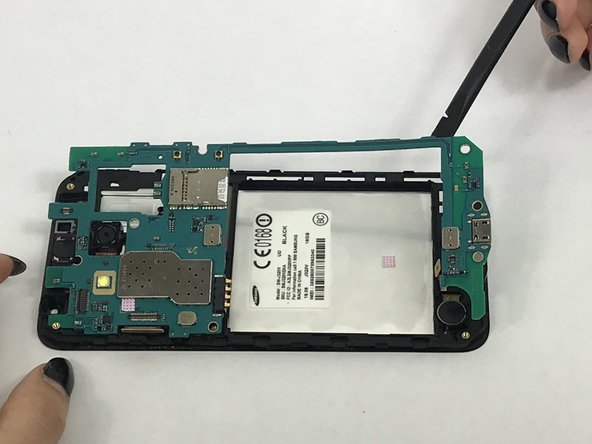
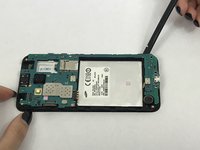
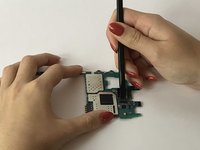
    • Carefully use the spudger to pry the motherboard out of the plastic tabs.

  8. Samsung Galaxy J3V Back Camera Replacement, Back Camera: adım 8, 3 resimden 1. Samsung Galaxy J3V Back Camera Replacement, Back Camera: adım 8, 3 resimden 2. Samsung Galaxy J3V Back Camera Replacement, Back Camera: adım 8, 3 resimden 3.
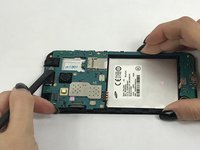
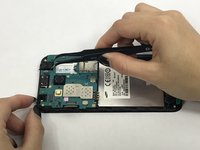
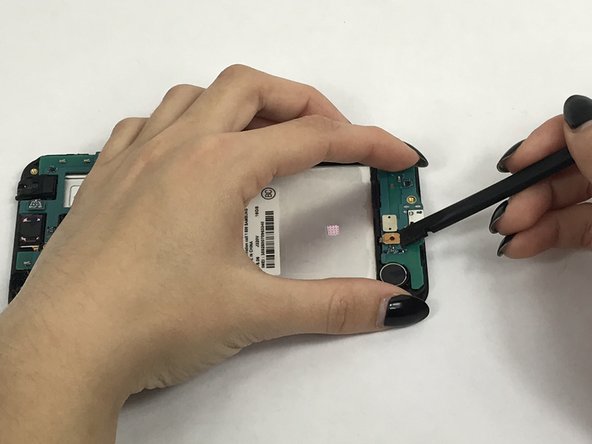
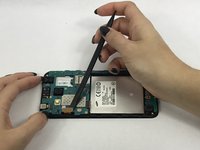
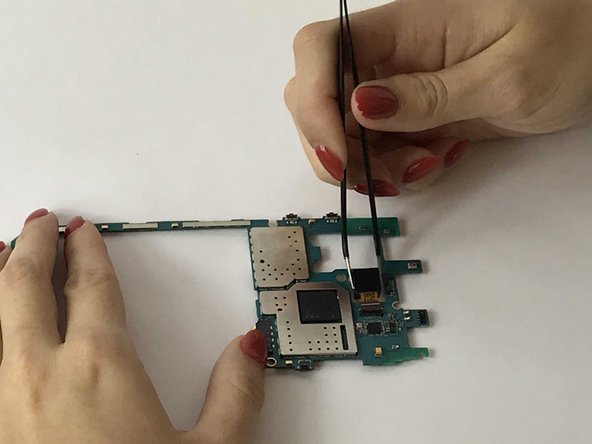
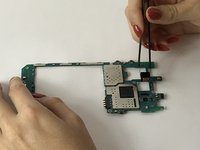
    • After removing the motherboard, locate and flip tab holding the rear camera's connector.

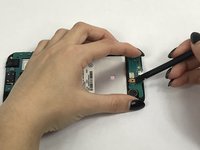
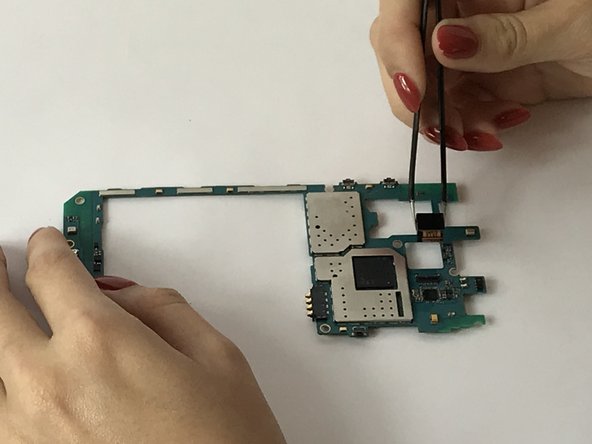
    • Carefully use the tweezer to remove the connector and the camera.

Sonuç

To reassemble your device, follow these instructions in reverse order.

Bir başkası bu kılavuzu tamamladı.

Carry Corrales

Üyelik tarihi: 09/28/17

738 İtibar

5 adet Kılavuz yazıldı

Ekip

USF Tampa, Team S3-G3, Nance Fall 2017 USF Tampa, Team S3-G3, Nance Fall 2017 üyesi

USFT-NANCE-F17S3G3

4 Üyeler

5 adet Kılavuz yazıldı

Bir Yorum

Your &&^&^$^ trash and did not help me at all.

Harrington Kenneth - Yanıt

Yorum Ekle

İstatistikleri Görüntüle:

Son 24 Saat: 0

Son 7 gün: 0

Son 30 gün: 0

Her zaman: 1,514