Giriş
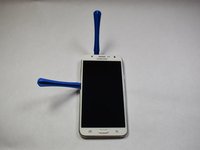
This guide is for anyone dealing with a cracked or unresponsive screen on their Samsung Galaxy J7 (2015). A damaged screen can impact the usability and functionality of your device, and this replacement will restore it to full working condition. The repair requires no advanced technical skills but involves handling delicate components, so follow each step carefully.
For the best results, make sure the device is powered off and please work in a clean, static-free environment
Neye ihtiyacın var
-
-
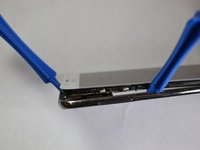
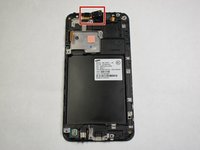
Locate the Tab: Find the tab at the top left corner of the back cover. (highlighted by red square)
-
Insert the tool: Use a fingernail or a plastic opening tool to lift the tab gently
-
Pry open the cover: Carefully work around the edges to remove the back cover completely
-
-
-
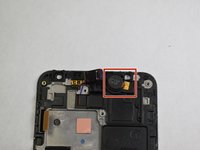
Locate the Battery slot: Find the small slit at the bottom right corner of the battery (highlighted by red square)
-
Remove Battery: Gently pop out the edge and carefully pull out the battery.
-
-
-
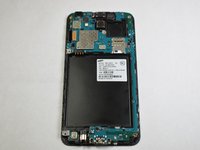
Using the Phillips #000 screwdriver, remove the ten 4.2 mm screws around the edge of the midframe.
-
-
-
-
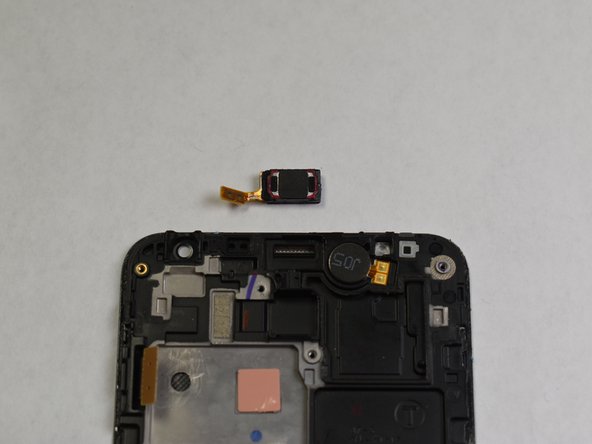
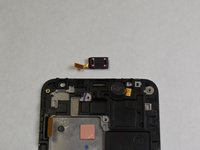
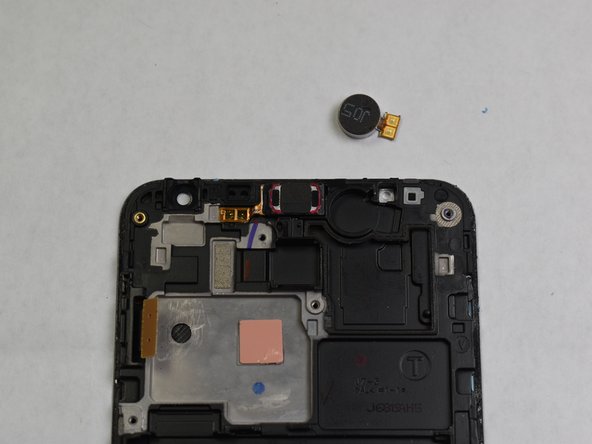
The speaker piece is lightly adhered. Use a plastic pry tool to gently lift it up and disconnect the cable.
-


To reassemble your device, follow these instructions in reverse order.
To reassemble your device, follow these instructions in reverse order.
İptal et: Bu kılavuzu tamamlamadım.
12 farklı kişi bu kılavuzu tamamladı.

Ekip

Appalachian State University, Team S2-G5, Menagarishvili Spring 2019 Appalachian State University, Team S2-G5, Menagarishvili Spring 2019 üyesi
APSU-MENAGARISHVILI-S19S2G5
3 Üyeler
12 adet Kılavuz yazıldı
1Rehber Yorum
I replaced the broken screen....before I saw this. Now my phone will not turn on. what should I do? ruth.fnp@gmail.com