Bu kılavuzda güncel değişiklikler var. En son onaylanmamış sürüme geçin.
Giriş
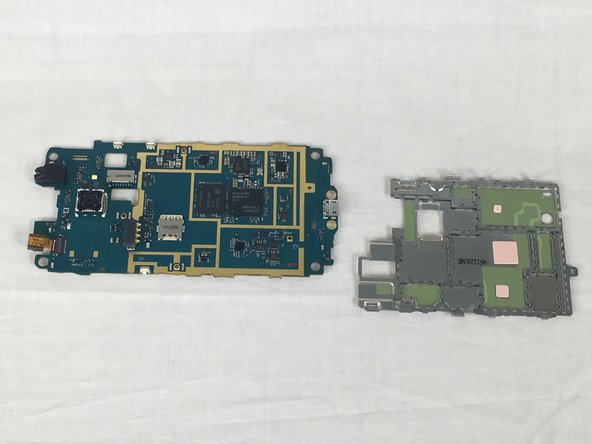
Use this guide to replace the motherboard.
Neye ihtiyacın var
-
-
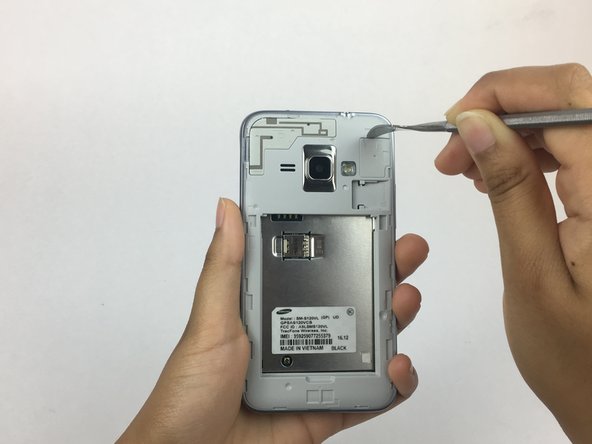
Using a plastic opening tool, pry the divot to the left of the camera to take off the rear case.
-
-
-
-
Use a plastic opening tool, or your fingernail to to take off the rear case by prying the divot to the left of the camera.
-
Lift the rear case by the corner nearest the divot and remove it from the phone.
-
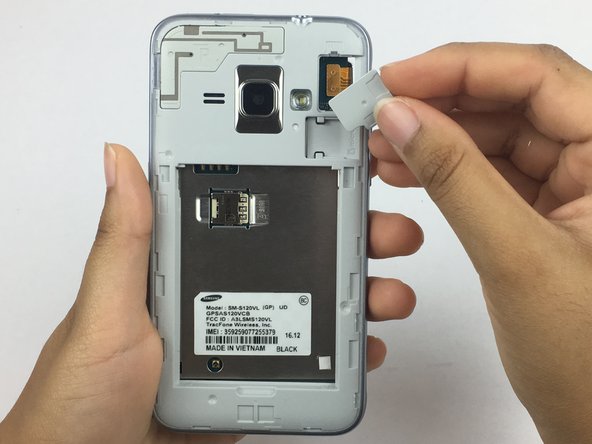
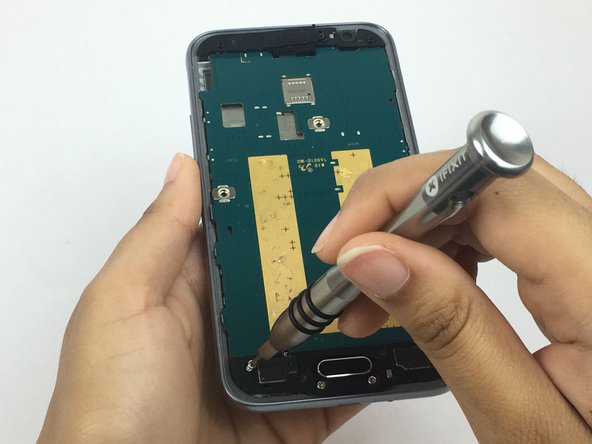
Using an opening tool, take off the cover for the digitizer connector.
-
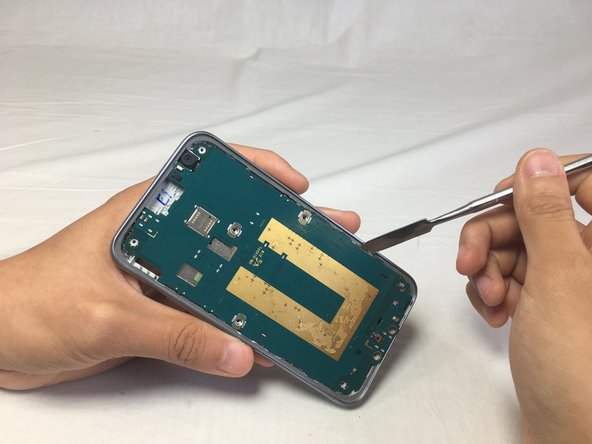
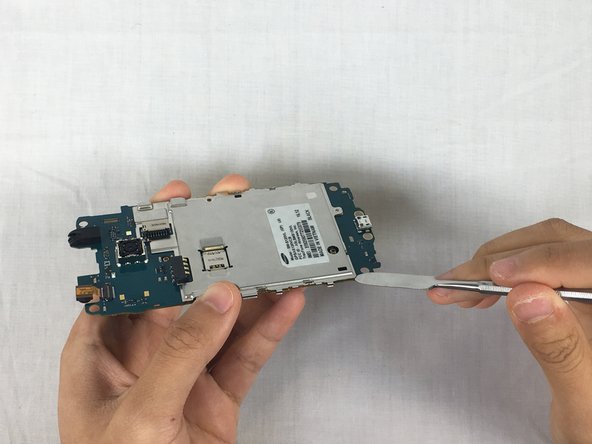
detach the connector with a tweezer or a plastic spudger.
-


To reassemble your device, follow these instructions in reverse order.
To reassemble your device, follow these instructions in reverse order.
İptal et: Bu kılavuzu tamamlamadım.
2 farklı kişi bu kılavuzu tamamladı.

Ekip

USF Tampa, Team S6-G1, Eyestone Spring 2018 USF Tampa, Team S6-G1, Eyestone Spring 2018 üyesi
USFT-EYESTONE-S18S6G1
4 Üyeler
5 adet Kılavuz yazıldı