Giriş
Are you not able to make any calls or send text messages?
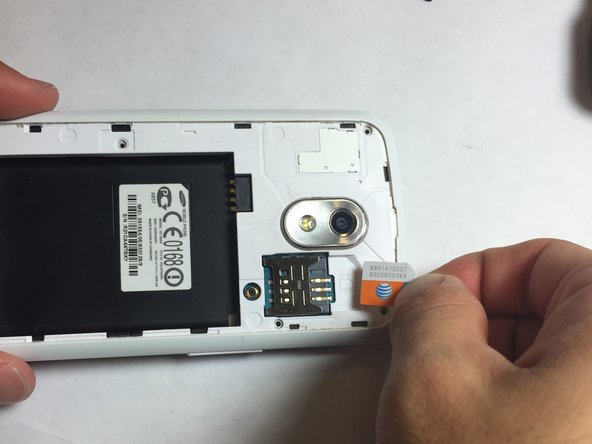
Then, this guide will help you replace or insert a new Sim card onto your Galaxy Nexus.
Neye ihtiyacın var
-
-
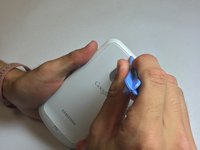
You must open the back of the phone to access the battery. To do this use the plastic opening tools or your fingernail and insert it into the divot.
-
-
-
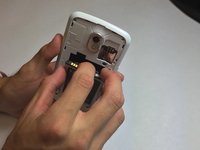
Remove the back cover of the phone by moving the prying tool or your fingernail away from the phone while it is still in the divot.
-
-
-
-
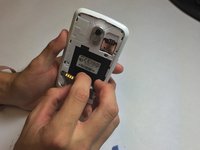
Insert your finger into the divot of the battery and pull the battery towards yourself to remove.
-
This is when a new battery will be inserted.
-


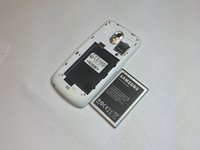


To reassemble your device, follow these instructions in reverse order.
İptal et: Bu kılavuzu tamamlamadım.
3 farklı kişi bu kılavuzu tamamladı.
