Giriş
How to change the Samsung GalaxyNote Edge / N915 screen assembly
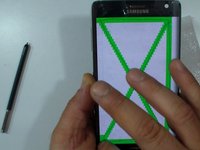
_______Video manual_______
Neye ihtiyacın var
Videoya Genel Bakış
-
-
Switch off the device.
-
Remove the back cover and the battery.
 FixBot'a Sor
-
-
-
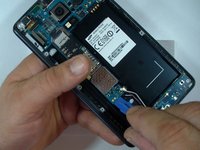
Remove the Memory card, the SIM card and the S Pen.
-
Remove the screws by using Screwdriver Phillips #00
-
With a plastic opening tool emove the Back Frame.
-
-
-
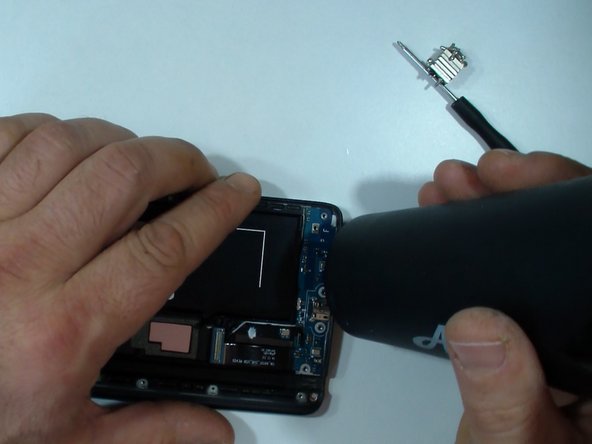
Disconnect one by one:
-
Coaxial antenna cable (x2)
-
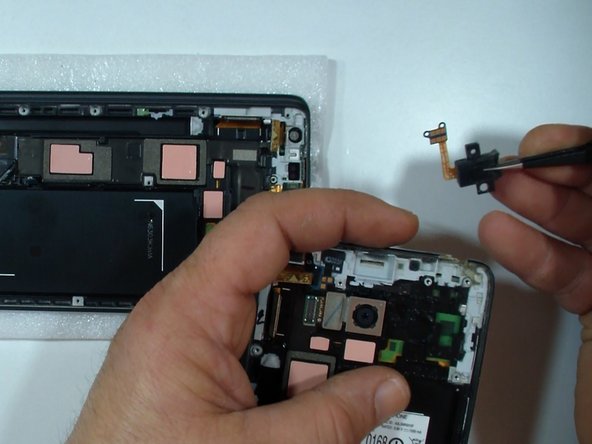
Home Button flex cable
-
Display Flex cable
-
Stylus Sensor flex cable
-
Front Camera flex cable
-
-
-
-
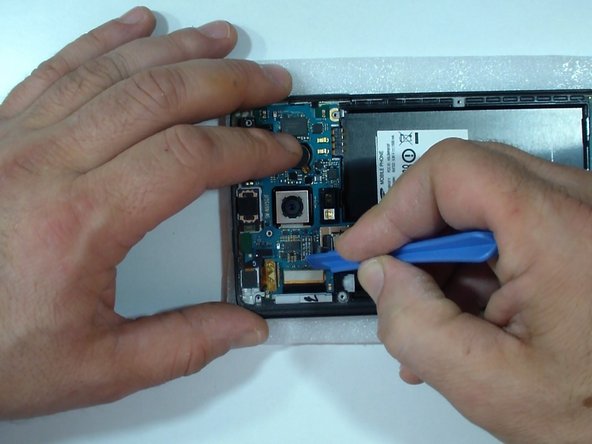
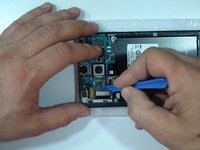
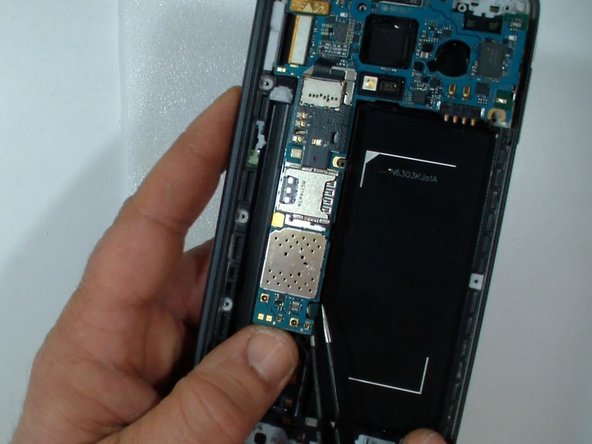
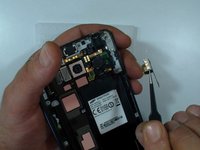
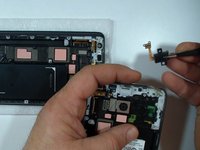
Pry up the connector on the back of the board to release the bottom part of motherboard.
-
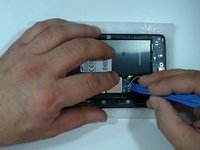
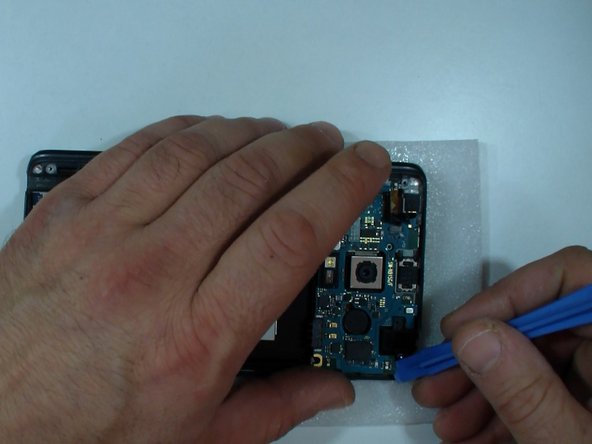
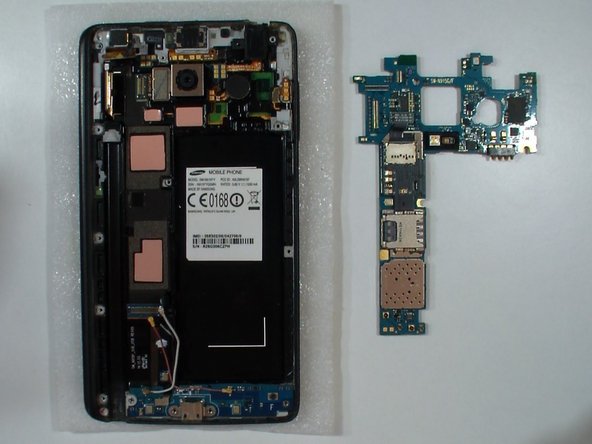
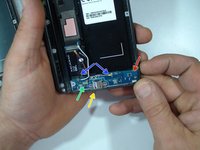
Gently remove the logic board.
-
-
-
I prefer to test the new spare part before install it.
-
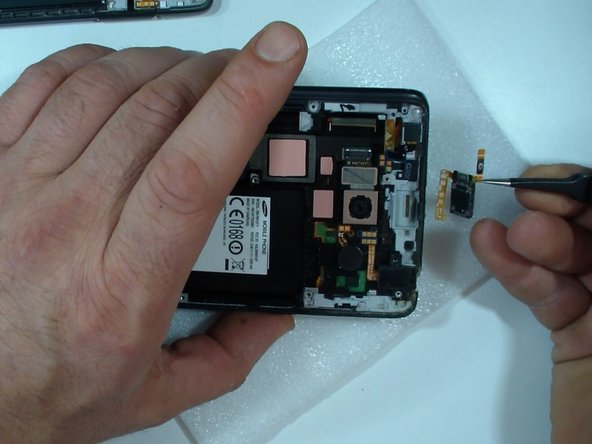
Transfer the Power button / Loud speaker flex cable.
-
Install the mother board.
-
Test the display.
-
-
-
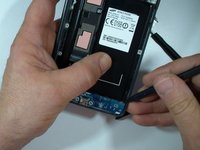
Check the quality of the thermal pads (if the spare part is not original).
-
If its necessary use the thermal pads from the old assembly.
-
-
-
Insert wisdom here.
-
-
-
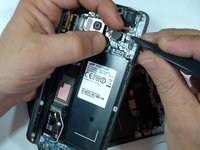
Remove the black Phillips screw,
-
the the charging port plate,
-
disconnect the Home buttons flex cable
-
and the coaxial antenna cable (x2).
-
Use hot air and a plastic opening tool to remove the Charging Port flex assembly.
-
-
-
To reassemble your device, follow these instructions in reverse order.
-


To reassemble your device, follow these instructions in reverse order.
İptal et: Bu kılavuzu tamamlamadım.
3 farklı kişi bu kılavuzu tamamladı.

Ekip
