Ana içeriğe geç

Samsung Galaxy Note Pro 12.2 Audio Jack Replacement

Neye ihtiyacın var

  1. Samsung Galaxy Note Pro 12.2 Audio Jack Replacement, Audio Jack: adım 1, 1 resimden 1.
    • Make sure that your device is powered off before starting your repair.

    • Carefully remove the back cover with the blue opening tool.

    • It is best to start with one corner and work your way around the device slowly.

  2. Samsung Galaxy Note Pro 12.2 Audio Jack Replacement: adım 2, 2 resimden 1. Samsung Galaxy Note Pro 12.2 Audio Jack Replacement: adım 2, 2 resimden 2.
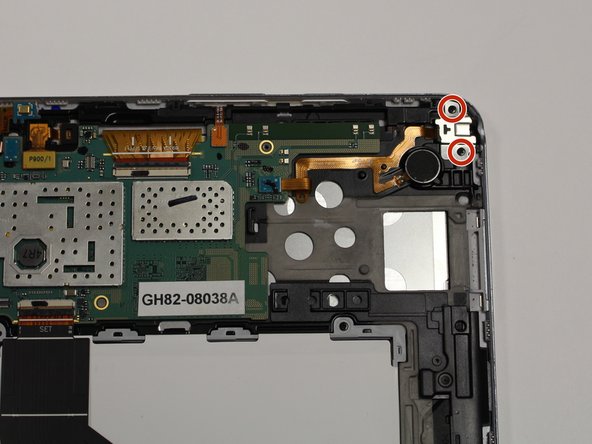
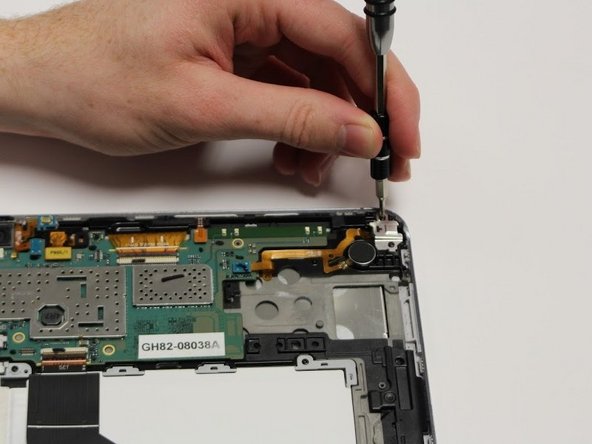
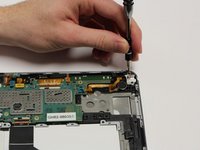
    • Remove the two 3mm Phillips #00 screws securing in the white cover over the audio jack.

  3. Samsung Galaxy Note Pro 12.2 Audio Jack Replacement: adım 3, 1 resimden 1.
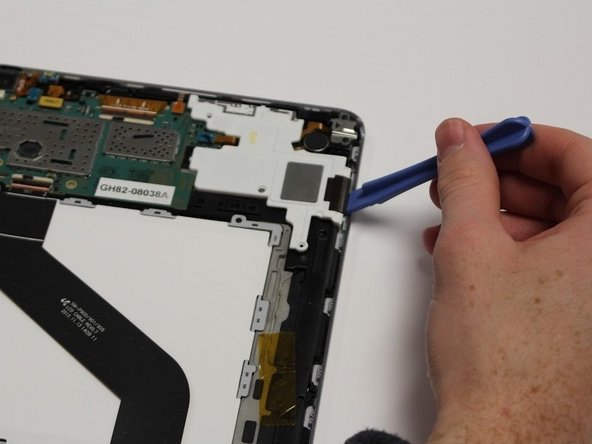
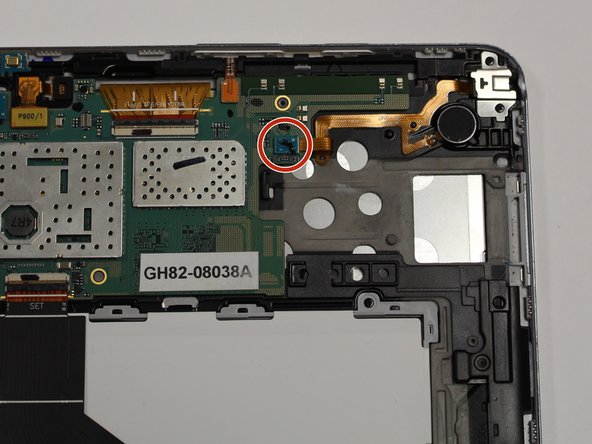
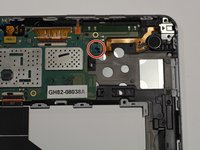
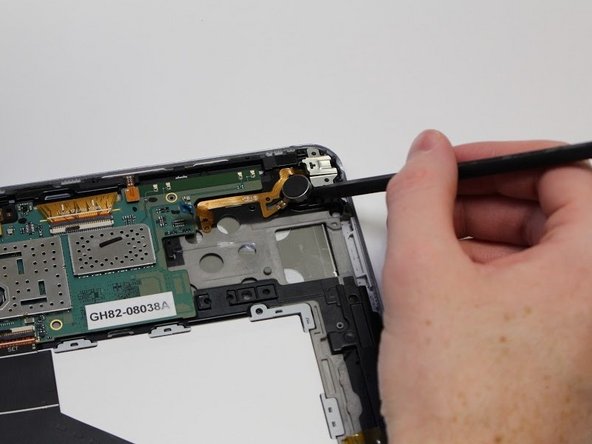
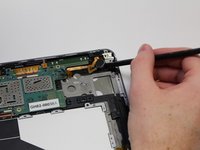
    • Remove the white cover over the audio jack with the plastic opening tool by pushing up on the black connecter.

  4. Samsung Galaxy Note Pro 12.2 Audio Jack Replacement: adım 4, 2 resimden 1. Samsung Galaxy Note Pro 12.2 Audio Jack Replacement: adım 4, 2 resimden 2.
    • Remove the two 3mm Phillips #00 screws over the silver cover.

    • The silver cover is attached to the whole audio jack; do not try to pull this away by itself.

  5. Samsung Galaxy Note Pro 12.2 Audio Jack Replacement: adım 5, 2 resimden 1. Samsung Galaxy Note Pro 12.2 Audio Jack Replacement: adım 5, 2 resimden 2.
    • Pop up the green connecter by gently pulling up.

  6. Samsung Galaxy Note Pro 12.2 Audio Jack Replacement: adım 6, 2 resimden 1. Samsung Galaxy Note Pro 12.2 Audio Jack Replacement: adım 6, 2 resimden 2.
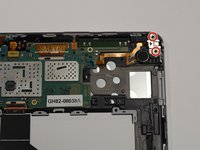
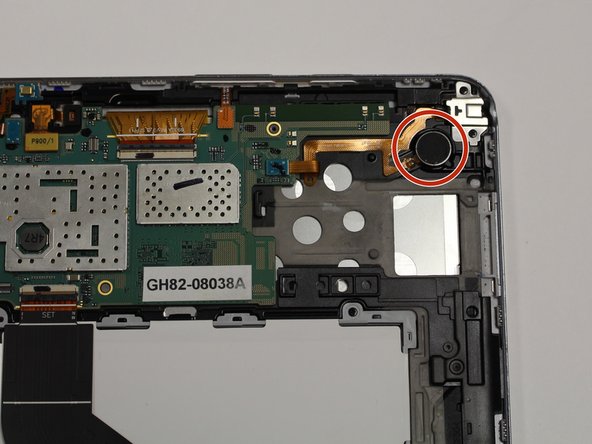
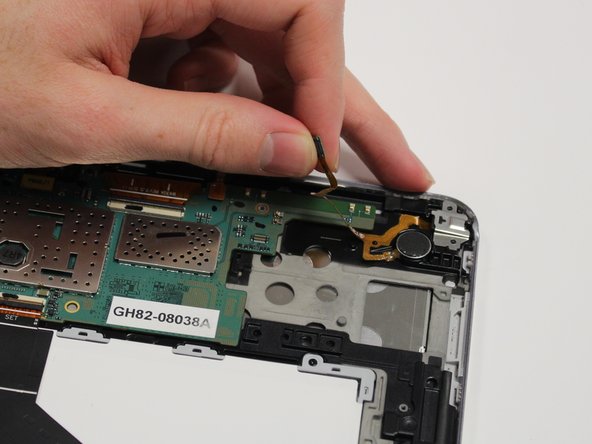
    • Pull up on the circular amp with the spudger tool to release it from the device.

  7. Samsung Galaxy Note Pro 12.2 Audio Jack Replacement: adım 7, 1 resimden 1.
    • Remove the whole audio jack by pulling gently up on the copper piece.

    • This component is extremely fragile.

Sonuç

To reassemble your device, follow these instructions in reverse order.

0 Yorum

Yorum Ekle

İstatistikleri Görüntüle:

Son 24 Saat: 0

Son 7 gün: 0

Son 30 gün: 4

Her zaman: 663