Bu sürüm, hatalı düzenlemeler içerebilir. En son doğrulanmış bellek kopyası dönün.
Neye ihtiyacın var
-
Bu adım çevrilmemiş. Çevrilmesine yardım edin
-
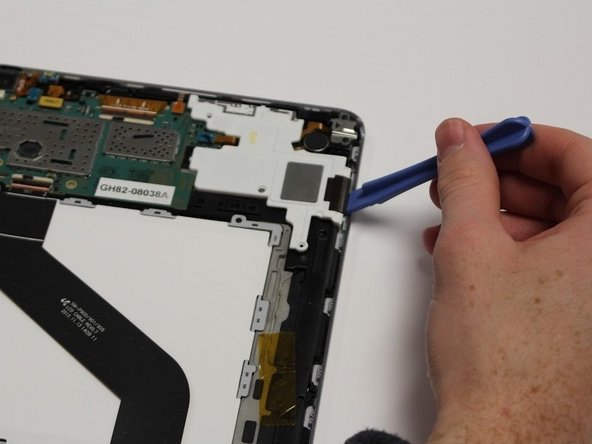
Carefully remove the back cover with the blue opening tool.
-
-
Bu adım çevrilmemiş. Çevrilmesine yardım edin
-
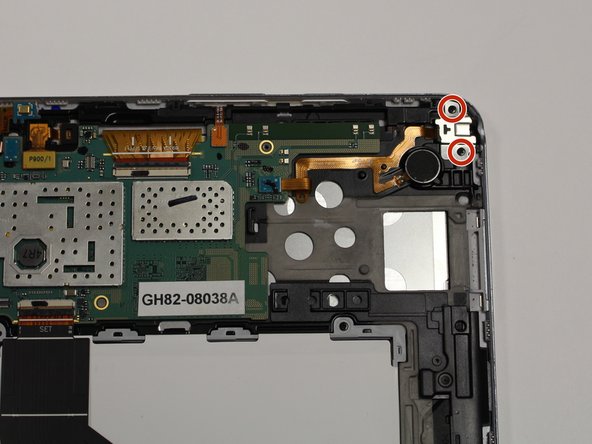
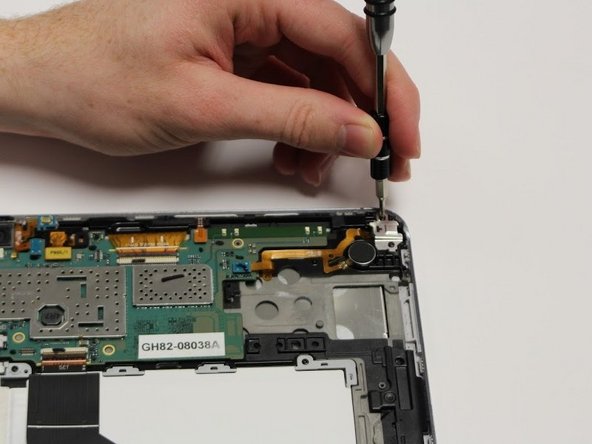
Remove the two 3mm Phillips #00 screws securing in the white cover over the audio jack.
-
-
Bu adım çevrilmemiş. Çevrilmesine yardım edin
-
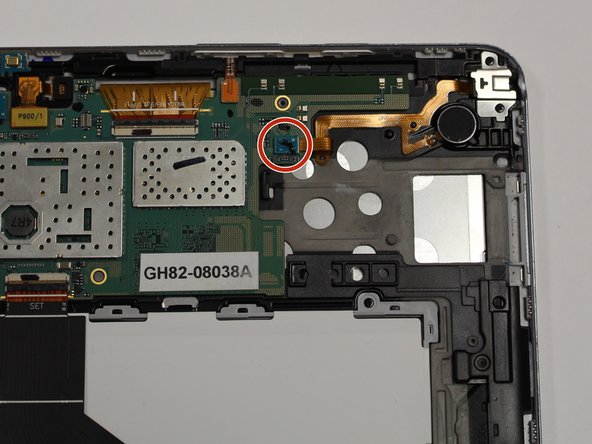
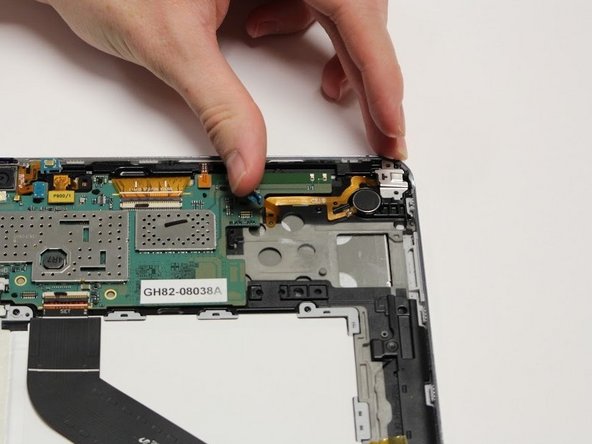
Remove the white cover over the audio jack with the plastic opening tool by pushing up on the black connecter.
-
-
-
Bu adım çevrilmemiş. Çevrilmesine yardım edin
-
Remove the two 3mm Phillips #00 screws over the silver cover.
-
-
Bu adım çevrilmemiş. Çevrilmesine yardım edin
-
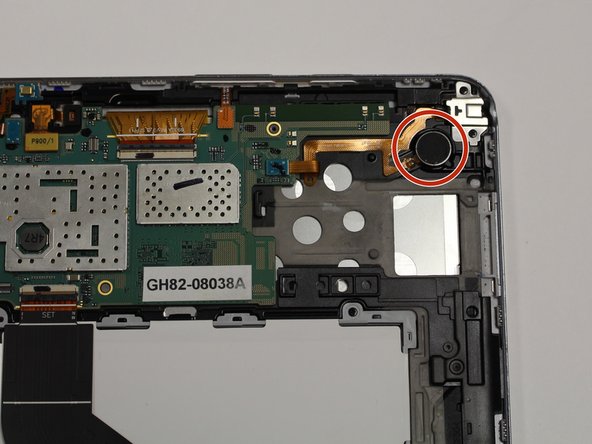
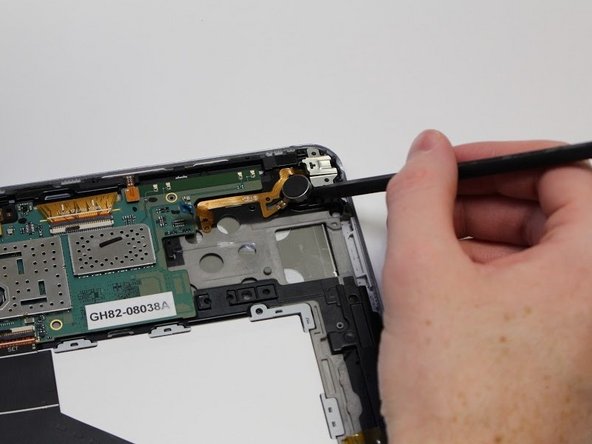
Pull up on the circular amp with the spudger tool to release it from the device.
-
-
Bu adım çevrilmemiş. Çevrilmesine yardım edin
-
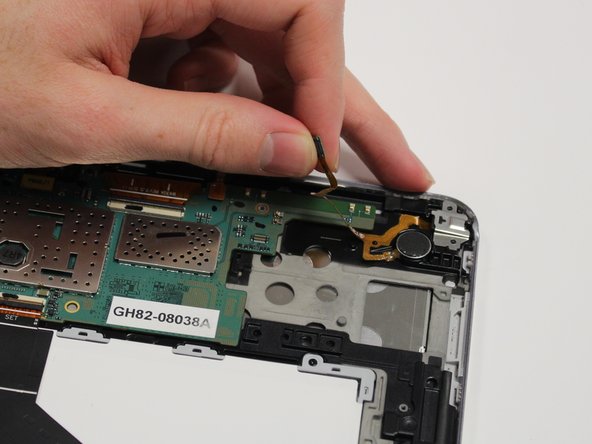
Remove the whole audio jack by pulling gently up on the copper piece.
-


Ekip

Central Washington University, Team S1-G4, Pengilly Fall 2017 Central Washington University, Team S1-G4, Pengilly Fall 2017 üyesi
CWU-PENGILLY-F17S1G4
4 Üyeler
10 adet Kılavuz yazıldı