Giriş
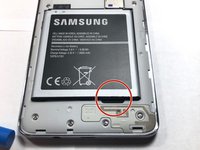
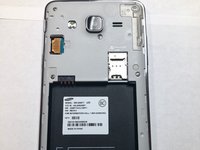
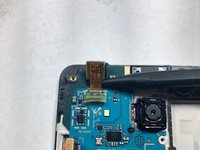
This guide demonstrates the replacement of the motherboard in a Samsung Galaxy On5.
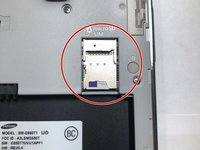
Make sure you check if the problems you are experiencing could be related to any other part of the phone, such as the LCD Screen or faulty wiring. Once you are certain the issue is a broken motherboard, use this guide to aid you in replacing it.
Neye ihtiyacın var
-
-
-
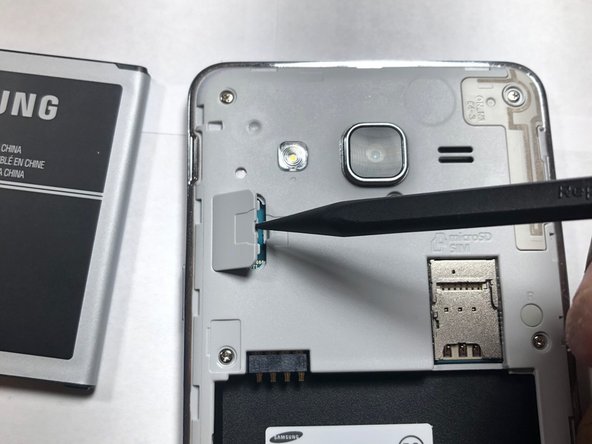
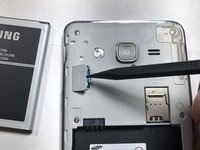
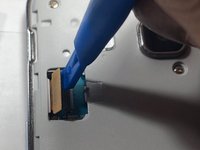
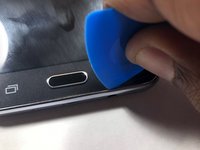
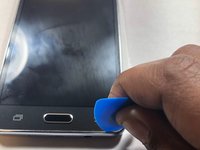
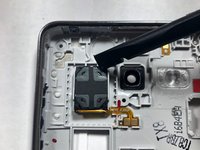
Use a plastic pry tool to lift the front-facing camera from its housing.
-
-
-
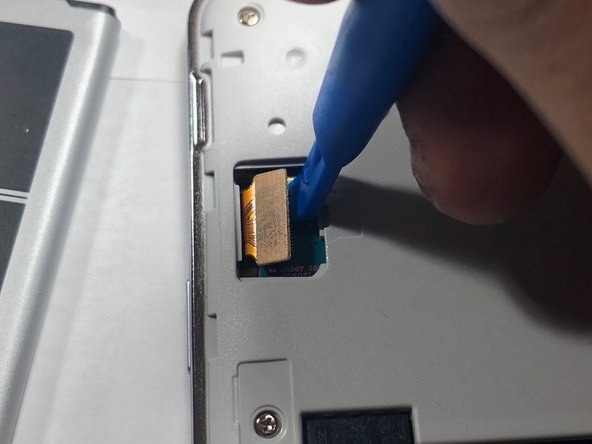
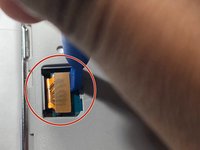
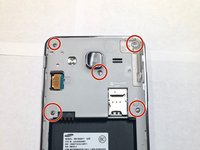
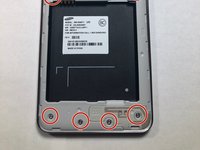
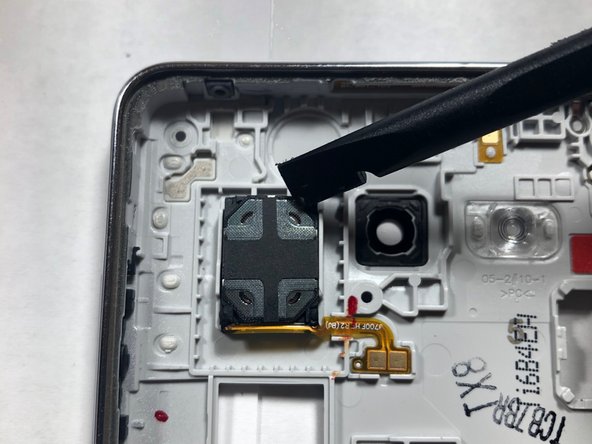
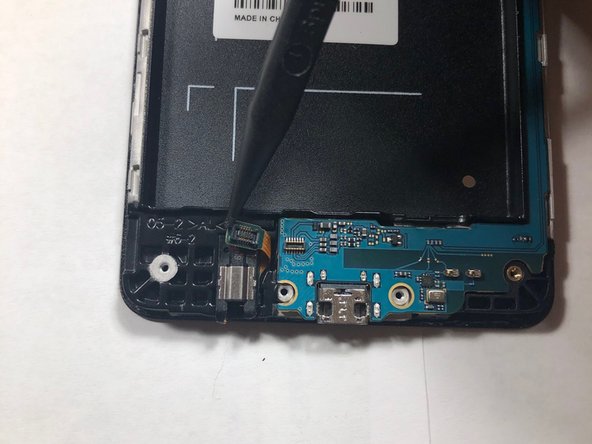
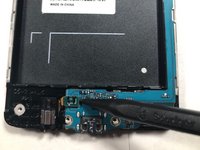
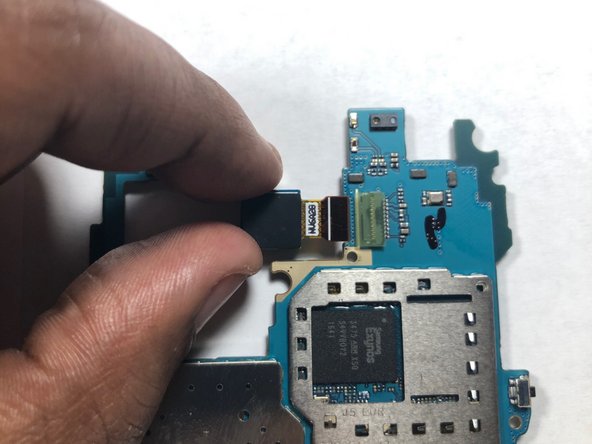
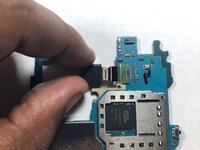
Using a Phillips #00 screwdriver, remove the screw securing the rear-facing camera.
-
-
-
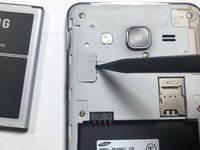
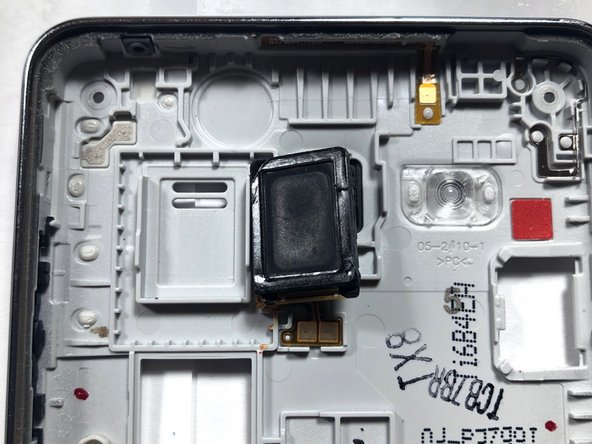
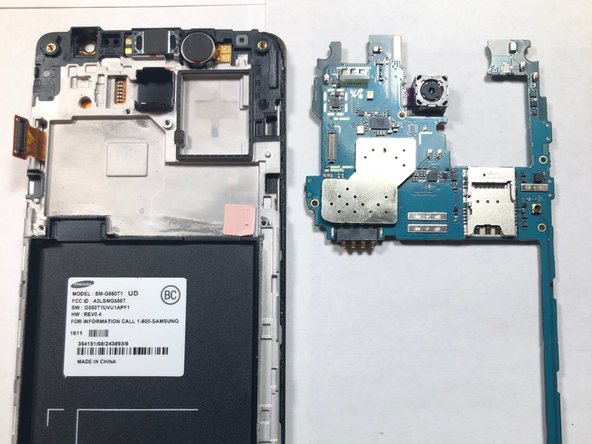
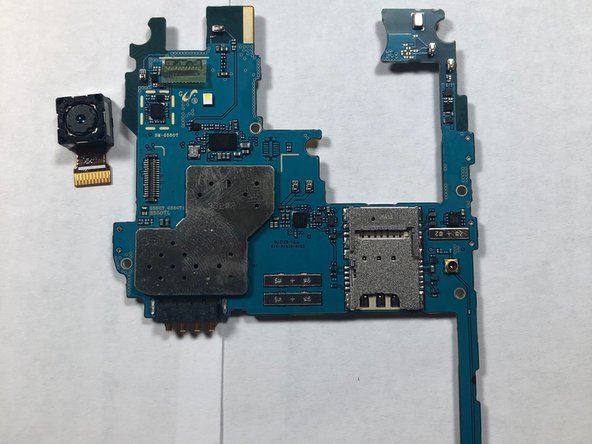
Once the logic board is stripped of the cameras, replace the logic board.
-


To reassemble your device, follow these instructions in reverse order.
To reassemble your device, follow these instructions in reverse order.
İptal et: Bu kılavuzu tamamlamadım.
8 farklı kişi bu kılavuzu tamamladı.

Ekip

Gateway, Team S1-G5, Luster Fall 2018 Gateway, Team S1-G5, Luster Fall 2018 üyesi
GCC-LUSTER-F18S1G5
1 Üye
5 adet Kılavuz yazıldı