Bu sürüm, hatalı düzenlemeler içerebilir. En son doğrulanmış bellek kopyası dönün.
Neye ihtiyacın var
-
Bu adım çevrilmemiş. Çevrilmesine yardım edin
-
Remove the back cover of the cell phone using a plastic opening tool.
-
-
Bu adım çevrilmemiş. Çevrilmesine yardım edin
-
Using tweezers, remove the SIM card by sliding it towards the bottom of the device.
-
-
Bu adım çevrilmemiş. Çevrilmesine yardım edin
-
Using a nylon spudger, push through the hole at the top of the memory card holder to slide it out.
-
-
-
Bu adım çevrilmemiş. Çevrilmesine yardım edin
-
Remove the ten 4.0 mm screws on the back of the phone using the #00 Phillips screwdriver.
-
-
Bu adım çevrilmemiş. Çevrilmesine yardım edin
-
Starting at the USB port, slide a plastic opening tool around the perimeter of the phone between the rear housing and frame. As you work your way around the edge, you will feel the clips release.
-
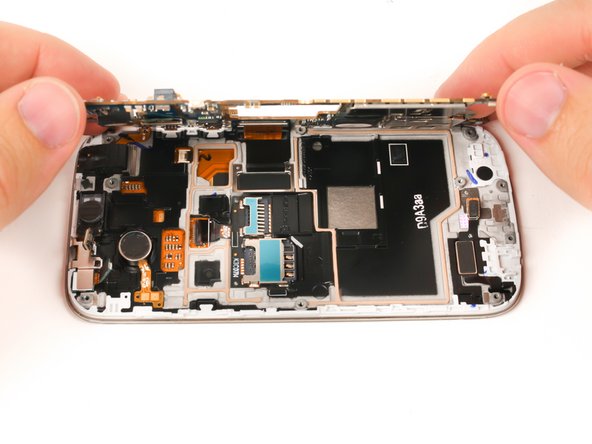
Carefully separate the rear housing and the mid-frame to reveal the inside of the phone.
-
-
Bu adım çevrilmemiş. Çevrilmesine yardım edin
-
Use a pair of tweezers to lift the two charging assembly press fit connectors free.
-
-
Bu adım çevrilmemiş. Çevrilmesine yardım edin
-
Use the flat end of a nylon spudger to lift the headphone jack press-fit connector up to release the ribbon cable.
-
-
Bu adım çevrilmemiş. Çevrilmesine yardım edin
-
Use the flat end of a nylon spudger to lift the infrared sensor press-fit connector up to release the ribbon cable.
-
-
Bu adım çevrilmemiş. Çevrilmesine yardım edin
-
Use the flat end of a nylon spudger to lift the front-facing camera press-fit connector up to release the ribbon cable.
-
-
Bu adım çevrilmemiş. Çevrilmesine yardım edin
-
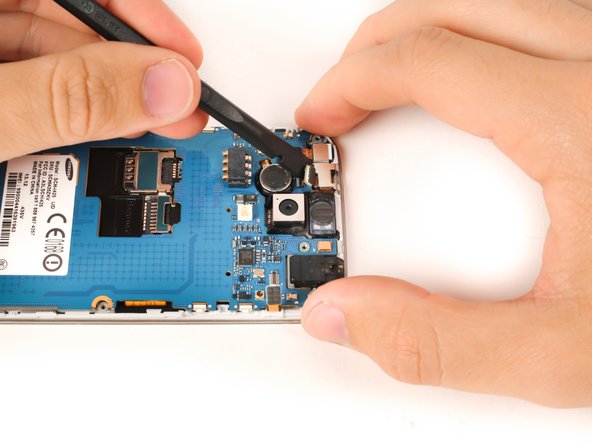
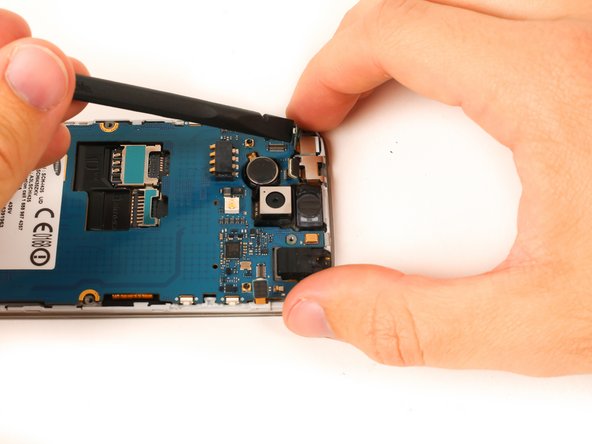
Gently lift the motherboard up and partially away from the device.
-
-
Bu adım çevrilmemiş. Çevrilmesine yardım edin
-
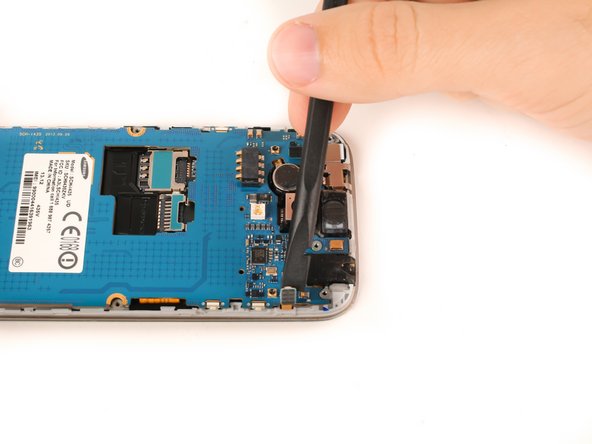
Put the flat end of a nylon spudger under the lip of the digitizer press-fit connector and lift up to release the connector and free the motherboard.
-


İptal et: Bu kılavuzu tamamlamadım.
3 farklı kişi bu kılavuzu tamamladı.

