Giriş
Use this guide to replace the screen on your Samsung Galaxy S6 Edge+.
This guide instructs you to replace only the display while leaving the original frame, logic board, and battery in place. Note: some replacement screens for this phone come pre-installed in a new frame (a.k.a. chassis), which requires you to transplant all of your phone's internals and install a new battery. This procedure is very different, so make sure you have the correct part before starting this guide.
If the frame is damaged or bent, it's important to replace it, or else the new screen may not mount correctly and can suffer damage from uneven pressure.
The process of separating the display from the frame usually destroys the display, so don't follow this guide unless you intend to replace the display.
Removing the rear glass destroys the adhesive holding it in place. The adhesive will need to be replaced before the rear glass is replaced or reinstalled.
Neye ihtiyacın var
-
-
Insert a paper clip or SIM card eject tool into the hole in the SIM card slot on the volume button side of the phone.
-
Press to eject the SIM card tray.
-
Remove the SIM card tray from the phone.
-
-
-
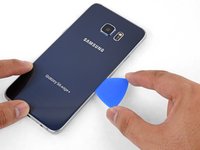
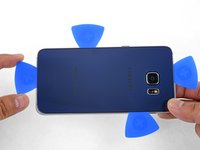
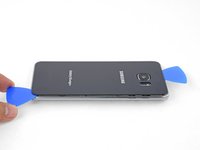
Heat an iOpener and apply it to the volume button side of the phone for about two minutes.
-
-
Bu adımda kullanılan alet:Tesa 61395 Tape$5.99
-
First use tweezers to peel away any remaining adhesive from both the back cover and the phone's chassis.
-
Then, clean the adhesion areas with high concentration isopropyl alcohol (at least 90%) and a lint-free cloth. Swipe in one direction only, not back and forth. This will help prep the surface for the new adhesive.
-
Be sure to turn on your phone and test your repair before installing new adhesive and resealing the phone.
-
Replacement adhesive comes in a pre-cut sheet to match the exact contours of the back cover. The sheet is asymmetrical, so make sure the screw holes in the adhesive sheet line up with the screws on the frame before applying the adhesive.
-
After installing the rear cover, apply strong, steady pressure to your phone for several minutes to help the adhesive form a good bond, such as by placing it under a stack of heavy books.
-
-
-
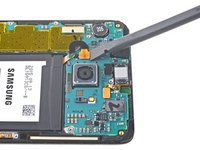
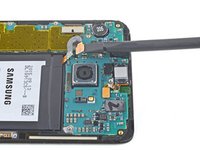
Use the flat end of a spudger to disconnect the battery ribbon cable from the motherboard.
-
-
-
-
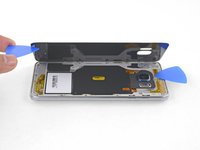
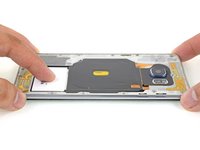
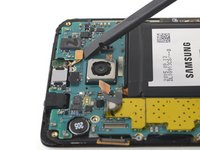
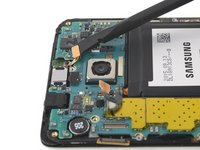
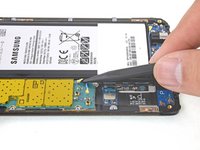
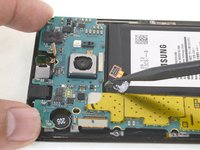
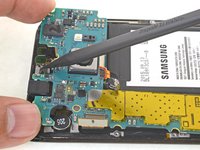
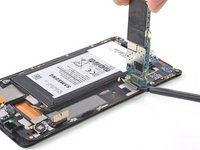
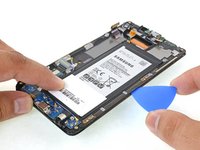
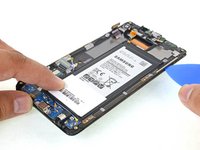
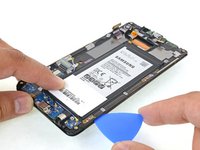
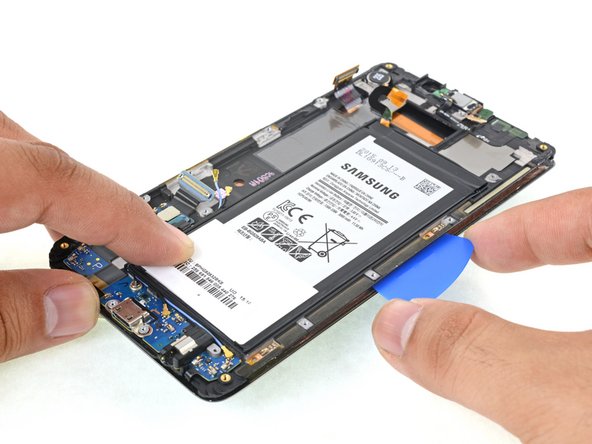
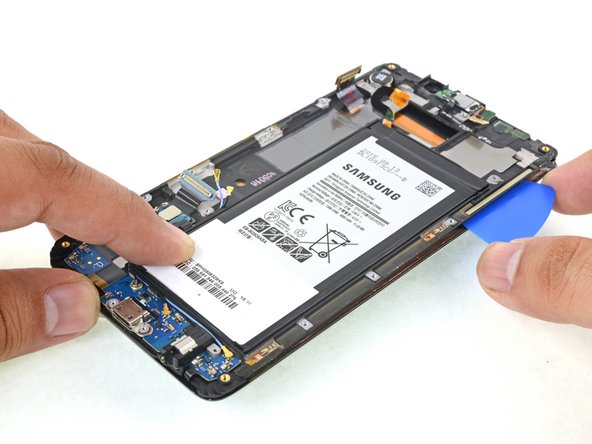
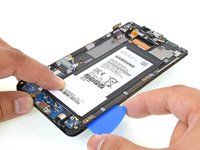
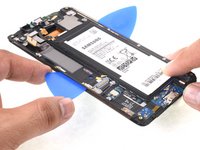
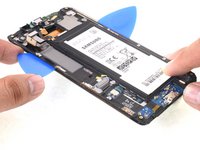
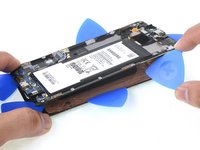
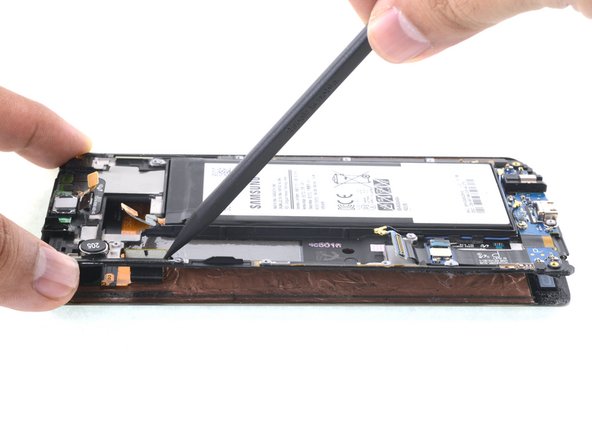
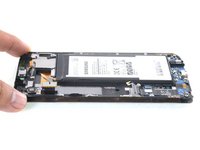
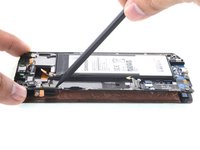
Grip the edges of the motherboard and lift up slightly.
-
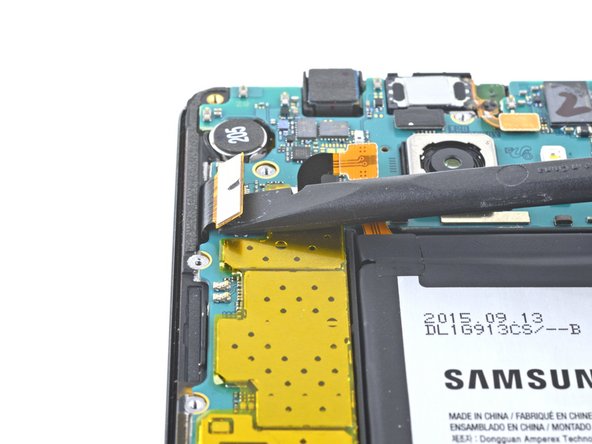
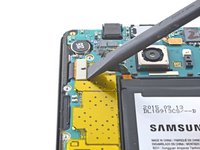
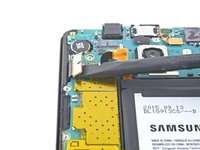
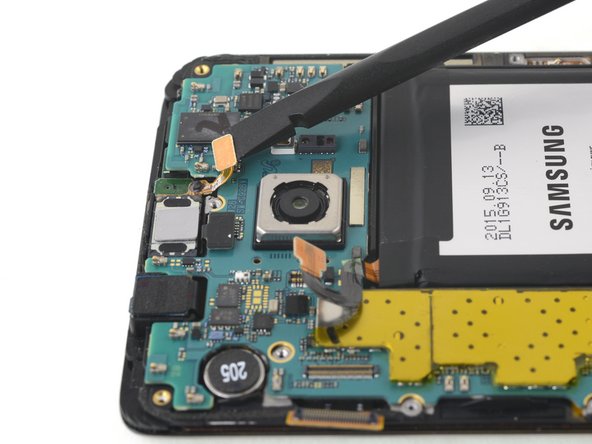
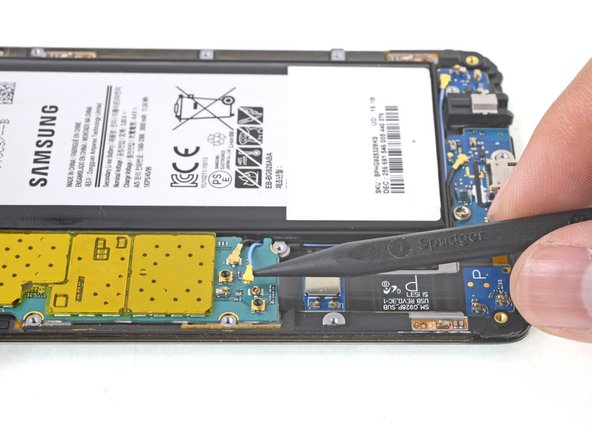
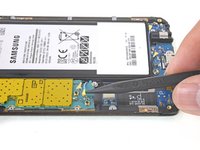
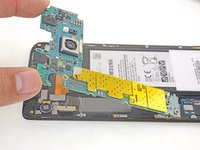
Use the point of a spudger to move the battery and sensor assembly ribbon cables away from the edges of the motherboard.
-
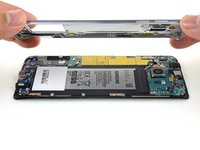
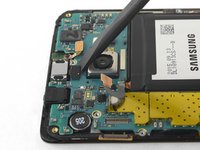
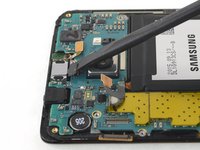
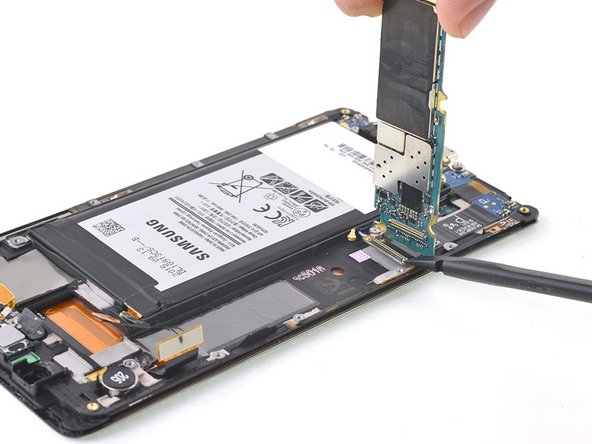
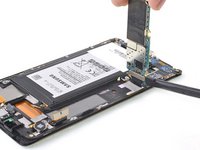
With the battery and sensor assembly cables out of the way, hinge the motherboard up and away from the display, taking care not to put too much stress on the daughterboard ribbon cable.
-
-
-
If your display glass is badly cracked, tape over the glass to contain stray glass and make prying easier.
-
Heat an iOpener and apply it to the left edge of the display for at least two minutes.
-
-
-
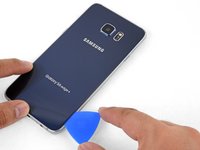
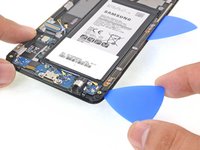
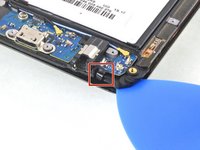
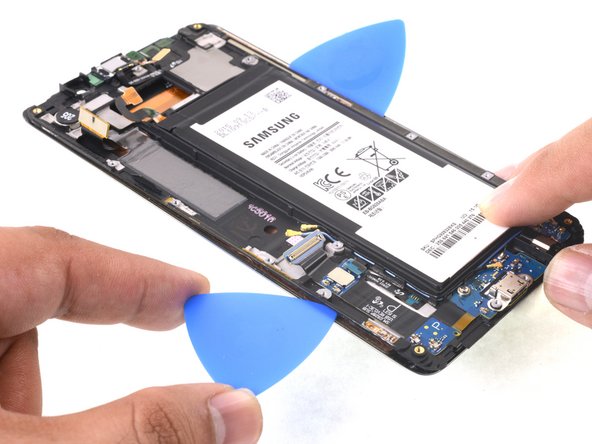
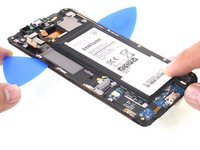
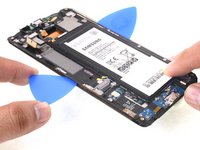
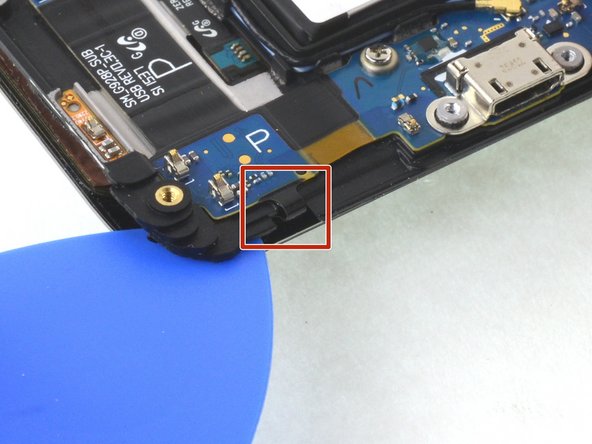
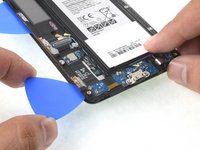
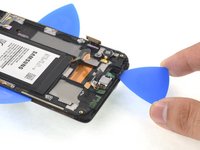
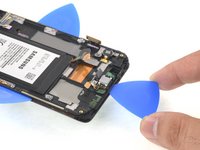
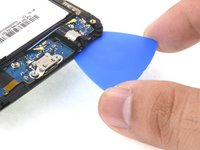
Insert an opening pick into the small gap between the display and the display frame, near the middle of the battery-side edge of the display.
-
When you insert the pick make sure it is on top of the pink shield layer of the display to properly cut the adhesive.
-
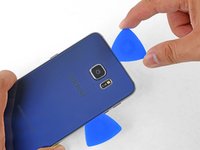
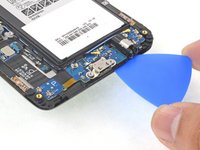
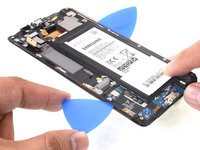
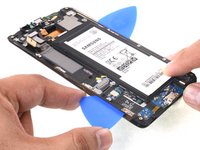
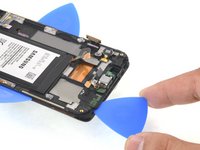
Slide the pick along the entire edge of the display, separating the adhesive.
-
-
-
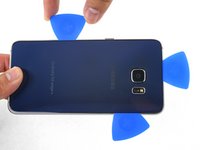
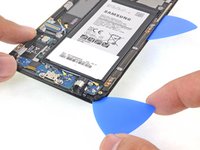
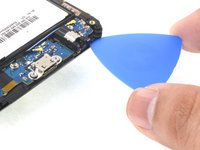
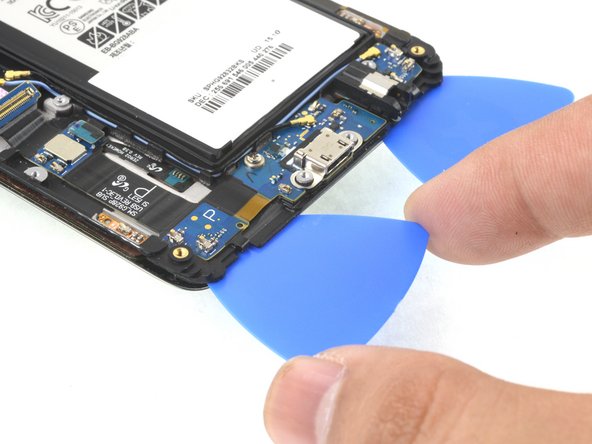
Heat and apply an iOpener to the bottom of the display.
-
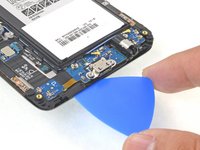
Insert an opening pick no more than 0.25 inches (~6 mm) in the bottom edge of the display, near the headphone port. Inserting it farther may damage the home button.
-
Slide the pick along the bottom edge of the display, separating the adhesive. Stop before you reach the "back" button ribbon cable.
-
-
-
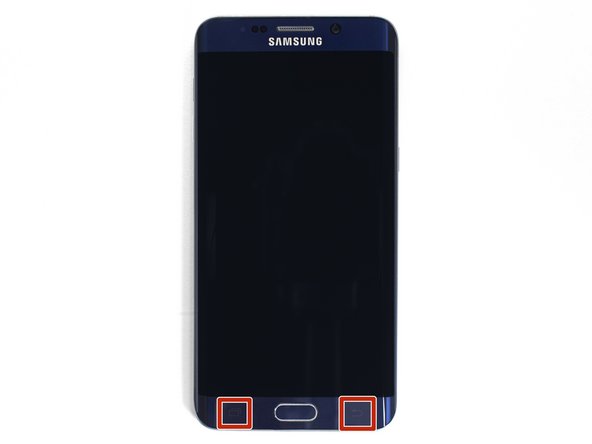
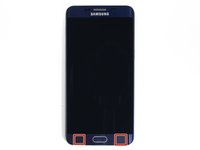
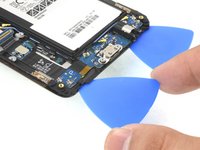
Apply a heated iOpener to the bottom edge of the display for about one minute.
-
Gently insert an opening pick between the display and the "recent" button, no more than 0.5 (~12 mm) inches deep to avoid damaging the display.
-
Leave the pick under the display to prevent the button from re-adhering to the display.
-
-
-
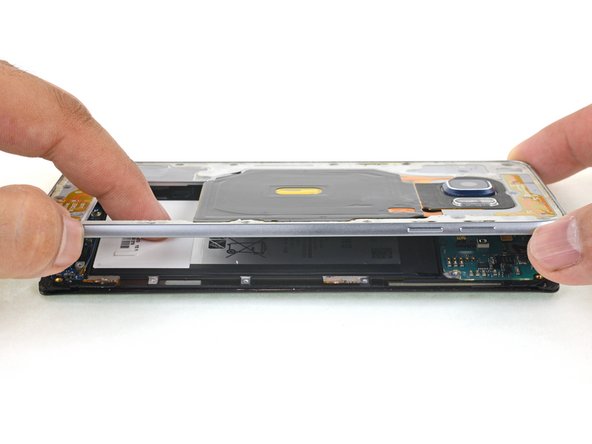
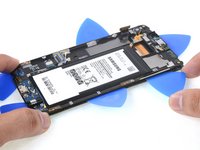
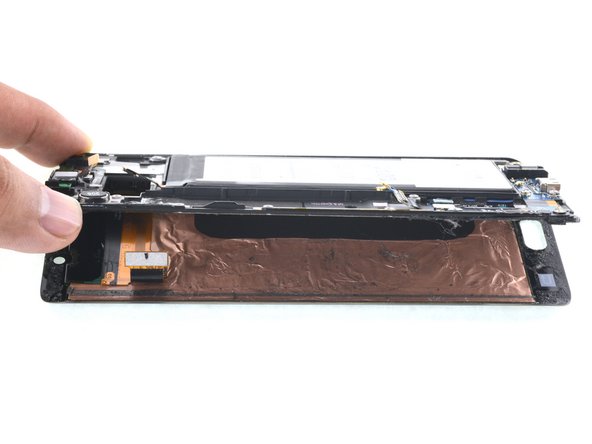
Slowly lift the display frame away from the display.
-
Use a spudger to push the display cable connector away from the edges of the hole in the display frame and gently thread the cable through the hole.
-
With the display cable connector safely through the display frame, completely separate the display from the frame.
-


To reassemble your device, follow these instructions in reverse order.
İptal et: Bu kılavuzu tamamlamadım.
14 farklı kişi bu kılavuzu tamamladı.

2Kılavuz Yorumları
I find the best thing to do with any smartphone with a cracked rear and front screen is smashed the screen not to answer basic components and then it's easy to get off
Hello sir, I am DESIRE ANDREW.
Can I get a screen of this Samsung Galaxy s6 edge plus