Giriş
Follow this guide to learn how to replace the screen and the front plastic frame on your Samsung Galaxy S6 Edge. This guide will show you how to remove all the components from the frame, which includes the digitizer, OLED display, display frame, and home button.
Use this guide if you are replacing the display assembly and front plastic frame together. If your replacement part does not come with a plastic frame, follow this guide instead.
This guide involves removing the rear glass. Removing the rear glass destroys the adhesive holding it in place. Follow this guide to reinstall the rear glass.
Neye ihtiyacın var
-
-
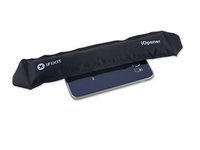
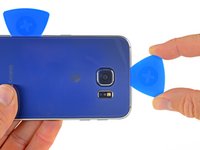
If your replacement part looks like the first image, follow the display assembly and frame replacement guide.
-
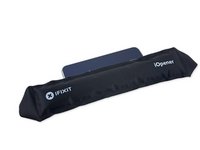
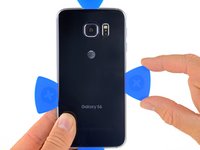
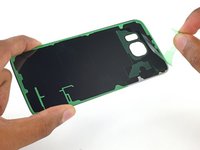
If your replacement part looks like the second image, follow the display assembly replacement guide.
-
-
-
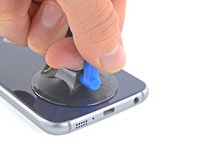
Insert a paper clip or SIM eject tool into the hole in the SIM card slot on top of the phone.
-
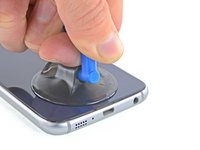
Press to eject the SIM card tray.
-
Remove the SIM card tray from the phone.
-
-
-
Fill a pot or pan with enough water to fully submerge an iOpener.
-
Heat the water to a boil. Turn off the heat.
-
Place an iOpener into the hot water for 2-3 minutes. Make sure the iOpener is fully submerged in the water.
-
Use tongs to extract the heated iOpener from the hot water.
-
Thoroughly dry the iOpener with a towel.
-
Your iOpener is ready for use! If you need to reheat the iOpener, heat the water to a boil, turn off the heat, and place the iOpener in the water for 2-3 minutes.
-
-
-
Lay the heated iOpener over the rear panel for about two minutes to loosen the adhesive around the edge of the glass.
-
Shift the iOpener to heat the remaining section of the panel for another two minutes.
-
-
-
Bu adımda kullanılan alet:Tweezers$4.99
-
Use tweezers to peel away any remaining adhesive from the phone's chassis.
-
Clean the adhesion areas with high concentration isopropyl alcohol (at least 90%) and a lint-free cloth. Swipe in one direction only, not back and forth. This will help prep the surface for the new adhesive.
-
Peel the adhesive backing off of the new rear glass, carefully line up one edge of the glass against the phone chassis, and firmly press the glass onto the phone.
-
-
-
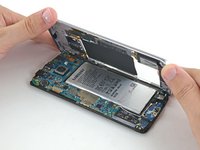
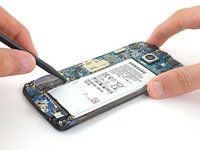
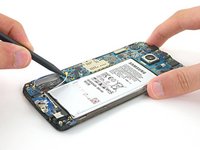
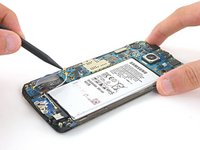
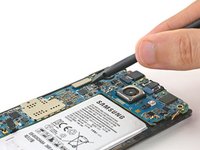
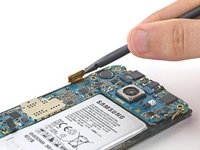
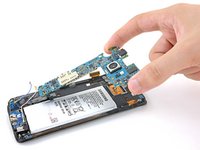
Using the flat end of the spudger, disconnect the battery ribbon cable from the motherboard.
-
-
-
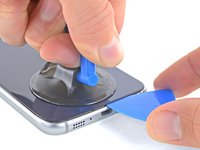
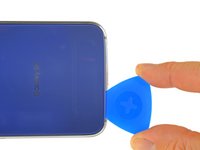
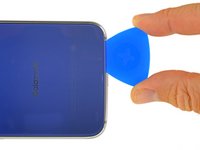
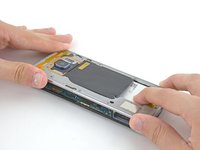
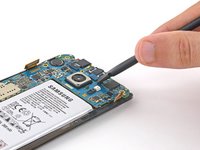
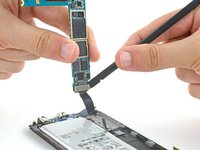
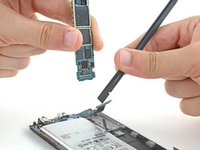
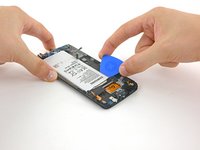
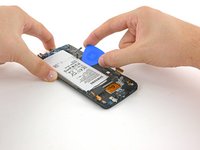
Insert an opening pick underneath the battery and slide it across to break up the adhesive underneath.
-
-
-
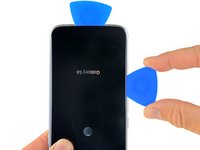
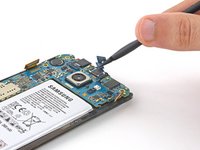
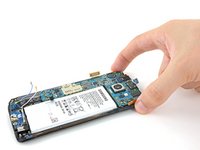
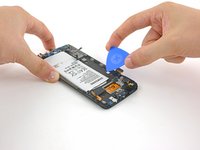
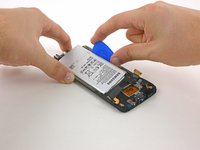
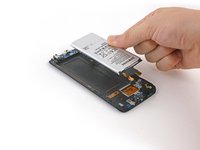
Twist the opening pick to fully dislodge the battery and remove it.
-
Remove any remaining adhesive from the phone, and clean the glued areas with isopropyl alcohol and a lint-free cloth.
-
Lay the replacement battery in place, but do not apply adhesive yet. Resume re-assembly until the motherboard is in place (STEP 18).
-
Apply new pre-cut adhesive or double-sided tape onto the phone frame, around the perimeter of the battery compartment, but not in the rectangular cutout in the center (which is actually the back side of the display).
-
Temporarily connect the battery connector to the motherboard to ensure proper battery alignment.
-
Press the battery firmly into place for 5-10 seconds. Disconnect the battery and resume re-assembly.
-
-
-
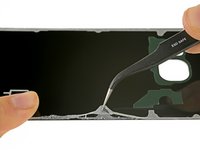
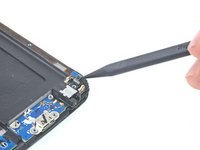
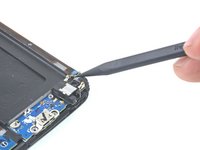
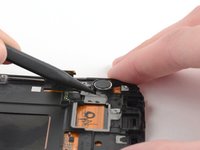
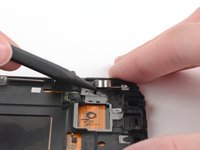
Press the tip of a spudger in the gap in the display frame under the vibrator, to pry it off the adhesive.
-
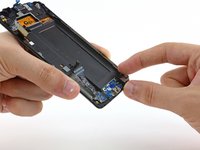
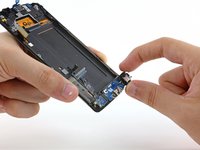
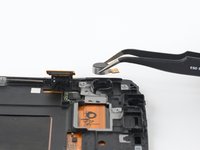
Remove the vibrator from the display assembly.
-


To reassemble your device, follow these instructions in reverse order. Follow this guide to reinstall the rear glass.
İptal et: Bu kılavuzu tamamlamadım.
66 farklı kişi bu kılavuzu tamamladı.


6Kılavuz Yorumları
Would it be possible to point out which connectors are for the LCD/touch screen, as my screen is not broken but part of the my touch screen will not work and I would like to check the connector is applied properly. Also would it be possible to purchase that suction cup somewhere?
It does not seem as though steps #25, #26, and #27 are necessary for this specific project: Display Assembly Replacement. Otherwise an excellent guide!
You are right! The guide has been re-organized to leave those steps out now.
Does anybody know if there is actually any difference between the CDMA and GSM screens? I got a galaxy s6 edge with a broken screen, and the back said verizon, but when I opened it up, the charging port flex cable said, SM-G925A, which is the AT&T version right? I have a working screen I took off of a working verizon phone, but it doesn’t work on the ATT phone. I’m not sure if its that the motherboard is damaged, or if the Verizon screen won’t work on the AT&T phone.
I have samsung s7 edge