Giriş
Follow this guide to replace the loudspeaker assembly in a Samsung Galaxy S7 Edge.
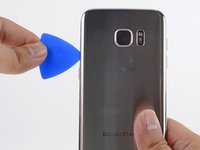
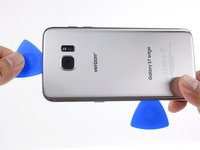
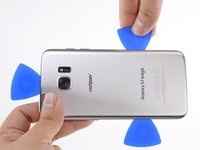
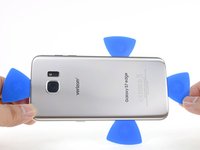
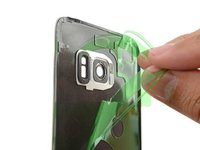
Note: The curved edge and strong adhesive make the initial opening procedure very challenging. Be patient, repeat multiple heat and pull cycles, and the adhesive will eventually loosen.
Neye ihtiyacın var
-
-
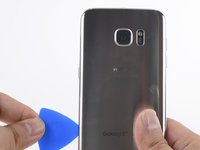
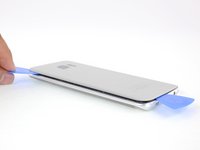
Heat an iOpener and apply it to a long edge of the phone for about two minutes.
-
-
-
Bu adımda kullanılan alet:Tweezers$4.99
-
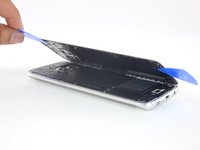
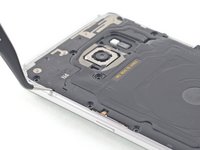
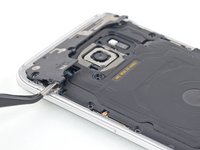
Use tweezers to peel away any remaining adhesive from the phone's chassis. Then clean the adhesion areas with high concentration isopropyl alcohol (at least 90%) and a lint-free cloth to prep the surface for the new adhesive.
-
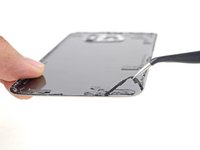
Peel the adhesive backing off of the new rear glass, carefully line up one edge of the glass against the phone chassis, and firmly press the glass onto the phone.
-


To reassemble your device, follow these instructions in reverse order.
İptal et: Bu kılavuzu tamamlamadım.
5 farklı kişi bu kılavuzu tamamladı.

