Giriş
Use this guide to replace or remove the display in your Samsung Galaxy S8 Active.
This guide involves removing the back cover of the device, so you will need replacement adhesive to reattach the back cover to the phone.
Before disassembling your device, be sure the battery is charged below 25%. If accidentally punctured or damaged, the battery can catch fire and/or explode; if discharged below 25%, the chances of fire/explosion is decreased.
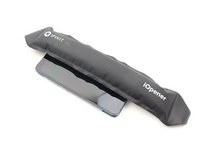
Follow the iOpener Heating guide for instructions on using the iOpener.
Neye ihtiyacın var
-
-
Insert and gently push the SIM card ejector tool (or an unfolded paperclip) into the small hole on the left side of the top edge of the phone.
-
Press gently to eject the SIM tray.
-
Remove the SIM card tray from the device.
-
-
-
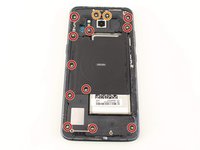
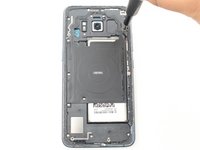
Remove four black 3mm screws from the outside edges of the device that hold the rubber bumpers in place using the TR6 Torx Security Screwdriver.
-
Take off the rubber bumpers from the top and bottom edges of the device.
-
-
-
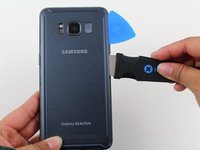
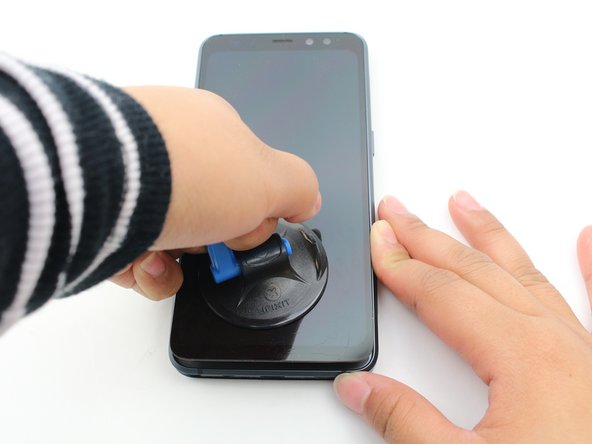
Insert the Jimmy tool under the edge of the back cover.
-
Once the Jimmy tool is under the edge of the cover, insert an opening pick into the seam to prevent the seam from closing if the Jimmy tool slips or is accidentally removed.
-
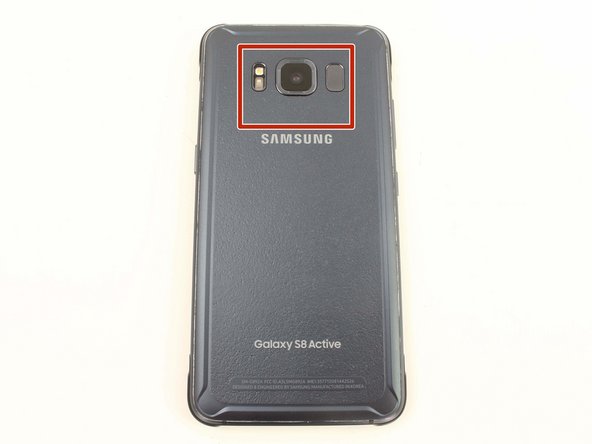
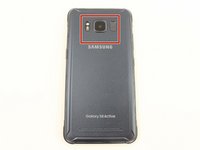
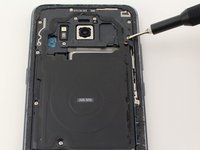
Cut slowly around the top section of the device and be careful to avoid damaging the cables for the fingerprint sensor and camera. Avoid prying too far into the top of the device to protect the fingerprint sensor.
-
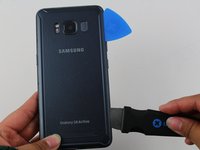
Slide the Jimmy tool down the sides of the device, separating the adhesive.
-
-
-
-
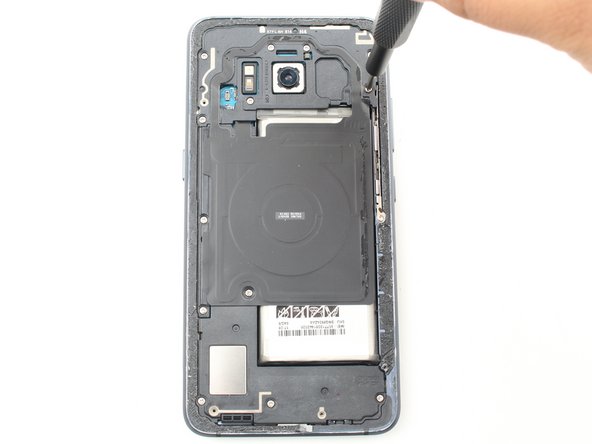
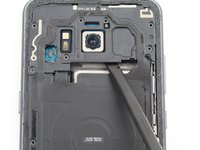
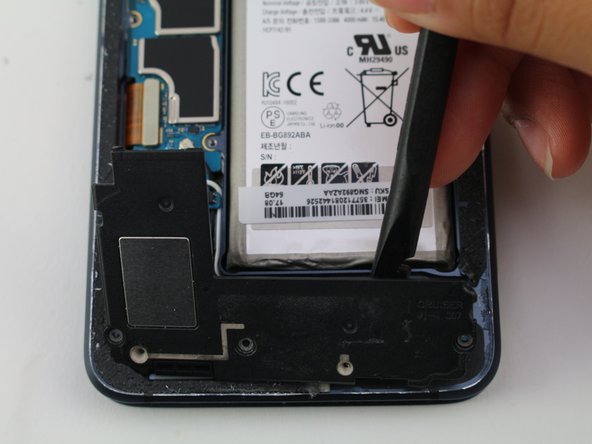
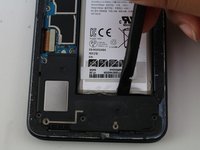
Remove the loudspeaker assembly using the flat end of a spudger.
-
-
-
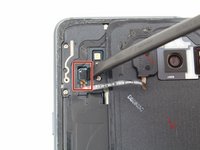
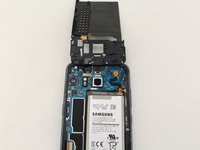
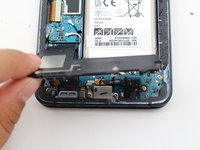
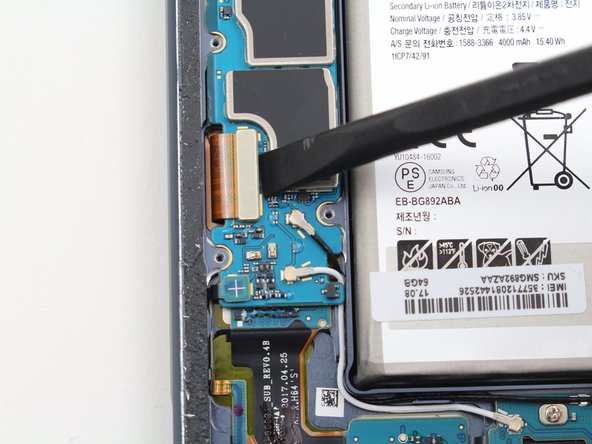
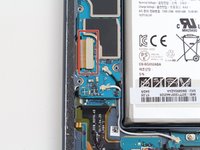
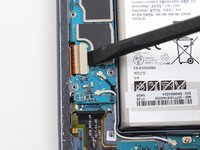
Disconnect the display flex cable on the motherboard using the flat end of a spudger.
-
-
-
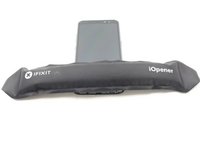
Place the clear side of a heated iOpener over each edge of the phone for about 90 seconds to soften the adhesive attached to the display.
-
Reheat iOpener as needed.
-


To reassemble your device, follow these instructions in reverse order.
To reassemble your device, follow these instructions in reverse order.
İptal et: Bu kılavuzu tamamlamadım.
6 farklı kişi bu kılavuzu tamamladı.
Ekip

Cal Poly, Team S2-G1, White Winter 2019 Cal Poly, Team S2-G1, White Winter 2019 üyesi
CPSU-WHITE-W19S2G1
3 Üyeler
11 adet Kılavuz yazıldı
1Rehber Yorum
adding where to and how much of the adhesive to use when putting screen and back panel back on would be a great addition to this guide