Giriş
This guide will show the process behind replacing a daughterboard in the Samsung Galaxy Tab S3. This will be useful for fixing a broken charging port, as the port is soldered onto the daughterboard. It would also be useful if the home button, auxiliary, charging port and left speaker simultaneously stopped working, as these components all filter communications through the daughterboard to the motherboard for processing.
Neye ihtiyacın var
-
-
To soften the adhesive holding the tablet together, heat up the edges of the glass panel using a heated iOpener on the edge of the device. Alternatively you can use a heat gun to loosen the adhesive.
-
Leave the iOpener on edge for two minutes.
-
-
-
As you continue along the edge using the opening tool, use a plastic card to keep the glass separate from the midframe.
-
-
-
Repeat steps 3 through 7 to remove the rear glass panel on the opposite side of the device.
-
-
-
-
Use a Phillips #000 screwdriver to unscrew the five screws securing the battery, and the twenty-two screws surrounding the midframe.
-
-
-
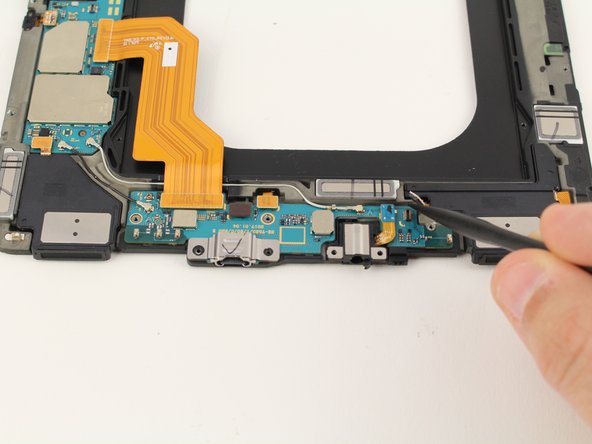
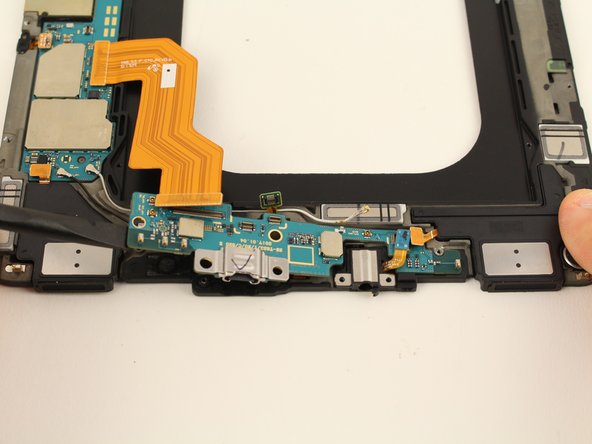
Use a spudger to pry up four press fit connectors from the lower board containing the charging port.
-


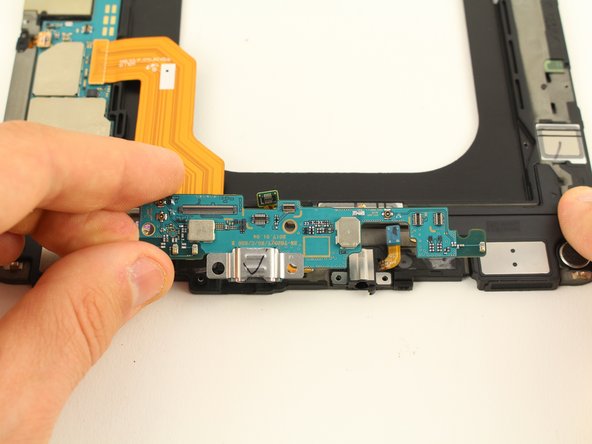
To reassemble your device, follow these instructions in reverse order.
To reassemble your device, follow these instructions in reverse order.
İptal et: Bu kılavuzu tamamlamadım.
3 farklı kişi bu kılavuzu tamamladı.


3 Yorum
Do you need to remove the front display assembly to replace the daughterboard? From the images it appears you just have to go in through the back glass to do this job. Confused.
You do, because the midframe is adhered to both the front and back. It won't come off if you just take off the back.
You don't have to take screen off. Just disconnect battery.