Bu sürüm, hatalı düzenlemeler içerebilir. En son doğrulanmış bellek kopyası dönün.
Neye ihtiyacın var
-
Bu adım çevrilmemiş. Çevrilmesine yardım edin
-
Press the watchband down against the work surface.
-
Press the tip of a flathead screwdriver against the edge of the spring-loaded holding pin.
-
-
Bu adım çevrilmemiş. Çevrilmesine yardım edin
-
With the spring-loaded pin pressed in, the watch band should release easily.
-
Gently pull the band away from the body of the watch.
-
Repeat steps 2 and 3 for the opposite side.
-
-
Bu adım çevrilmemiş. Çevrilmesine yardım edin
-
With the watch laying face-down, locate the four screws. They are located on the back of the watch, at the four corners.
-
-
-
Bu adım çevrilmemiş. Çevrilmesine yardım edin
-
Using a Torx-T5 screwdriver, remove each of the four 4mm screws and set them aside.
-
-
Bu adım çevrilmemiş. Çevrilmesine yardım edin
-
Gently work the plastic opening tool under the top edge of the watch’s back cover.
-
-
Bu adım çevrilmemiş. Çevrilmesine yardım edin
-
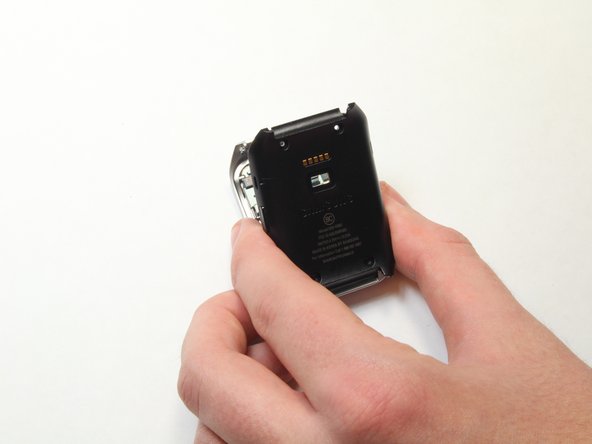
With the watch’s back cover pried loose, gently lift it away from the front half of the watch.
-
-
Bu adım çevrilmemiş. Çevrilmesine yardım edin
-
Lay both halves of the watch body assembly face down (with internal components facing up).
-
-
Bu adım çevrilmemiş. Çevrilmesine yardım edin
-
Locate the ribbon cable connector near the edge of the watch's case.
-
Using the plastic opening tool, gently pry the connector from the motherboard
-
-
Bu adım çevrilmemiş. Çevrilmesine yardım edin
-
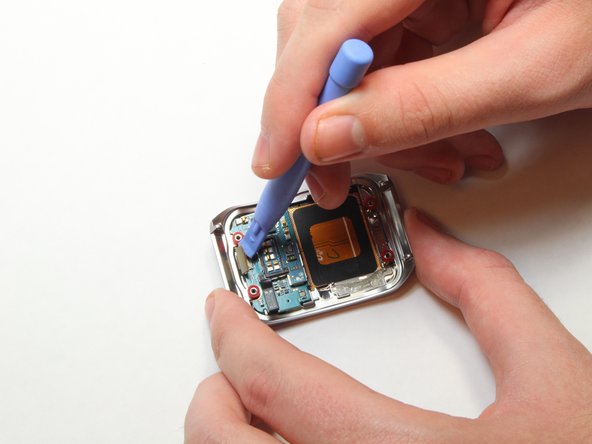
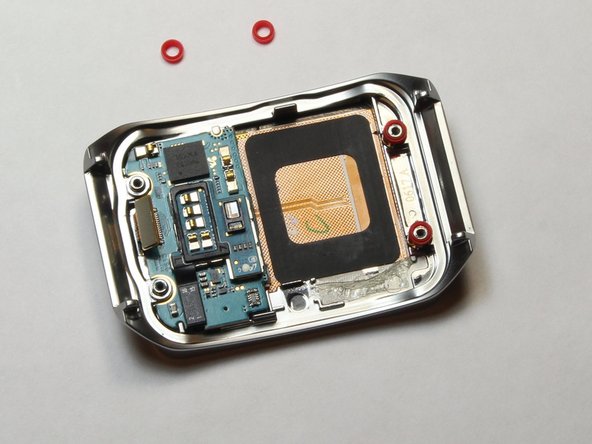
Using the plastic opening tool, gently pry away the red spacers.
-
Set the spacers aside.
-
-
Bu adım çevrilmemiş. Çevrilmesine yardım edin
-
Insert the end of the plastic opening tool under the motherboard.
-
Gently pry up the motherboard.
-
İptal et: Bu kılavuzu tamamlamadım.
2 farklı kişi bu kılavuzu tamamladı.


