Ana içeriğe geç
Onarım Topluluğuna Katılın - Hesap Oluşturun

Samsung ML2510 Side Cooling Fan Replacement

Neye ihtiyacın var

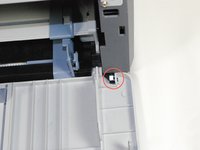
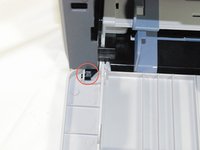
  1. Samsung ML2510 Side Cooling Fan Replacement, Removing Samsung ML2510 Back Panel: adım 1, 3 resimden 1. Samsung ML2510 Side Cooling Fan Replacement, Removing Samsung ML2510 Back Panel: adım 1, 3 resimden 2. Samsung ML2510 Side Cooling Fan Replacement, Removing Samsung ML2510 Back Panel: adım 1, 3 resimden 3.
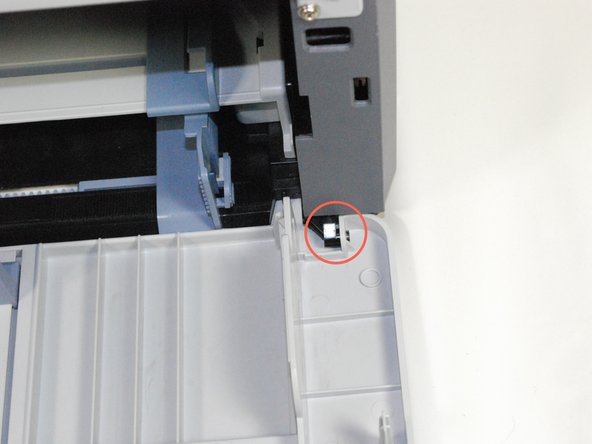
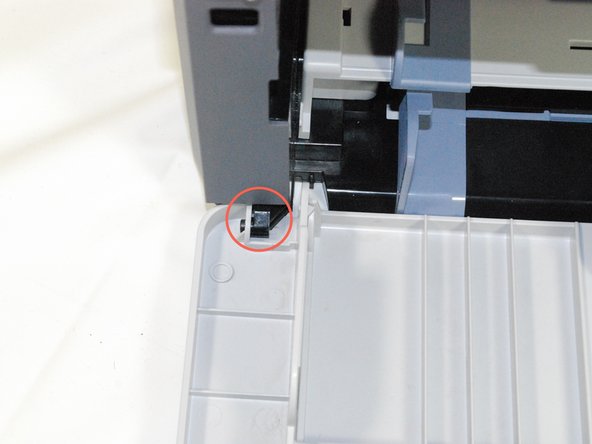
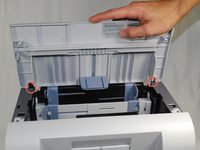
    • Remove the top hinged panel by taking out the pins at the bottom of this panel.

    FixBot'a Sor

    Yorum Ekle

  2. Samsung ML2510 Side Cooling Fan Replacement: adım 2, 1 resimden 1.
    • Using a Phillips #2 screwdriver, remove the four screws on the back of the printer.

    FixBot'a Sor

    Yorum Ekle

  3. Samsung ML2510 Side Cooling Fan Replacement: adım 3, 3 resimden 1. Samsung ML2510 Side Cooling Fan Replacement: adım 3, 3 resimden 2. Samsung ML2510 Side Cooling Fan Replacement: adım 3, 3 resimden 3.
    • Gently lift the top panel while simultaneously pulling off the back panel.

    • Before pulling out the back panel entirely, make sure to remove the rear cooling fan from its slot.

    FixBot'a Sor

    Yorum Ekle

  4. Samsung ML2510 Side Cooling Fan Replacement, Side Cooling Fan: adım 4, 3 resimden 1. Samsung ML2510 Side Cooling Fan Replacement, Side Cooling Fan: adım 4, 3 resimden 2. Samsung ML2510 Side Cooling Fan Replacement, Side Cooling Fan: adım 4, 3 resimden 3.
    • Locate the holes on the panel that are attached to the main body.

    • Remove the front panel by gently moving the holes from the pegs one by one.

    FixBot'a Sor

    Yorum Ekle

  5. Samsung ML2510 Side Cooling Fan Replacement: adım 5, 1 resimden 1.
    • Using a Phillips #2 screwdriver, remove the two 1" screws on the front face of the printer.

    FixBot'a Sor

    Yorum Ekle

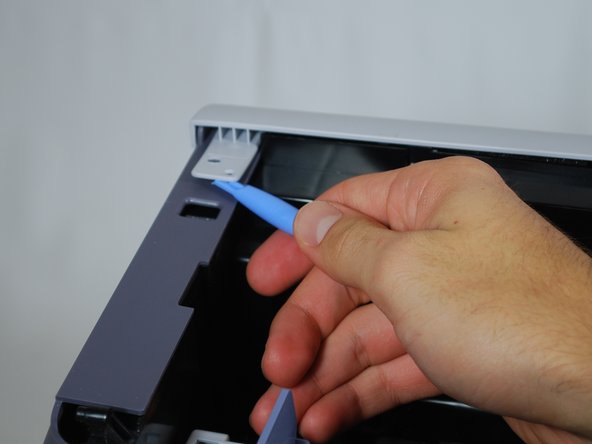
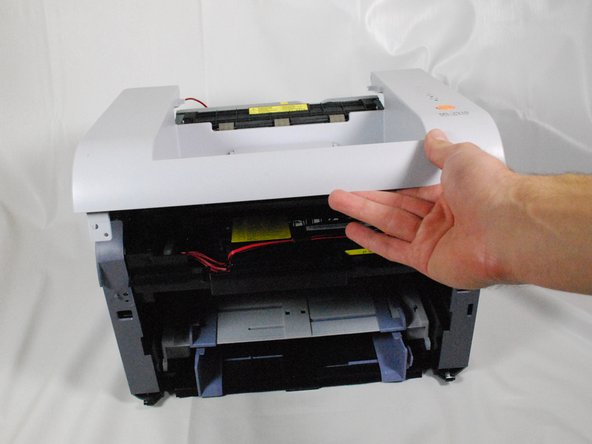
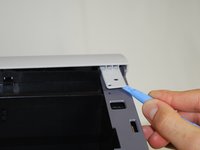
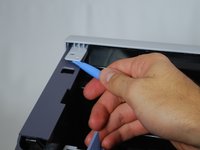
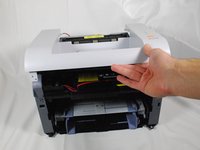
  6. Samsung ML2510 Side Cooling Fan Replacement: adım 6, 3 resimden 1. Samsung ML2510 Side Cooling Fan Replacement: adım 6, 3 resimden 2. Samsung ML2510 Side Cooling Fan Replacement: adım 6, 3 resimden 3.
    • Using a plastic opening tool, gently lift one side of the top panel from its peg.

    • Repeat process for the other side.

    • Lift the top panel from the front to remove it entirely.

    FixBot'a Sor

    Yorum Ekle

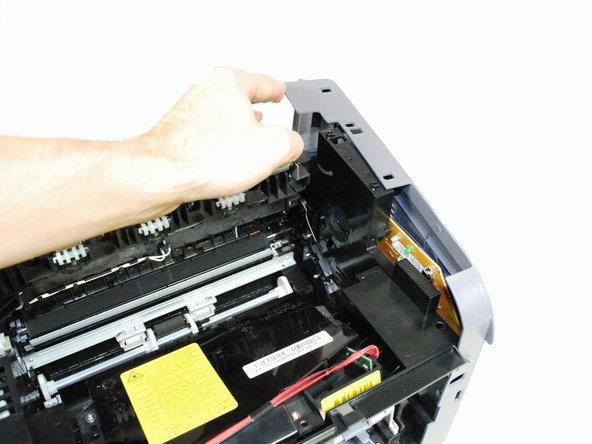
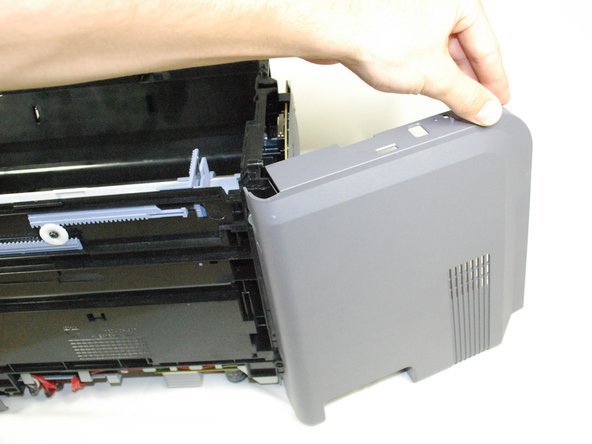
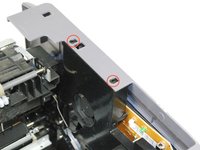
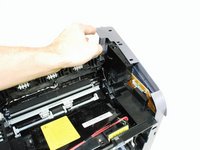
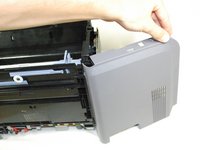
  7. Samsung ML2510 Side Cooling Fan Replacement: adım 7, 3 resimden 1. Samsung ML2510 Side Cooling Fan Replacement: adım 7, 3 resimden 2. Samsung ML2510 Side Cooling Fan Replacement: adım 7, 3 resimden 3.
    • Lift the right side-panel up from the raised stops.

    • Gently rotate the panel as indicated in the picture to remove the panel entirely.

    FixBot'a Sor

    Yorum Ekle

  8. Samsung ML2510 Side Cooling Fan Replacement: adım 8, 1 resimden 1.
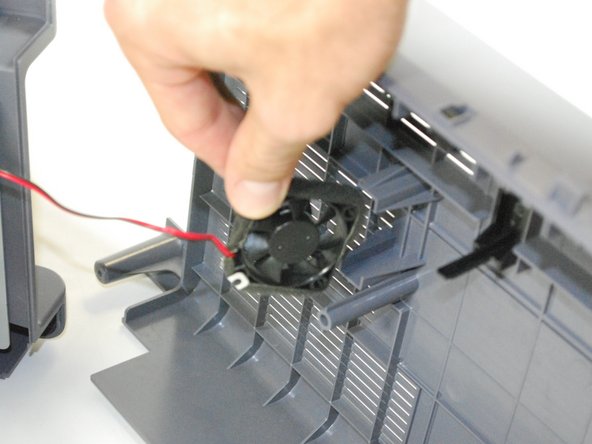
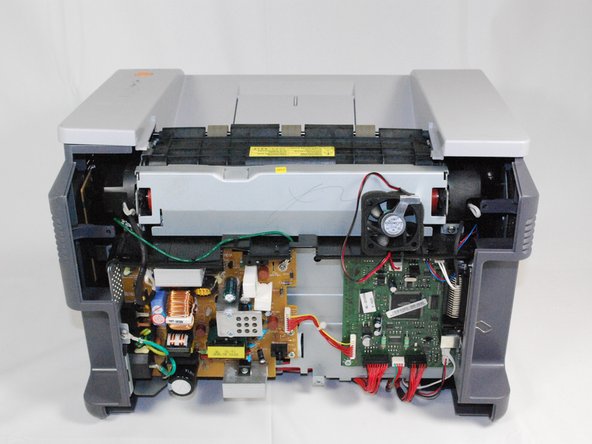
    • Poke out the side fan from the inside of the printer.

    FixBot'a Sor

    Yorum Ekle

  9. Samsung ML2510 Side Cooling Fan Replacement: adım 9, 1 resimden 1.
    • Unplug the fan's wires from the side circuit board.

    • Replace the fan and reassemble the printer using reverse procedures.

    FixBot'a Sor

    Yorum Ekle

Sonuç

To reassemble your device, follow these instructions in reverse order.

İptal et: Bu kılavuzu tamamlamadım.

2 farklı kişi bu kılavuzu tamamladı.

bbaustin

Üyelik tarihi: 10/12/11

268 İtibar

6 adet Kılavuz yazıldı

Ekip

Cal Poly, Team 17-18, Regan Fall 2011 Cal Poly, Team 17-18, Regan Fall 2011 üyesi

CPSU-REGAN-F11S17G18

4 Üyeler

12 adet Kılavuz yazıldı

0Kılavuz Yorumları

Yorum Ekle

İstatistikleri Görüntüle:

Son 24 Saat: 0

Son 7 gün: 7

Son 30 gün: 26

Her zaman: 2,923