Bu sürüm, hatalı düzenlemeler içerebilir. En son doğrulanmış bellek kopyası dönün.
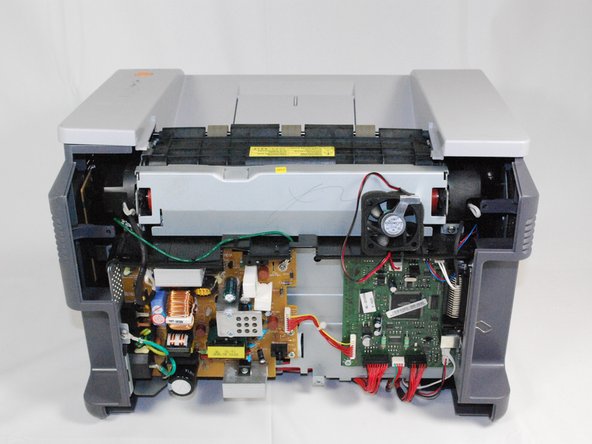
Neye ihtiyacın var
-
Bu adım çevrilmemiş. Çevrilmesine yardım edin
-
Remove the top hinged panel by taking out the pins at the bottom of this panel.
-
-
Bu adım çevrilmemiş. Çevrilmesine yardım edin
-
Using a Phillips #2 screwdriver, remove the four screws on the back of the printer.
-
-
Bu adım çevrilmemiş. Çevrilmesine yardım edin
-
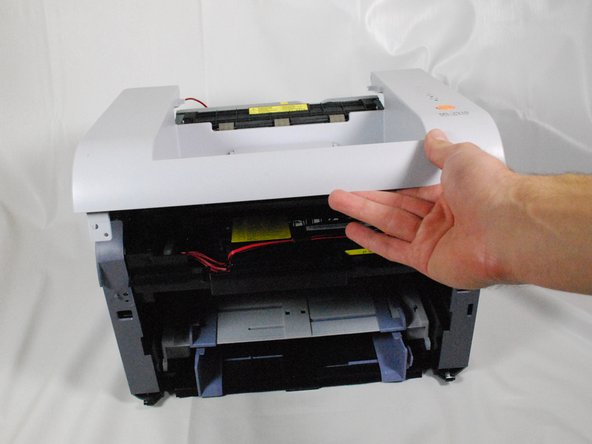
Gently lift the top panel while simultaneously pulling off the back panel.
-
-
-
Bu adım çevrilmemiş. Çevrilmesine yardım edin
-
Locate the holes on the panel that are attached to the main body.
-
Remove the front panel by gently moving the holes from the pegs one by one.
-
-
Bu adım çevrilmemiş. Çevrilmesine yardım edin
-
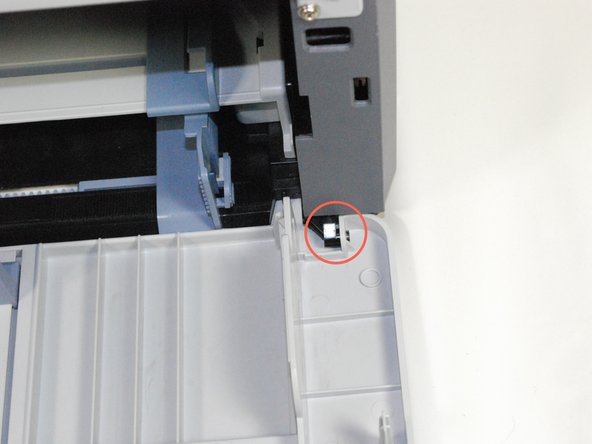
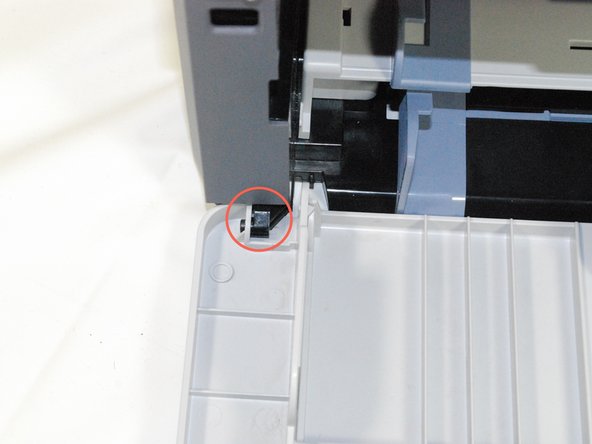
Using a Phillips #2 screwdriver, remove the two 1" screws on the front face of the printer.
-
-
Bu adım çevrilmemiş. Çevrilmesine yardım edin
-
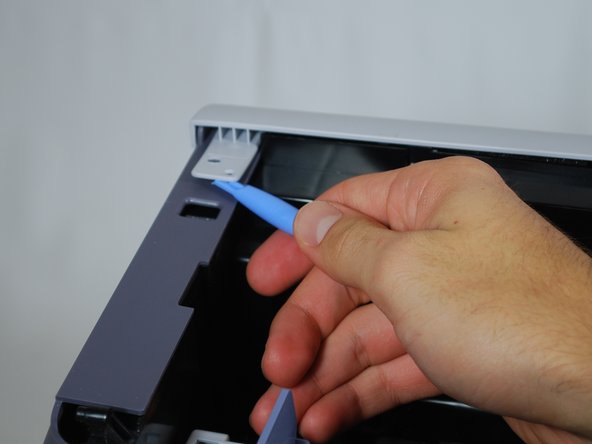
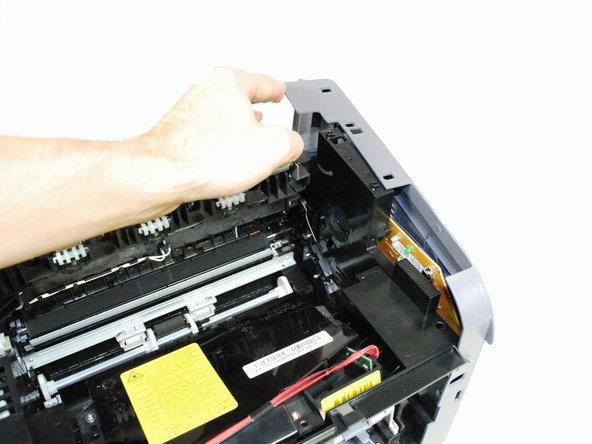
Using a plastic opening tool, gently lift one side of the top panel from its peg.
-
Repeat process for the other side.
-
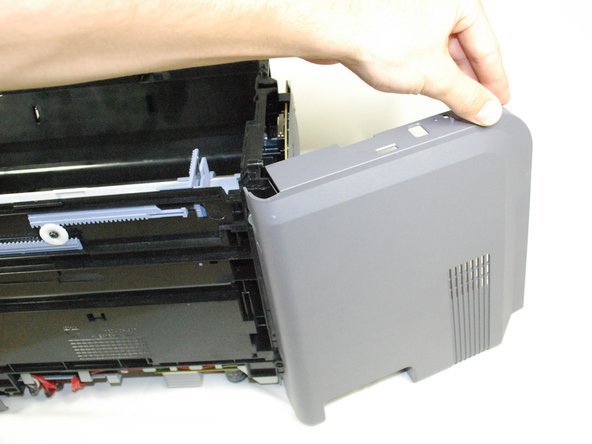
Lift the top panel from the front to remove it entirely.
-
-
Bu adım çevrilmemiş. Çevrilmesine yardım edin
-
Lift the right side-panel up from the raised stops.
-
Gently rotate the panel as indicated in the picture to remove the panel entirely.
-
-
Bu adım çevrilmemiş. Çevrilmesine yardım edin
-
Unplug the fan's wires from the side circuit board.
-
Replace the fan and reassemble the printer using reverse procedures.
-


İptal et: Bu kılavuzu tamamlamadım.
2 farklı kişi bu kılavuzu tamamladı.

Ekip

Cal Poly, Team 17-18, Regan Fall 2011 Cal Poly, Team 17-18, Regan Fall 2011 üyesi
CPSU-REGAN-F11S17G18
4 Üyeler
12 adet Kılavuz yazıldı