Ana içeriğe geç
Onarım Topluluğuna Katılın - Hesap Oluşturun

Samsung NP-R540-JA09US Front Panel Replacement

Neye ihtiyacın var

    1. Samsung NP-R540-JA09US Front Panel Replacement, Battery: adım 1, 1 resimden 1.
      • Turn off laptop before starting.

      • Remove power cable before starting.

      • Flip the laptop over so that the bottom of the laptop is facing upwards.

      FixBot'a Sor

      Yorum Ekle

    2. Samsung NP-R540-JA09US Front Panel Replacement: adım 2, 1 resimden 1.
      • Pull the two latches outward.

      FixBot'a Sor

      Yorum Ekle

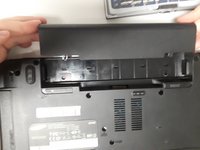
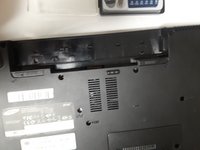
    3. Samsung NP-R540-JA09US Front Panel Replacement: adım 3, 2 resimden 1. Samsung NP-R540-JA09US Front Panel Replacement: adım 3, 2 resimden 2.
      • Slide the battery out of the laptop.

      FixBot'a Sor

      Yorum Ekle

    1. Samsung NP-R540-JA09US Front Panel Replacement, Optical Drive: adım 4, 1 resimden 1.
      • Remove securing screw with the PH0 head.

      FixBot'a Sor

      Yorum Ekle

    2. Samsung NP-R540-JA09US Front Panel Replacement: adım 5, 1 resimden 1.
      • Slide the optical drive out and remove it from the device.

      FixBot'a Sor

      Yorum Ekle

    1. Samsung NP-R540-JA09US Front Panel Replacement, Keyboard: adım 6, 1 resimden 1.
      • Remove the two Phillips #0 screws labeled KBD.

      FixBot'a Sor

      Yorum Ekle

      • There are 5 clips along the top of the keyboard. Insert a thin opener tool (iSessamo tool or similar) between each clip and the keyboard tray to release it.

      • Make sure to pry the metal keyboard base and not the keycaps.

      FixBot'a Sor

      Yorum Ekle

    2. Samsung NP-R540-JA09US Front Panel Replacement: adım 8, 1 resimden 1.
      • Do not bend your keyboard as shown in this picture.

      • Lift the keyboard up to release catches on the sides, then slide the keyboard towards the screen to slide tabs out of the slots at the bottom.

      FixBot'a Sor

      Yorum Ekle

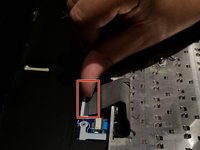
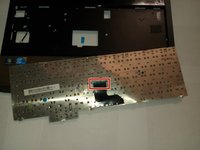
    3. Samsung NP-R540-JA09US Front Panel Replacement: adım 9, 2 resimden 1. Samsung NP-R540-JA09US Front Panel Replacement: adım 9, 2 resimden 2.
      • Disconnect the keyboard cable from the motherboard.

      FixBot'a Sor

      Yorum Ekle

    1. Samsung NP-R540-JA09US Front Panel Replacement, Front Panel: adım 10, 1 resimden 1.
      • Remove the two screws with a Phillips #00 screwdriver.

      FixBot'a Sor

      Yorum Ekle

    2. Samsung NP-R540-JA09US Front Panel Replacement: adım 11, 1 resimden 1.
      • Remove the highlighted screws with a Phillips #0 Screwdriver.

      FixBot'a Sor

      Yorum Ekle

    3. Samsung NP-R540-JA09US Front Panel Replacement: adım 12, 3 resimden 1. Samsung NP-R540-JA09US Front Panel Replacement: adım 12, 3 resimden 2. Samsung NP-R540-JA09US Front Panel Replacement: adım 12, 3 resimden 3.
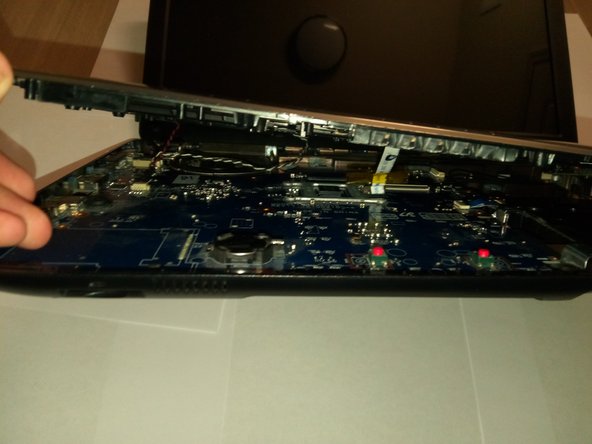
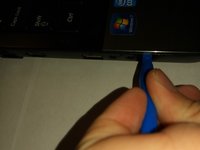
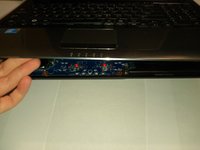
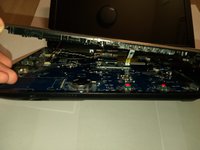
      • Pry the front panel away from the base with an Opening Tool.

      FixBot'a Sor

      Yorum Ekle

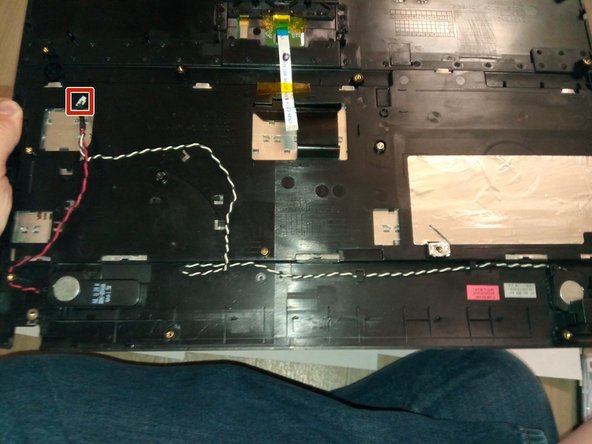
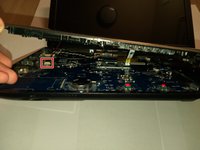
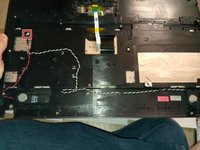
    4. Samsung NP-R540-JA09US Front Panel Replacement: adım 13, 2 resimden 1. Samsung NP-R540-JA09US Front Panel Replacement: adım 13, 2 resimden 2.
      • Disconnect the speaker wire from the motherboard.

      FixBot'a Sor

      Yorum Ekle

Sonuç

To reassemble your device, follow these instructions in reverse order.

İptal et: Bu kılavuzu tamamlamadım.

0Kılavuz Yorumları

Yorum Ekle

İstatistikleri Görüntüle:

Son 24 Saat: 3

Son 7 gün: 7

Son 30 gün: 39

Her zaman: 920