Bu sürüm, hatalı düzenlemeler içerebilir. En son doğrulanmış bellek kopyası dönün.
Neye ihtiyacın var
-
Bu adım çevrilmemiş. Çevrilmesine yardım edin
-
Place the phone so that the back is facing you. Depress the locking tab on the back of the phone with a finger or thumb.
-
-
Bu adım çevrilmemiş. Çevrilmesine yardım edin
-
Slide the battery toward bottom of the phone, about a quarter of an inch, to clear the hooks that keep it secured to the back of the phone.
-
-
Bu adım çevrilmemiş. Çevrilmesine yardım edin
-
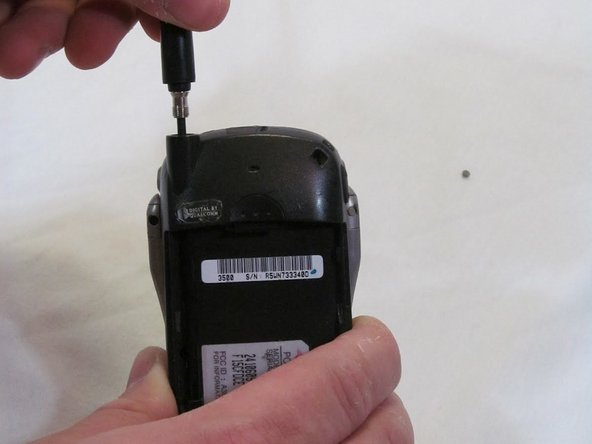
Grasp the antenna firmly and rotate it counterclockwise to unscrew it from the phone.
-
-
-
Bu adım çevrilmemiş. Çevrilmesine yardım edin
-
Pull the guide tube free from its retaining ring and slide it out the top.
-
-
Bu adım çevrilmemiş. Çevrilmesine yardım edin
-
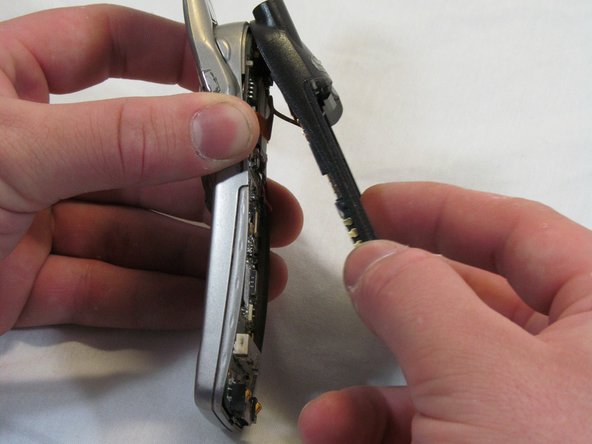
Work from the bottom of the phone, separating the two halves of the case.
-
-
Bu adım çevrilmemiş. Çevrilmesine yardım edin
-
Angle the rear case half away from the top of the front case half, pivoting the hooks out of their clasps.
-
-
Bu adım çevrilmemiş. Çevrilmesine yardım edin
-
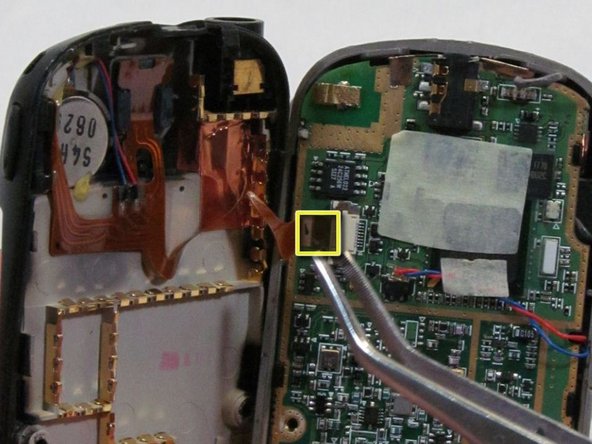
Disconnect the antenna ribbon cable from the logic board at the Zero Insertion Force (ZIF) connector. The brown portion of the connector lifts up to release the cable end.
-
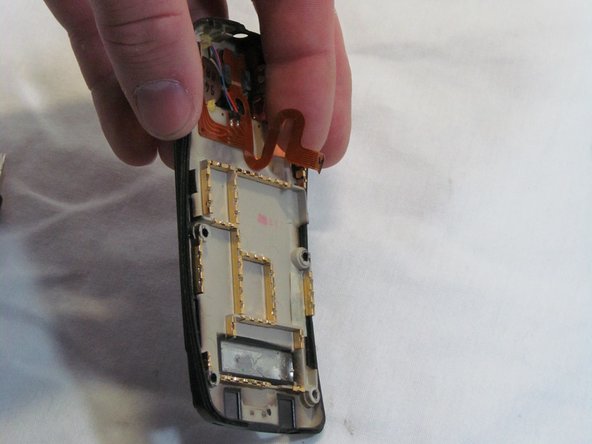
The Back Cover is now removed. Congratulations.
-
-
Bu adım çevrilmemiş. Çevrilmesine yardım edin
-
Remove the connector for the earpiece speaker, located on the upper end of the logic board.
-
-
Bu adım çevrilmemiş. Çevrilmesine yardım edin
-
Turn the front cover over, gently prying the logic board away from the front cover. It will remain attached by two wires from the front of the board.
-
-
Bu adım çevrilmemiş. Çevrilmesine yardım edin
-
Work the microphone out of its socket on the front cover; it will remain attached to the logic board, its wires are soldered.
-
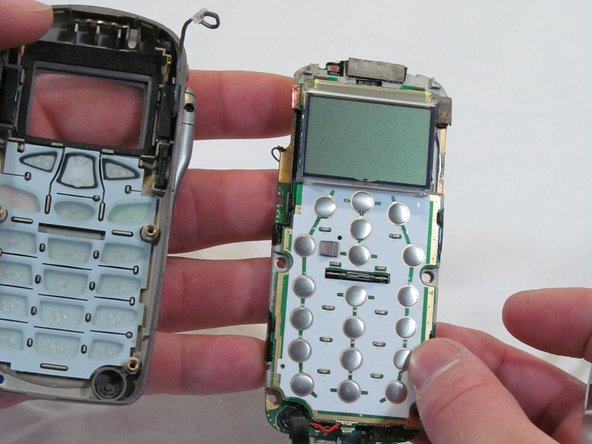
The logic board is now removed from the phone. Congratulations.
-
-
Bu adım çevrilmemiş. Çevrilmesine yardım edin
-
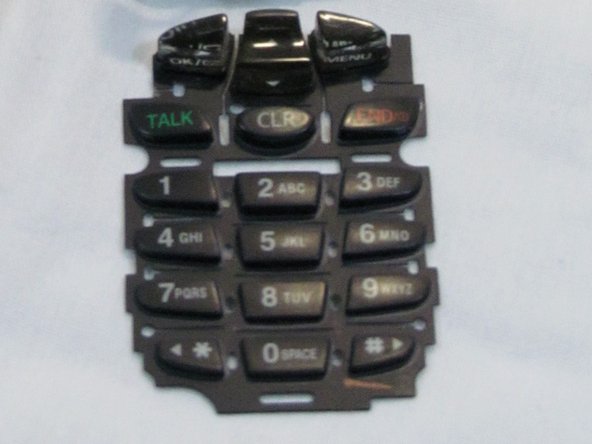
Turn the front cover over and shake the keys out of it. They should come free in a single piece.
-
The key pad is now removed from the phone. Congratulations.
-


Ekip

Clemson, Team 2-6, Benson Spring 2012 Clemson, Team 2-6, Benson Spring 2012 üyesi
CLEM-BENSON-S12S2G6
2 Üyeler
10 adet Kılavuz yazıldı