Ana içeriğe geç
Onarım Topluluğuna Katılın - Hesap Oluşturun

Sanyo SCP-8100 Camera Replacement

Neye ihtiyacın var

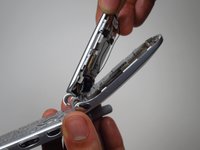
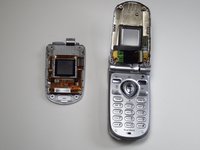
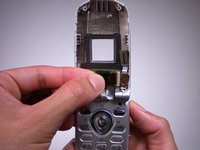
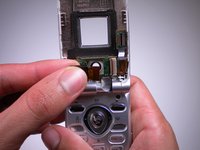
  1. Sanyo SCP-8100 Camera Replacement, Earpiece: adım 1, 2 resimden 1. Sanyo SCP-8100 Camera Replacement, Earpiece: adım 1, 2 resimden 2.
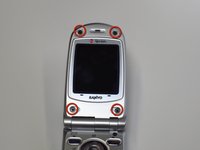
    • Open the phone and remove the four stickers that hide the four 0.5 mm screws.

    • On the bottom two, use a push pin to pull out the stickers.

    • Do this slowly and gently. You may damage the phone screen or tear the sticker.

    FixBot'a Sor

    Yorum Ekle

  2. Sanyo SCP-8100 Camera Replacement: adım 2, 1 resimden 1.
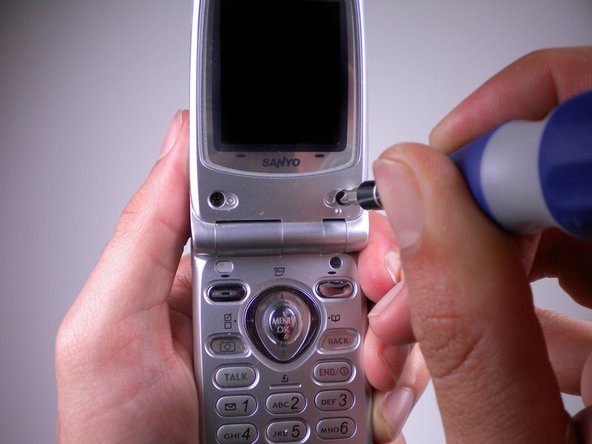
    • For the top two, use the same push pin and gently pull out the stickers.

    • These are a bit harder to pull out, so you might need to use more force. However, be gentle or else you may tear the rubber off of the sticker instead of the whole plug.

    FixBot'a Sor

    Yorum Ekle

  3. Sanyo SCP-8100 Camera Replacement: adım 3, 2 resimden 1. Sanyo SCP-8100 Camera Replacement: adım 3, 2 resimden 2.
    • Use the Tri-Wing Y1 screwdriver to unscrew the now uncovered four 0.5 mm screws.

    FixBot'a Sor

    Yorum Ekle

  4. Sanyo SCP-8100 Camera Replacement: adım 4, 2 resimden 1. Sanyo SCP-8100 Camera Replacement: adım 4, 2 resimden 2.
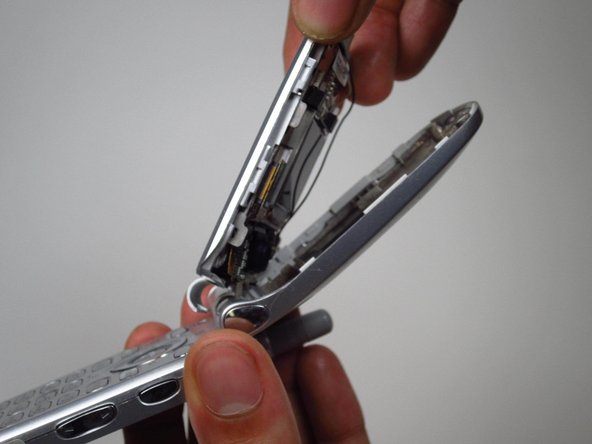
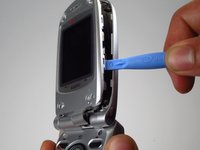
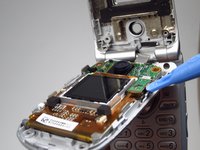
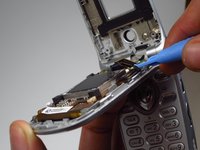
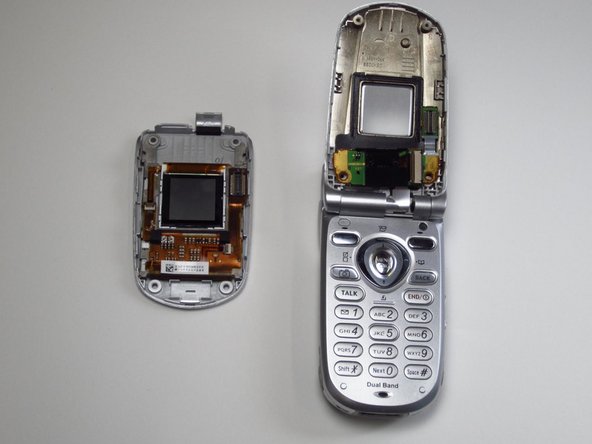
    • Use the opening tool to pry open the front panel.

    • You might need to use some force. If it won't budge, try the other side of the panel. You may need to pry open more than one spot to get it completely open.

    • Don't completely remove the panel, it is still connected to the phone.

    FixBot'a Sor

    Yorum Ekle

  5. Sanyo SCP-8100 Camera Replacement: adım 5, 2 resimden 1. Sanyo SCP-8100 Camera Replacement: adım 5, 2 resimden 2.
    Bu adımda kullanılan alet:
    Tweezers
    $4.99
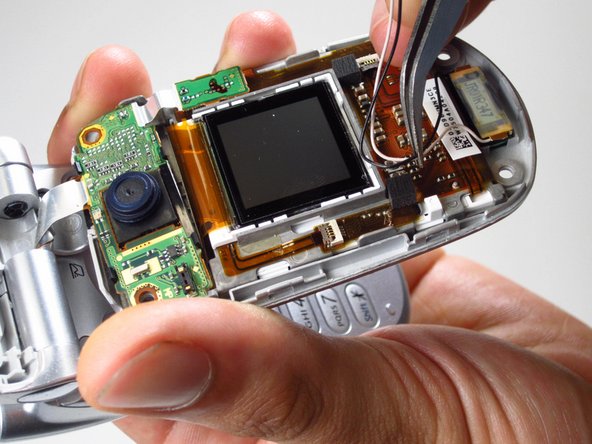
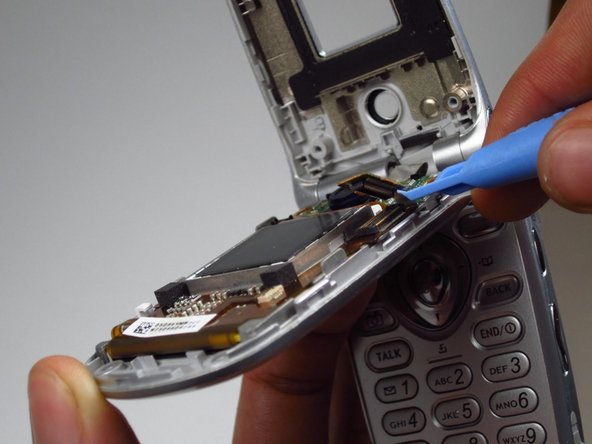
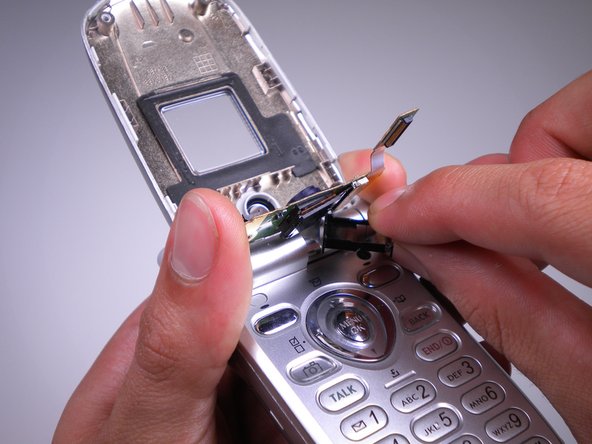
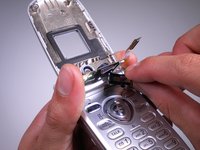
    • Use tweezers to detach the plastic connector.

    • With the tweezers, pull the wires from the plastic clamp.

    FixBot'a Sor

    Yorum Ekle

  6. Sanyo SCP-8100 Camera Replacement: adım 6, 2 resimden 1. Sanyo SCP-8100 Camera Replacement: adım 6, 2 resimden 2.
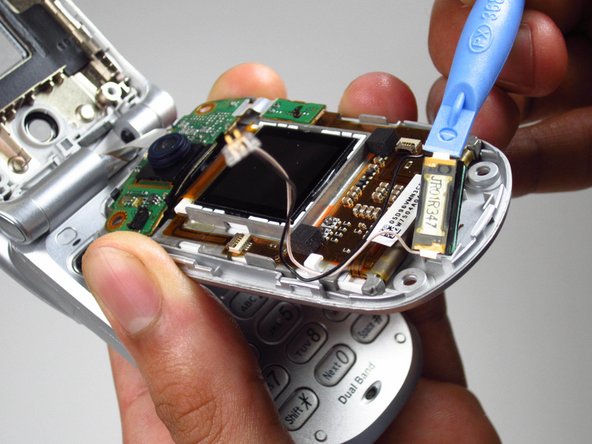
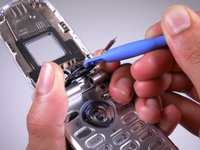
    • Use the opening tool to pull the earpiece off of the top panel.

    • You may need to use some force to take this out.

    FixBot'a Sor

    Yorum Ekle

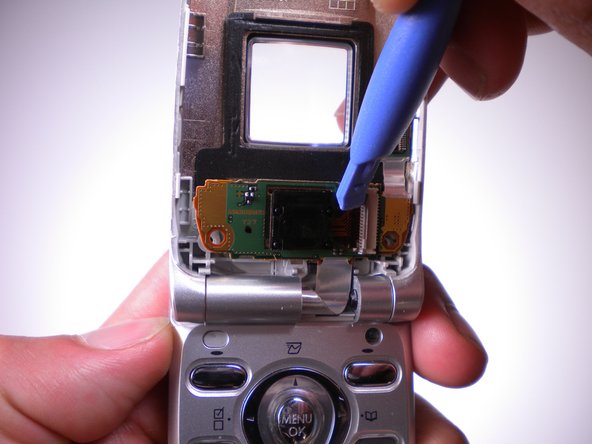
  7. Sanyo SCP-8100 Camera Replacement, Camera: adım 7, 2 resimden 1. Sanyo SCP-8100 Camera Replacement, Camera: adım 7, 2 resimden 2.
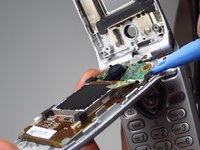
    • Use plastic opening tool to lift the chip on the right side.

    FixBot'a Sor

    Yorum Ekle

  8. Sanyo SCP-8100 Camera Replacement: adım 8, 2 resimden 1. Sanyo SCP-8100 Camera Replacement: adım 8, 2 resimden 2.
    • Use plastic opening tool to pry the board off of the front panel.

    • You may need to use force.

    • Completely remove the screen from the phone.

    FixBot'a Sor

    Yorum Ekle

  9. Sanyo SCP-8100 Camera Replacement: adım 9, 2 resimden 1. Sanyo SCP-8100 Camera Replacement: adım 9, 2 resimden 2.
    • Use the opening tool to take off the black plastic frame around the camera lens.

    FixBot'a Sor

    Yorum Ekle

  10. Sanyo SCP-8100 Camera Replacement: adım 10, 2 resimden 1. Sanyo SCP-8100 Camera Replacement: adım 10, 2 resimden 2.
    • Use the plastic opening tool to flip the ZIF connector to the right.

    FixBot'a Sor

    Yorum Ekle

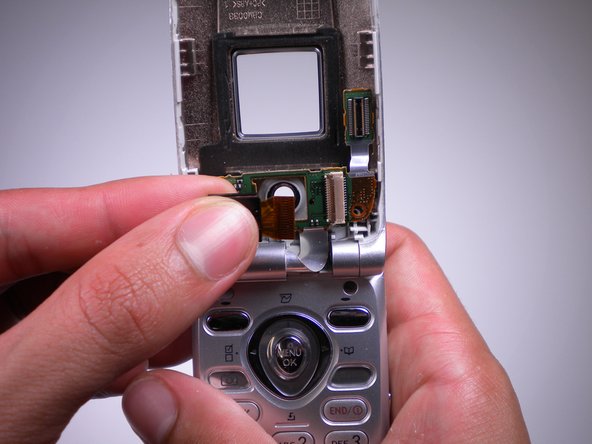
  11. Sanyo SCP-8100 Camera Replacement: adım 11, 2 resimden 1. Sanyo SCP-8100 Camera Replacement: adım 11, 2 resimden 2.
    • Lift the camera from the opening.

    • Detach and pull the camera from the ZIF connector.

    FixBot'a Sor

    Yorum Ekle

Sonuç

To reassemble your device, follow these instructions in reverse order.

İptal et: Bu kılavuzu tamamlamadım.

Paul Truong

Üyelik tarihi: 04/15/13

1 İtibar

2 adet Kılavuz yazıldı

Ekip

Cal Poly, Team 10-41, Amido Spring 2013 Cal Poly, Team 10-41, Amido Spring 2013 üyesi

CPSU-AMIDO-S13S10G41

4 Üyeler

19 adet Kılavuz yazıldı

0Kılavuz Yorumları

Yorum Ekle

İstatistikleri Görüntüle:

Son 24 Saat: 1

Son 7 gün: 10

Son 30 gün: 42

Her zaman: 760