Giriş
This guide will help you replace the motherboard of a Sega Saturn.
First: before disassembling, please get the detailed tools together. There are some plastic sockets that are just really bad, so having the right screw or tool for the job can save you a lot of time.
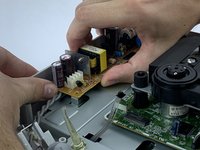
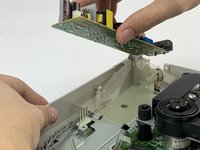
Second: Be careful removing the Power Supply Board, the pins that hold it in place connect right to the motherboard, and breaking can lead to replacing two parts instead of one.
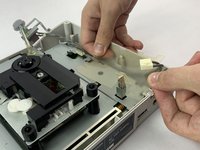
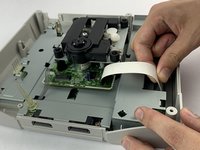
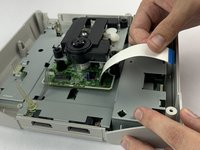
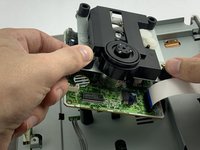
Third: Do NOT touch the disc reader’s laser (Step 12 for picture). There have been reports of smudging ruining it and making it require replacement, so just avoid touching that area.
Other than that, just read each step through before doing it and this repair will be a fun project.
Neye ihtiyacın var
-
-
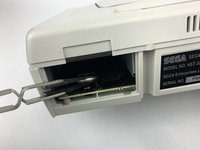
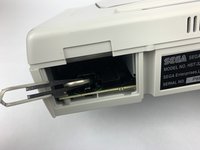
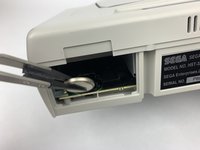
Press on the plastic lever on the back of the Sega Saturn to pop open the battery slot.
-
-
-
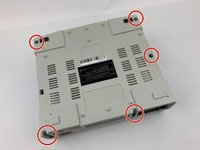
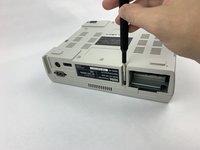
Remove the five black 13.5mm JIS#1 screws on the bottom of the device. One might be hidden by a sticker.
-
-
-
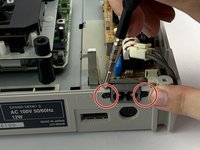
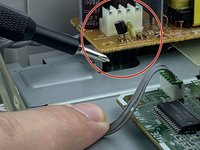
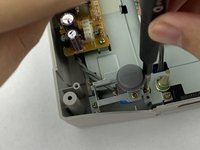
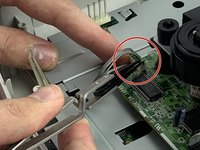
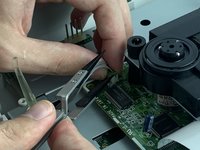
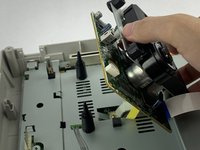
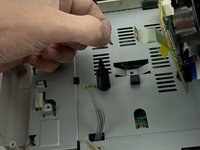
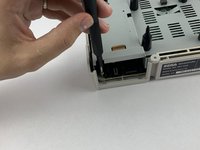
Unplug the power button plug on the power supply board. Use the iFixit opening tool if necessary.
-
-
-
-
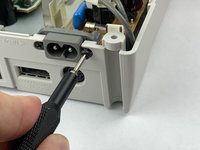
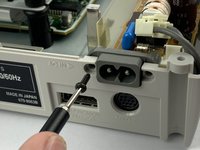
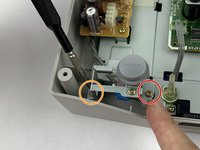
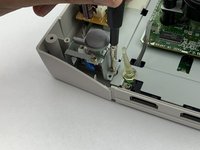
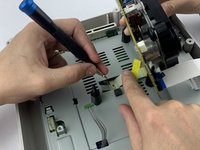
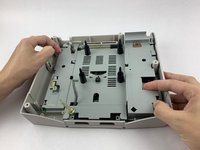
Remove the metallic 13.7mm JIS#1 screw on the right of the Power Button.
-
Remove the metallic 12.4mm JIS#1 screw on the left of the Power Button.
-
-
-
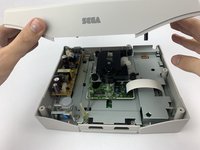
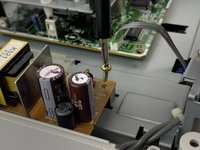
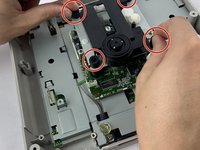
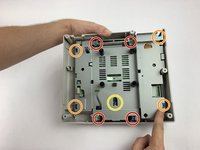
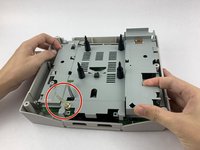
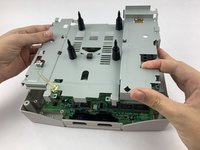
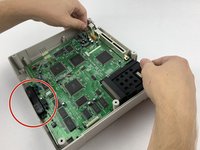
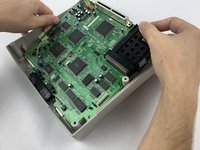
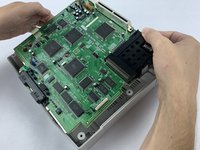
Remove the four metallic 15.5mm JIS#1 screws from the Motherboard Frame.
-
Remove the four metallic 13.6mm JIS#1 screws from the Motherboard Frame.
-
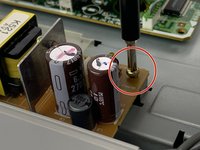
Remove the metallic 12.3mm JIS#1 screw from the Motherboard Frame.
-


To reassemble your device, follow these instructions in reverse order.
Ekip

USF Tampa, Team S1-G6, Leahy Fall 2019 USF Tampa, Team S1-G6, Leahy Fall 2019 üyesi
USFT-LEAHY-F19S1G6
3 Üyeler
18 adet Kılavuz yazıldı