Bu sürüm, hatalı düzenlemeler içerebilir. En son doğrulanmış bellek kopyası dönün.
Neye ihtiyacın var
-
Bu adım çevrilmemiş. Çevrilmesine yardım edin
-
Rotate the phone onto its front side so that the LCD screen is facing away from you.
-
-
Bu adım çevrilmemiş. Çevrilmesine yardım edin
-
Remove the battery by pressing down on the battery release button while sliding the battery downwards.
-
-
-
Bu adım çevrilmemiş. Çevrilmesine yardım edin
-
Remove the four small black screws that secure the back phone panel using the Phillips #00 screwdriver.
-
-
Bu adım çevrilmemiş. Çevrilmesine yardım edin
-
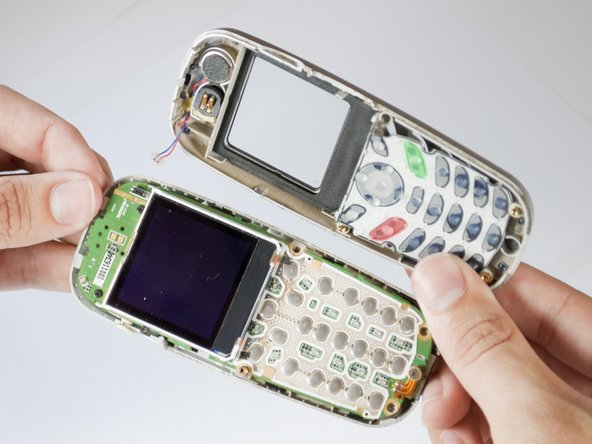
Carefully separate the front and back panels by gently prying them apart. Start at the bottom of the phone (near the AC charger input).
-
-
Bu adım çevrilmemiş. Çevrilmesine yardım edin
-
Using your nails, tweezers, or any precise grabbing tool, pinch the antenna wire connector (clear plastic plug) and pull gently. It should pop out rather easily.
-


Ekip

Cal Poly, Team 28-29, Regan Spring 2010 Cal Poly, Team 28-29, Regan Spring 2010 üyesi
CPSU-REGAN-S10S28G29
4 Üyeler
12 adet Kılavuz yazıldı