Giriş
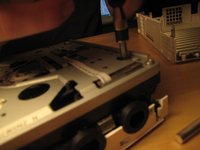
Hey Momo here showing you how to service and maintain your Wii disc drive! This guide only goes for the original models with GameCube as far as I know but I'm sure a lot of the steps can be used for reference here. I'm not going to cover opening your Wii as there's already great guides on here for those and much more, but when it came to the OEM disc drive I just saw the option to "replace" the disc drive instead of opening up and cleaning it. In my experience the drives are relatively straightforward and I believe with my photos to reference you for avoiding mistakes I made on a practice drive, you should have your drive working perfectly in no time!
Neye ihtiyacın var
-
-
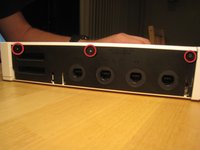
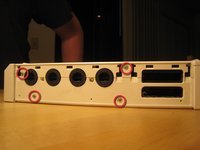
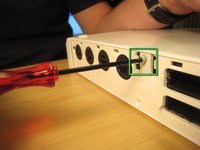
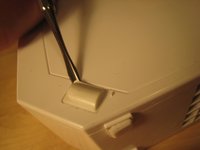
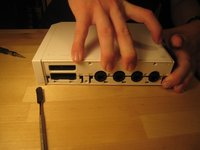
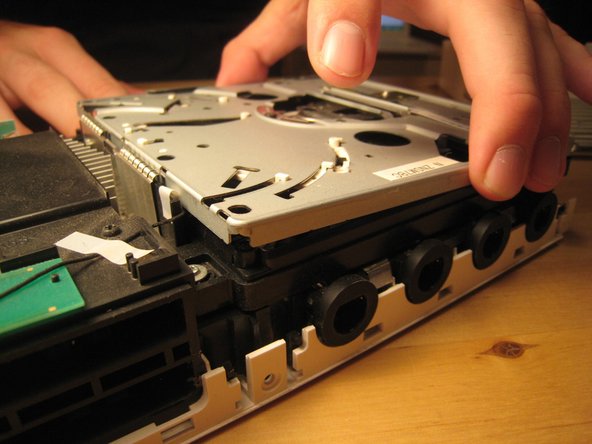
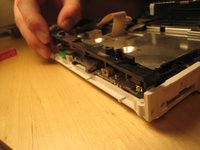
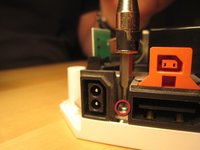
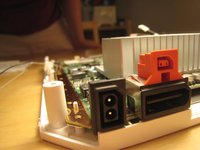
Disconnect all external cords from the Wii console.
-
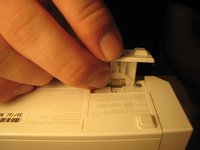
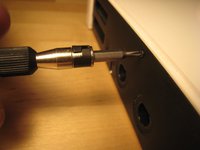
Gather all tools.
-
-
-
-
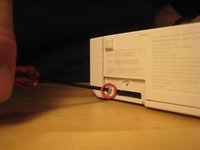
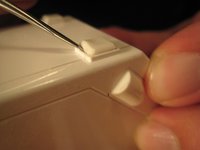
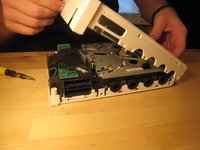
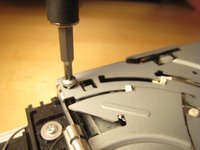
We lifted up the cover of the optical drive by removing the six Phillips #00 screws. These are all labeled on the previous image.
-
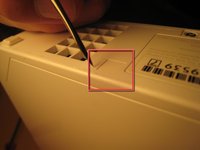
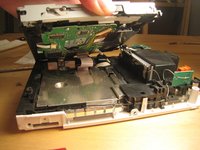
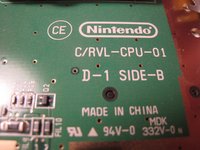
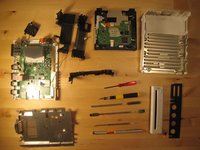
There are a ton of parts in the optical drive, but there is nothing very fancy about this drive compared to other slot-loading drives, so I didn't take it apart completely. There are also a ton of gears and levers that I did not want to deal with.
-
-
-
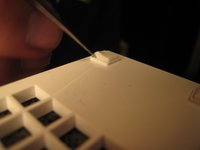
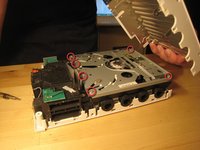
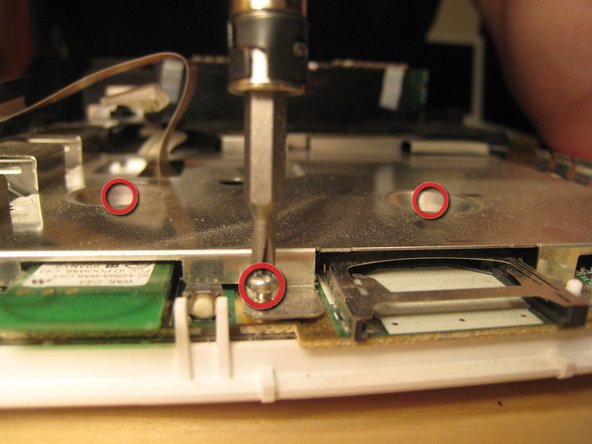
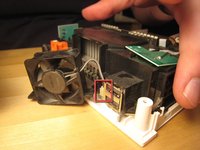
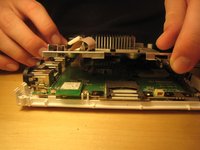
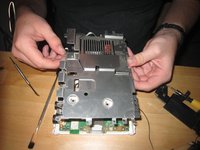
Remove all screws from the logic board cover. Two are recessed in the middle; others are along the edge. More will become visible as other parts are removed. It's like a game! You can start with the screws holding in the black plastic pieces, but I started with the most visible and went from there.
-
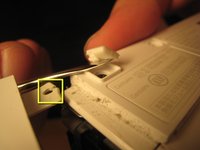
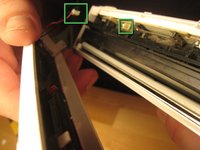
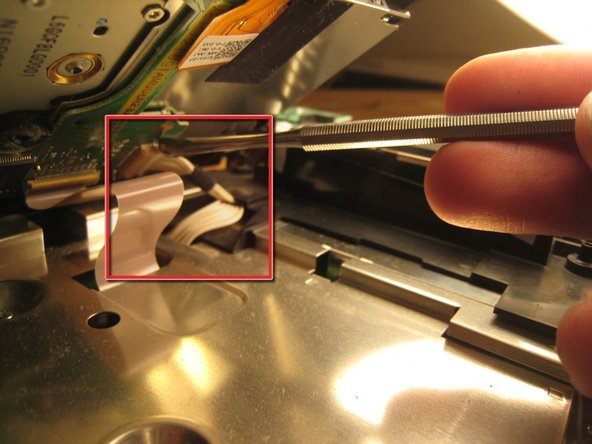
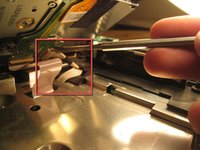
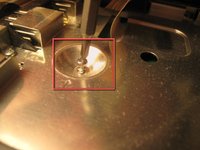
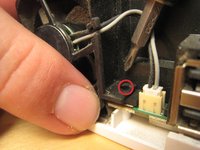
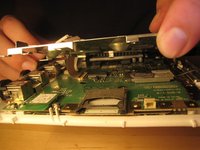
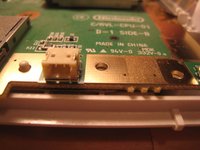
There are two wires (shown in the third picture) coming from the logic board and connected to the Wi-Fi antennas. These are delicate. Do not break them.
-
-
-
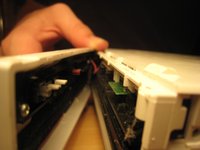
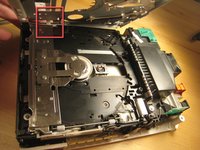
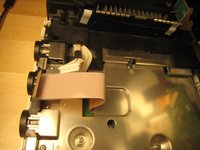
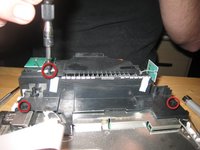
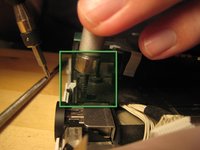
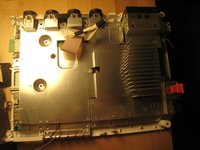
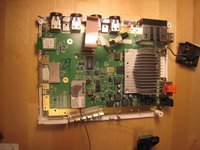
With the black plastic covers off, we can see all the screw holes. Most of the screws are out by now, but once the rest of them are out, you can lift off the logic board cover.
-
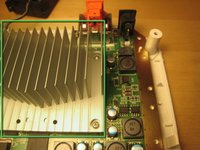
Note that at least one part is thermal padded to the logic board cover. You might have to replace this thermal pad, but I didn't. I just pushed them back together. Oh well!
-
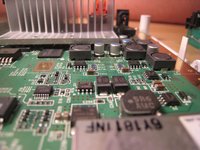
Remove any remaining screws in the logic board cover.
-
-
-
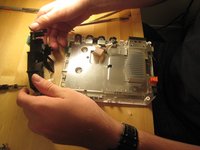
We stopped there.
-
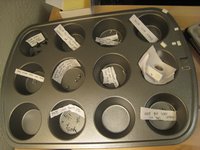
A muffin tin worked really well to organize all the screws.
-
Putting the Wii back together took only about half an hour, and it works perfectly. We improved Nintendo's design by three or four screws and one square nut, but worsened their design by one piece of duct tape (to hold in the bios battery).
-


Disassemble following that awesome person's guide to step 11. To reassemble the DISC DRIVE, follow these instructions in reverse order. To reassemble your WII CONSOLE, follow the above referenced guide in reverse order.
İptal et: Bu kılavuzu tamamlamadım.
Bir başkası bu kılavuzu tamamladı.
