Giriş
A shank button is any button with a loop (or shank) on the back. This type of button is very easy to replace and will extend the life of your garment!
Neye ihtiyacın var
-
-
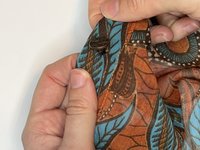
Remove your loose button (if necessary).
-
If the button is already missing, remove any loose threads from your garment.
-
Mark where the button was on the garment to hold place (a felt tip pen works fine, just keep the marking small)
 FixBot'a Sor
-
-
-
Measure out your thread. An easy measuring reference is the length of one arm fully extended.
-
Thread your needle.
-
Pull the thread until two equal parts are on either side of the needle.
-
Tie a knot in the end of your thread (both ends should be tied together creating a double thread).
-
-
-
-
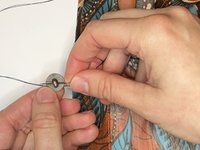
Insert your needle into the marked space where your needle should go on the top side of the garment (that way the button will hide your knot).
-
Pull the thread until the knot rests on the fabric.
-
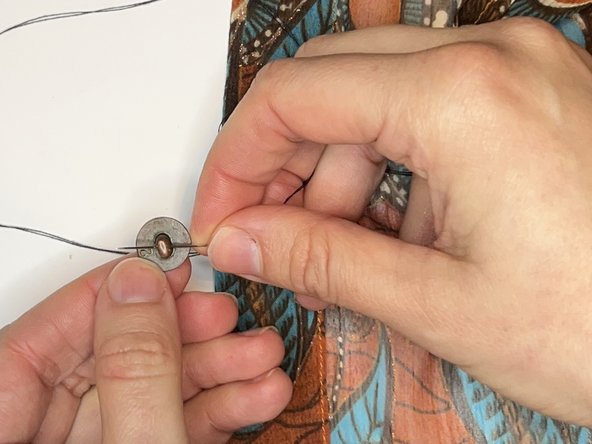
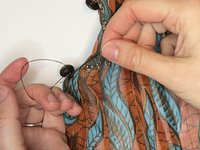
Insert your needle into the shank on the back of your button.
-
Pull the thread until the button rests on the fabric.
-
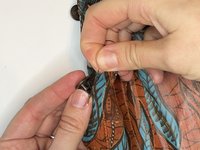
Insert the needle back into the same space on your fabric. Repeat the above instructions 5 times or until the button is firmly attached.
-
-
-
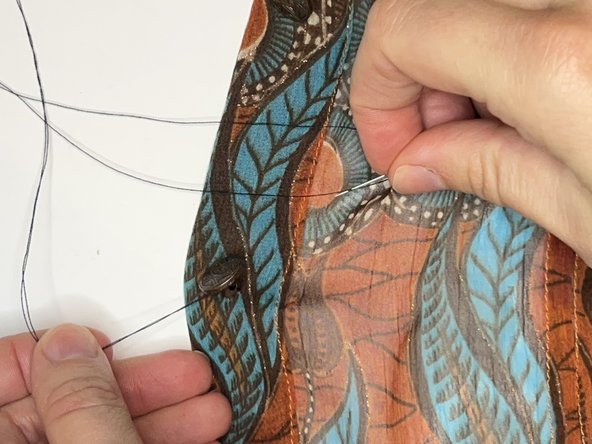
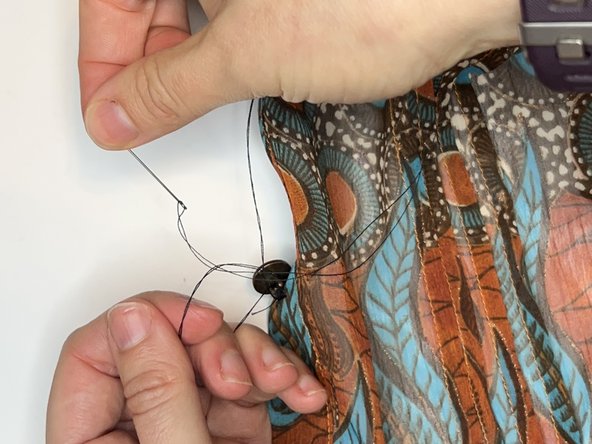
To tie off your thread, insert the needle back into the fabric near your previous stitches.
-
Pull thread until there is a small loop (do not pull flush with fabric).
-
Insert the needle into the thread loop and pull through.
-
Pull the thread until the loop closes and a knot is formed.
-
-
-
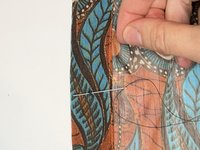
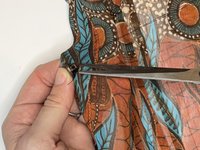
Trim any excess thread from the button area.
-
Enjoy your newly repaired item!
-


Ekip

University of North Texas, Team 1-13, Martin Fall 2023 University of North Texas, Team 1-13, Martin Fall 2023 üyesi
UNT-MARTIN-F23S1G13
1 Üye
4 adet Kılavuz yazıldı