Giriş
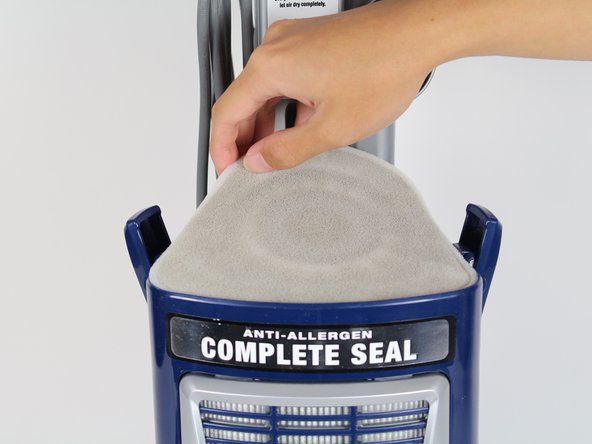
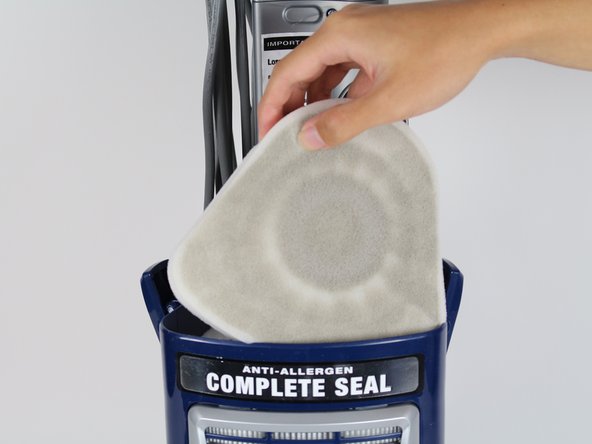
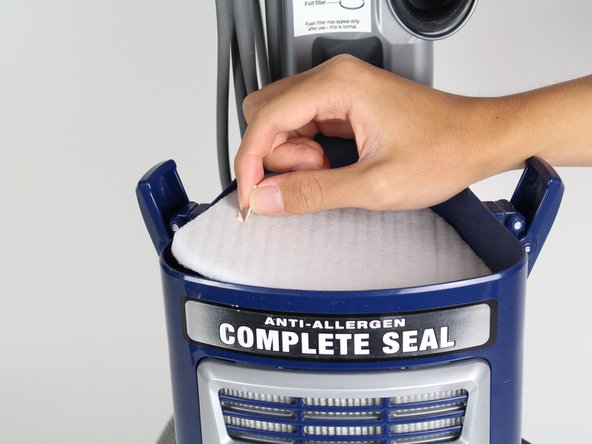
The foam and felt filters need to be removed first in order to replace the power button. Replacing the power button might help solve issues with the vacuum not turning on or the roller brush not spinning.
Neye ihtiyacın var
-
-
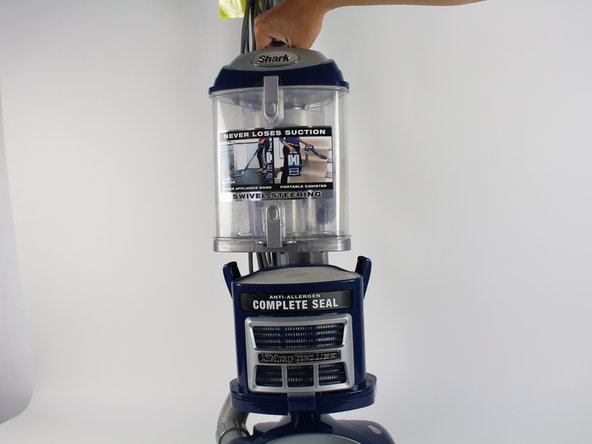
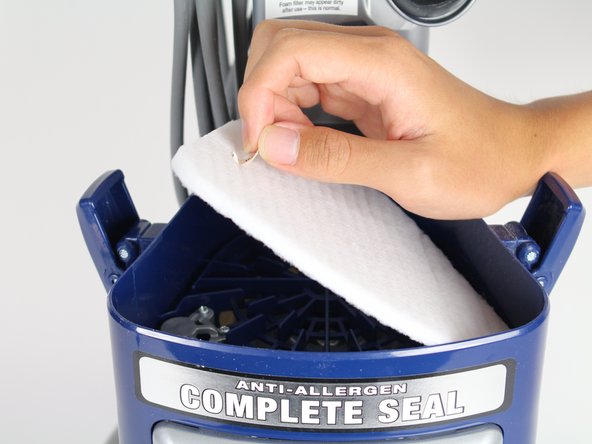
Locate the latches on the side of the dust cup, the clear plastic chamber in the center of the vacuum.
-
-
-
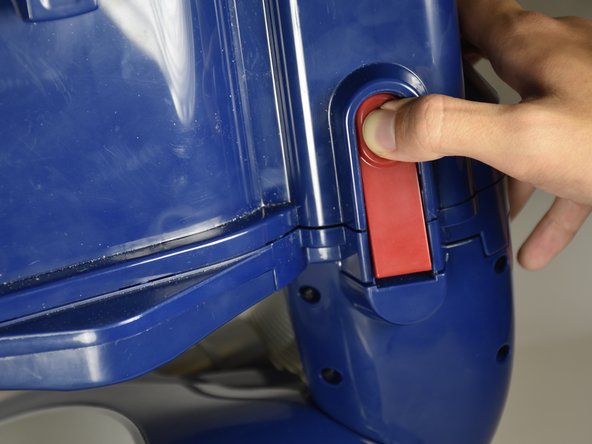
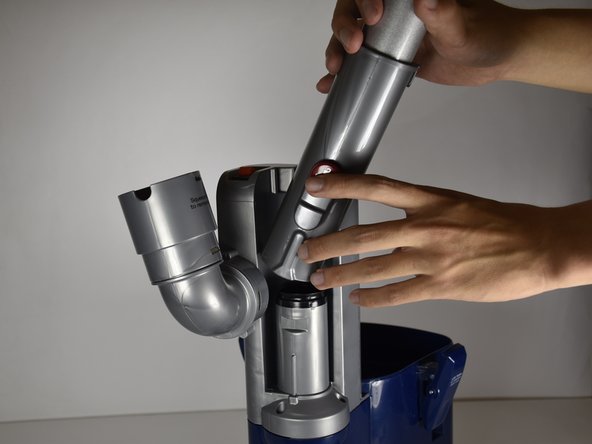
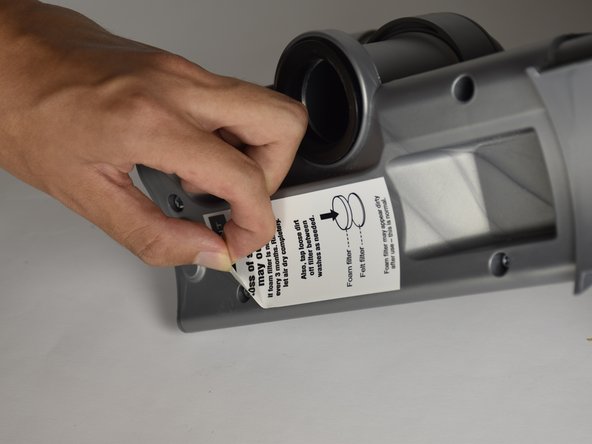
Locate the red latch on the side of the vacuum cleaner.
-
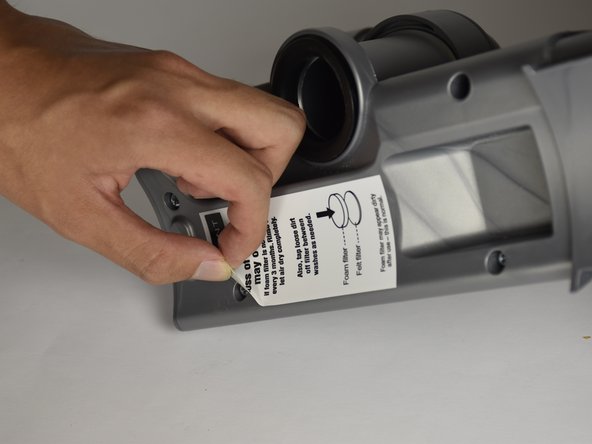
Push the circular region of the latch with your finger.
-
-
-
-
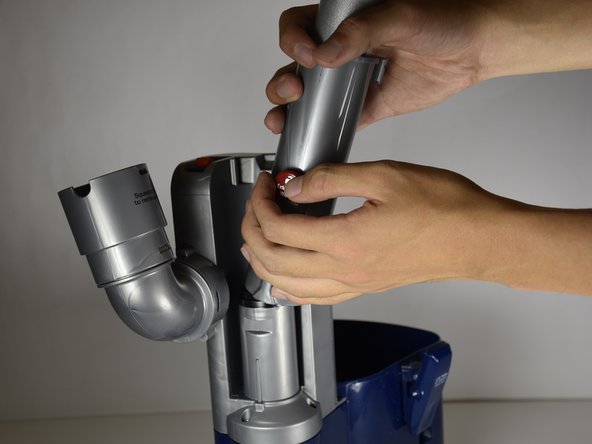
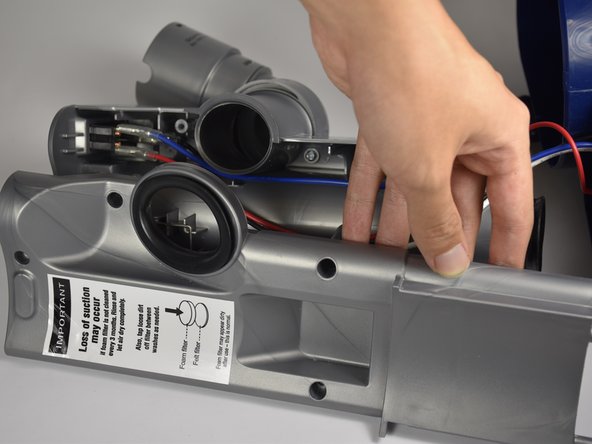
Lift the grey compartment out of the main body of the vacuum cleaner by pulling upwards with your hands.
Will not pull out
2 screws removed
Mine either. The grey section appears to be attached at the bottom, at the bottom end of the main blue compartment, but there are no removable screws visible. I ended up just breaking the front half of the grey compartment at the point where it joins the main blue section.
After my frustration subsided, and my brain kicked in again, I observed that you can probably disconnect the bottom part of the grey cylinder if you disassemble the bottom of the main blue engine compartment. I can just see what I think are the connecting screws in the gap at the bottom. You are going to need a t25 star screwdriver in addition to the phillips.
So, I took of the 2 screws and the grey piece would not come out, so I removed all screws on the bottom of the blue body and removed the 4 screws holding the grey connecting pins and found where the positive red wire connects to the pin, the solder had been broken, I re-soldered the wire to the pin and the base is in full function again. The switch wasnt the issue for me. Check all wire connections for any breaks, it could only be something as simple as some solder.
It will not pull out like there is more screws
-
-
-
Continue to pull on the grey compartment until it is fully out of the main body of the vacuum.
-
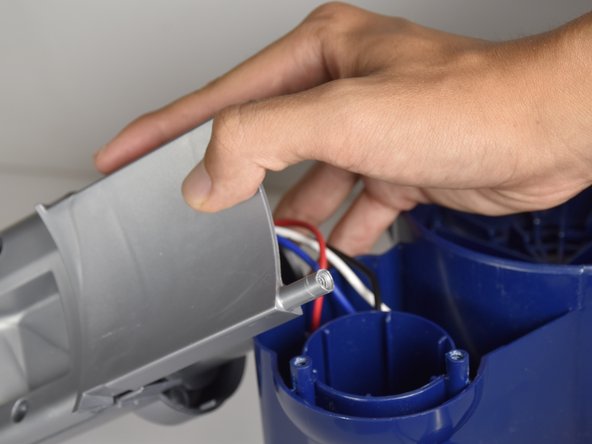
Place the grey compartment on a surface for the next step.
I cannot for the life of me pull this out. The part towards the front of vac is stuck
-
-
-
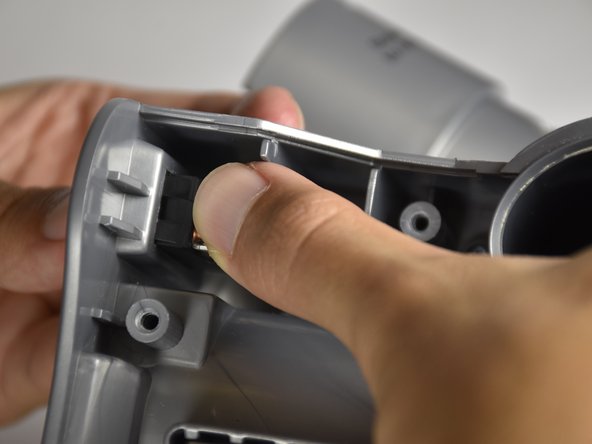
Insert plastic opening tool into the crevice in the middle between the two halves of the grey compartment.
-
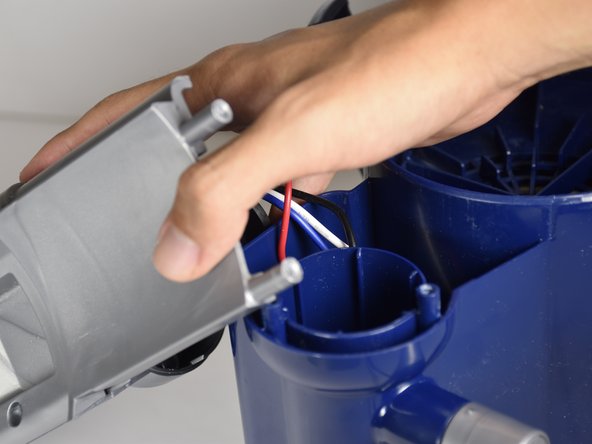
Apply an outward force throughout and all around the gap in order to separate the two plastic halves.
-
-
-
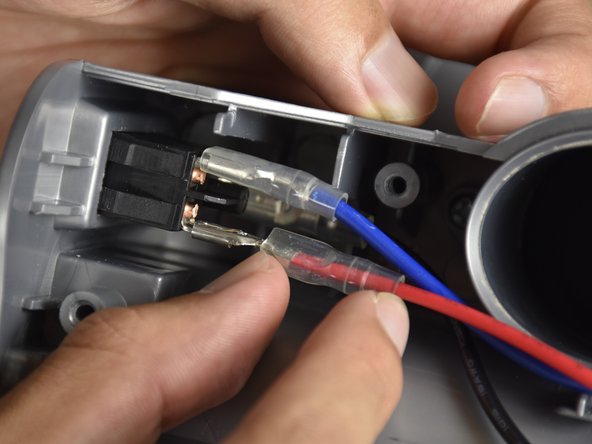
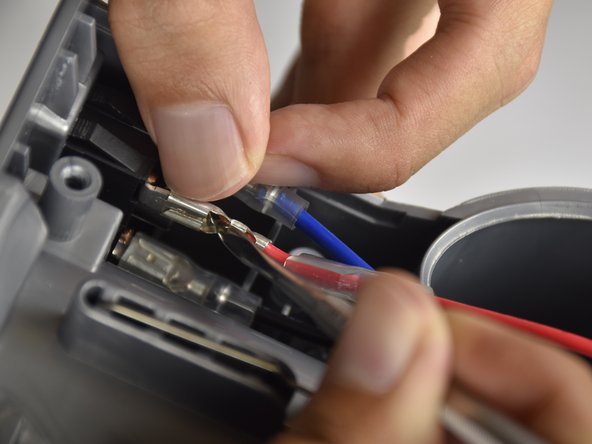
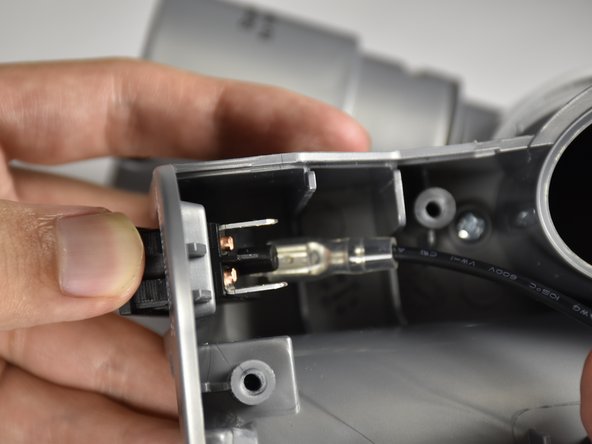
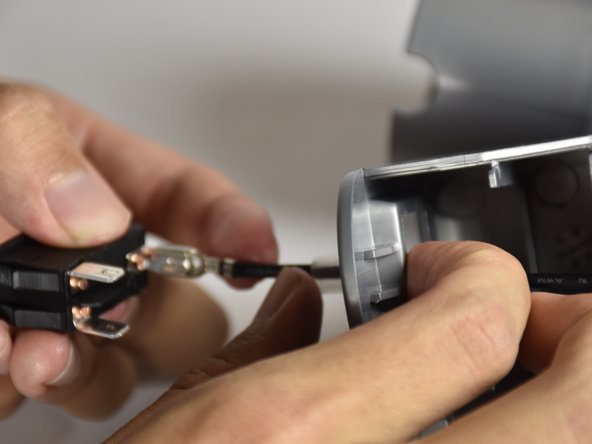
Locate the protrusion on the metal connector of the red wire.
-
Push down on the protrusion with the metal spudger while pushing the connector on the red wire away from the power button with your fingers.
-
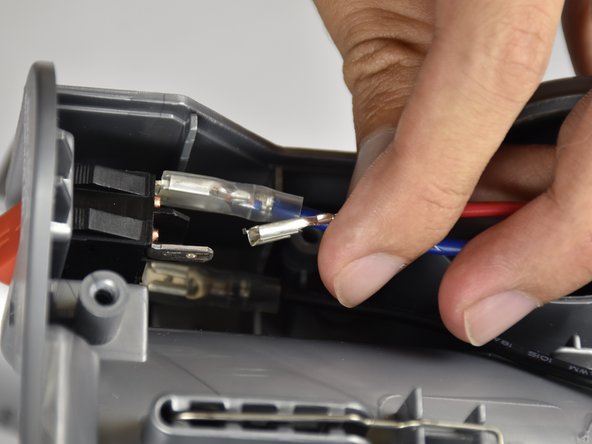
Pull and wiggle the wire away by its connector with your fingers until it is completely detached from the connector on the power button.
-
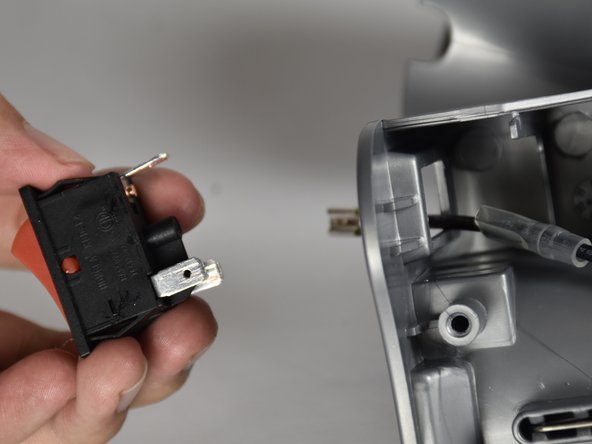
Repeat this step for the blue wire
-


To reassemble your device, follow these instructions in reverse order.
To reassemble your device, follow these instructions in reverse order.
İptal et: Bu kılavuzu tamamlamadım.
2 farklı kişi bu kılavuzu tamamladı.
Ekip

Cal Poly, Team S15-G2, Livingston Fall 2017 Cal Poly, Team S15-G2, Livingston Fall 2017 üyesi
CPSU-LIVINGSTON-F17S15G2
3 Üyeler
14 adet Kılavuz yazıldı
6 Yorum
These instructions are for changing the switch and are great. My question is the switch isn’t listed as a needed part. How can I buy a replacement switch?
search for shark (your model number here) power switch. I found it on amazon and several other places. That’s also how I found these instructions.
Great Instructions, except see notes on step 11 - there seems to be another step required to disconnect grey switch compartment.
Agree with previous question on Step 11 - half of the compartment will not come out. I thought a wire was jammed somehow. My roller will not work. I took apart the vacuum from the bottom up and it works with direct power to it (with a testing circuit) but as i moved up the electrical system, it seems to be at the switch compartment somewhere. Switch itself seems fine for the main motor, but will not activate the roller. Any ideas?
I want to return it, it didn’t work right out of the box!!