Bu sürüm, hatalı düzenlemeler içerebilir. En son doğrulanmış bellek kopyası dönün.
Neye ihtiyacın var
-
Bu adım çevrilmemiş. Çevrilmesine yardım edin
-
Flip the vacuum so the bottom base is visible.
-
Gently pry the bottom two wheels off with a plastic opening tool.
-
-
Bu adım çevrilmemiş. Çevrilmesine yardım edin
-
Remove five visible screws with a Phillips #2 screwdriver.
-
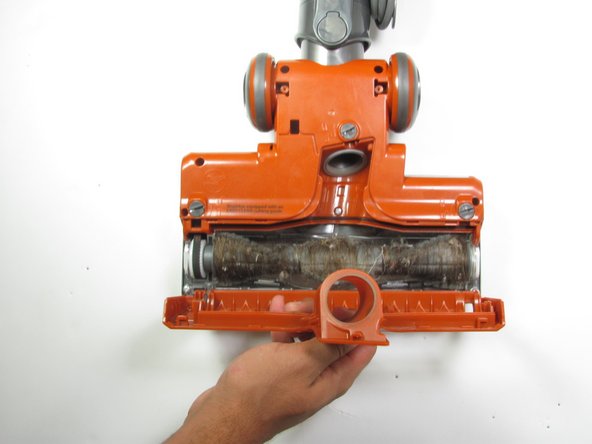
Locate and twist the three plastic screws to the unlock position with a quarter or flathead screwdriver.
-
-
Bu adım çevrilmemiş. Çevrilmesine yardım edin
-
Use a Phillips #2 screwdriver to extract the three screws revealed from removing the plate.
-
-
-
Bu adım çevrilmemiş. Çevrilmesine yardım edin
-
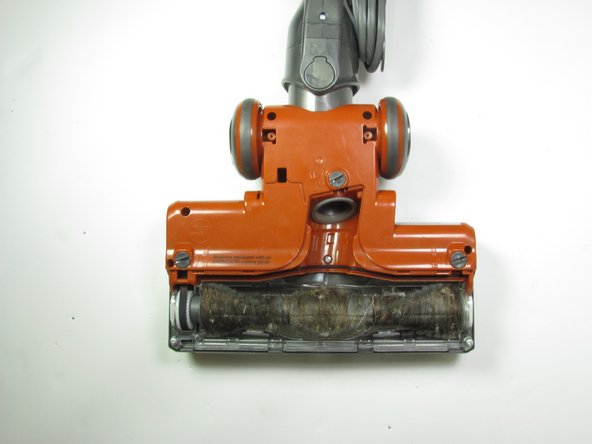
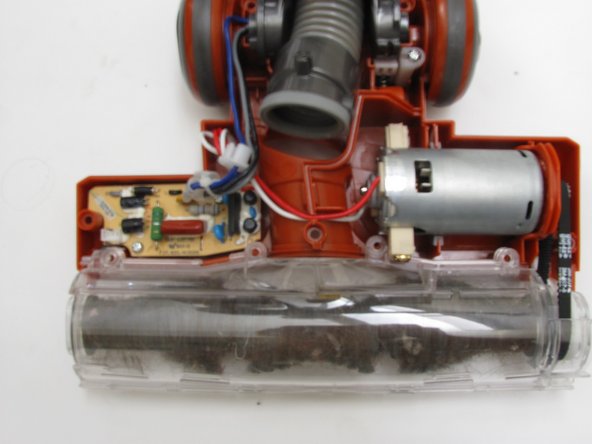
Turn the vacuum over so the rotary brush is on the ground.
-
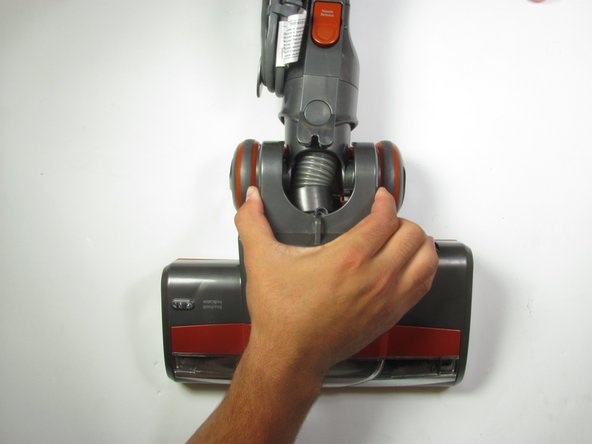
Grab the vacuum on both sides of the hose and pull up to remove the top of the vacuum halfway.
-
-
Bu adım çevrilmemiş. Çevrilmesine yardım edin
-
Gently pinch the head of the cable and pull upwards until the casing disconnects from the vacuum.
-
Proceed with removing the upper casing.
-
-
Bu adım çevrilmemiş. Çevrilmesine yardım edin
-
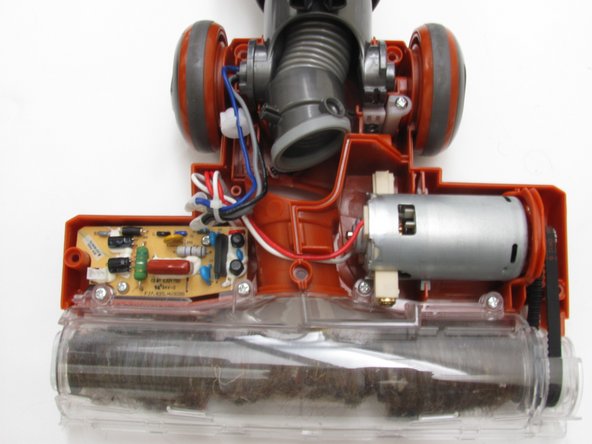
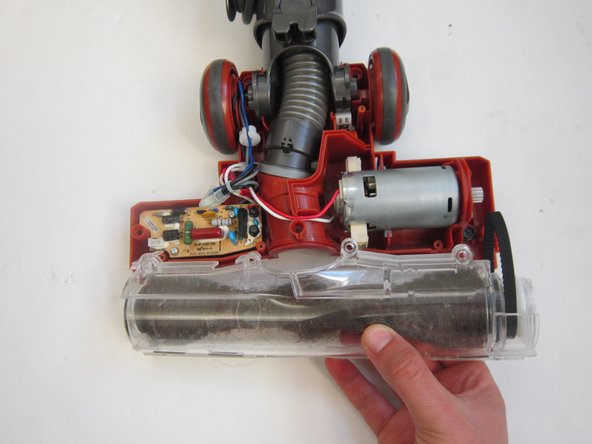
Use a Phillips #2 screwdriver to remove the four visible screws securing the rotary brush to the vacuum.
-
-
Bu adım çevrilmemiş. Çevrilmesine yardım edin
-
Remove the rotary belt on right side of vacuum from the bearing.
-
Gently lift the casing to remove the belt and brush from the vacuum.
-
-
Bu adım çevrilmemiş. Çevrilmesine yardım edin
-
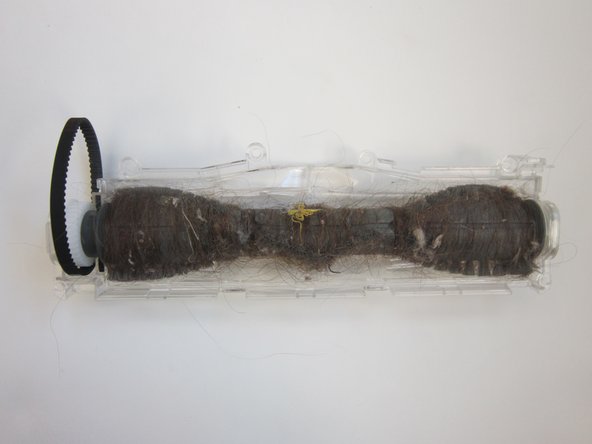
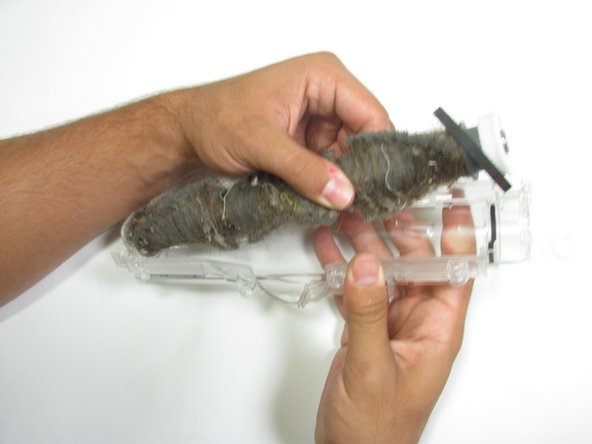
Gently pry off the plastic casing on both sides of rotary brush.
-
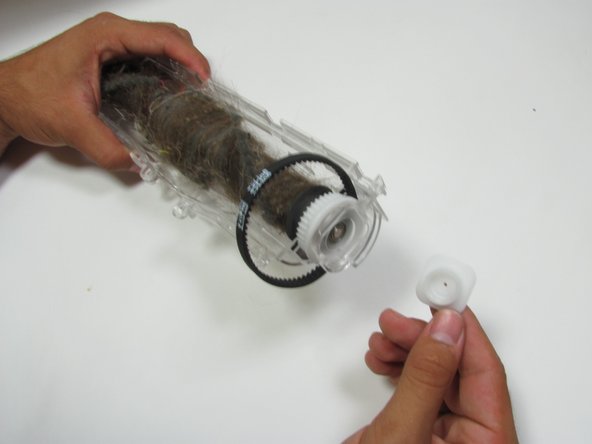
Lift the clear plastic shell from the rotary brush.
-
-
Bu adım çevrilmemiş. Çevrilmesine yardım edin
-
Remove the rotary belt attached to the brush and replace it if needed.
-


İptal et: Bu kılavuzu tamamlamadım.
21 farklı kişi bu kılavuzu tamamladı.

Ekip

Cal Poly, Team 10-5, Livingston Fall 2016 Cal Poly, Team 10-5, Livingston Fall 2016 üyesi
CPSU-LIVINGSTON-F16S10G5
4 Üyeler
14 adet Kılavuz yazıldı
29 Yorum
This is a well written and very informative tutorial. Thank you for your time and effort. However, I am finding it difficult to locate a new rotary brush for my Shark Rocket model HV301. At best, I’ve been told that the rotary brushes available ‘May fit’ my vacuum. Hardly a resounding voice of confidence when ordering a replacement part. Does anyone know the part number or ordering information regarding the Shark Rocket model HV301 rotary brush? Thank you for your time.
I also need a new brush did you find out where to get one and could you pass it on to me thank you
Jeffro -
Hi, I'm also having a hard time trying to find the rotary brush roll, does anyone have any suggestions where I can find & purchase it?
Try Amazon.com there are several parts for shark vacuum, just make sure to have the model number in hand. I hope this help.
Thanks!
Andres B -