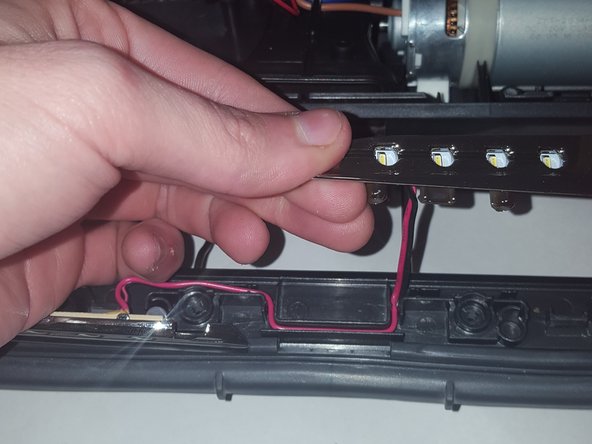
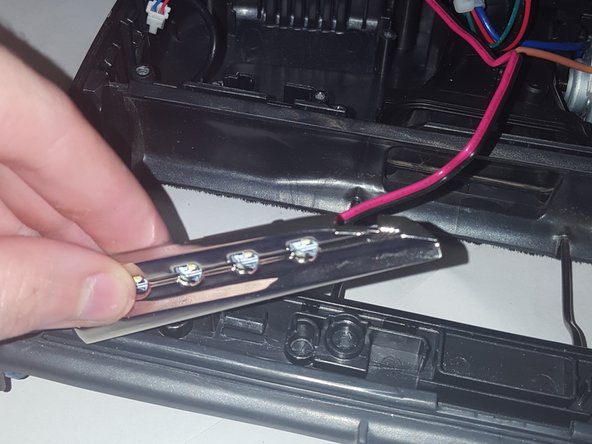
Ana içeriğe geç

Shark Rocket HV381 LED Replacement

Neye ihtiyacın var

  1. Shark Rocket HV381 LED Replacement, Roller: adım 1, 2 resimden 1. Shark Rocket HV381 LED Replacement, Roller: adım 1, 2 resimden 2.
    • On the right-bottom of the body, pull down the black switch. You will hear an audible click when you detach the body from the vacuum head.

  2. Shark Rocket HV381 LED Replacement: adım 2, 1 resimden 1.
    • Laying the vacuum head on the its right side, push the orange "Eject Roller" switch down. The Roller can now be removed with ease.

  3. Shark Rocket HV381 LED Replacement, LED: adım 3, 2 resimden 1. Shark Rocket HV381 LED Replacement, LED: adım 3, 2 resimden 2.
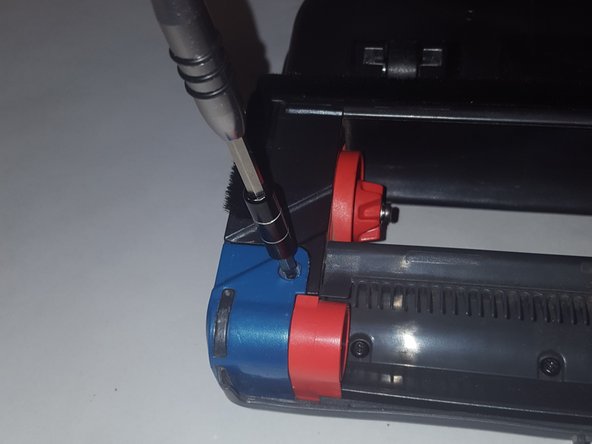
    • On the back of the vacuum head, located near the bottom, should be a row of screws. Using the T15 Screwdriver, remove all the screws on the bottom and the sides.

  4. Shark Rocket HV381 LED Replacement: adım 4, 1 resimden 1.
    • On the top side of the vacuum head, where the LED is located, use the Small Flathead screwdriver to pry open the cover. There should be no resistance.

  5. Shark Rocket HV381 LED Replacement: adım 5, 3 resimden 1. Shark Rocket HV381 LED Replacement: adım 5, 3 resimden 2. Shark Rocket HV381 LED Replacement: adım 5, 3 resimden 3.
    • Picking the LED from the side, pull upwards to unwind the wires from their tracks.

    • Make sure that you are gentle because the wires are very fragile. One strong pull could easily snap them from the LED.

Sonuç

To reassemble your device, follow these instructions in reverse order.

Dandre Porter

Üyelik tarihi: 08/22/17

528 İtibar

5 adet Kılavuz yazıldı

0 Yorum

Yorum Ekle

İstatistikleri Görüntüle:

Son 24 Saat: 2

Son 7 gün: 5

Son 30 gün: 8

Her zaman: 444