Neye ihtiyacın var
-
Bu adım çevrilmemiş. Çevrilmesine yardım edin
-
The shift5.1 is the second biggest smartphone in the Shift series and features these specs:
-
5-inch HD IPS display with a resolution of 1280x720 pixels (293,72 ppi)
-
Mediatek MT6582 Quadcore SoC with 1.3 GHz
-
2GB DDR RAM + 16 GB internal memory
-
Dual sim (regular and micro sized)
-
2000 mAh user-removable Li-Polymer battery
-
5 MP front and 8 MP rear camera
-
Android 5.1 Lollipop
-
-
Bu adım çevrilmemiş. Çevrilmesine yardım edin
-
The shift5.1 measures in at 144 x 72 x 7 mm and weighs 140 grams.
-
For those who did not already know—it holds a small warning on its rear case:
-
-
Bu adım çevrilmemiş. Çevrilmesine yardım edin
-
Having a user-removable battery usually equates to an easily removed back cover.
-
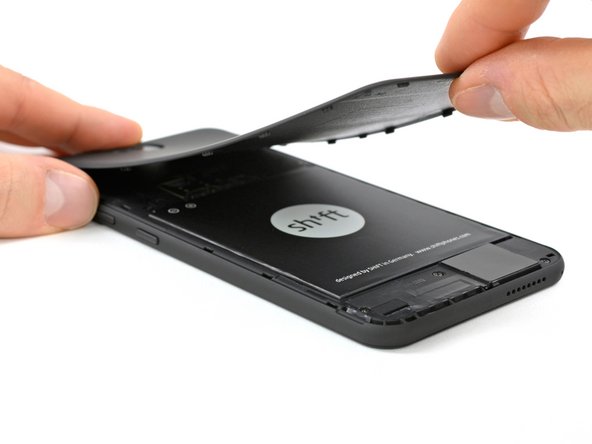
And that's what it is: very easy. We start with a small notch at the lower end of the cover and the flexible black plastic gives way to reveal the battery.
-
-
Bu adım çevrilmemiş. Çevrilmesine yardım edin
-
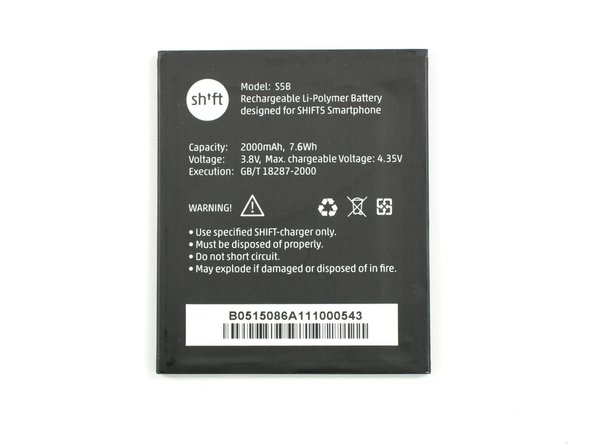
Taking the battery out is also easy as pie.
-
The 2000 mAh brings you 7.6 Wh at 3.8V, settling behind the 9.2 Wh from the Fairphone 2 battery.
-
-
Bu adım çevrilmemiş. Çevrilmesine yardım edin
-
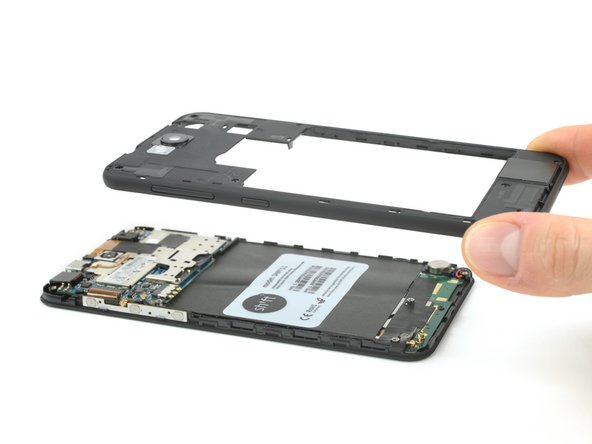
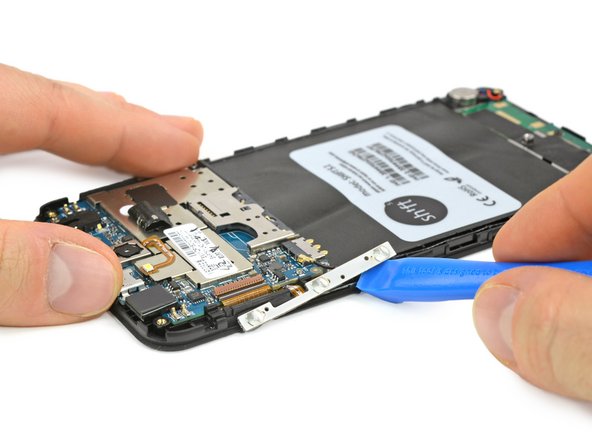
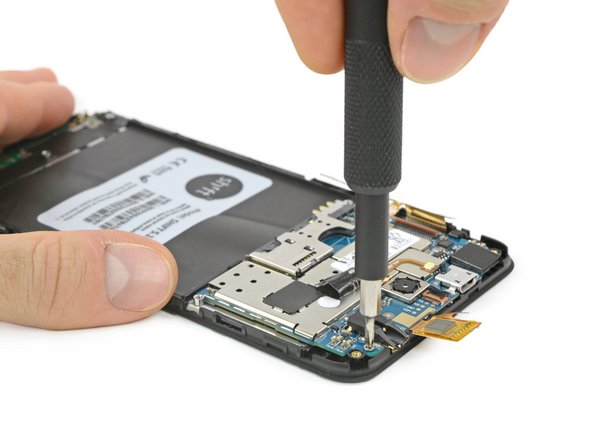
We bring out the Phillips #000 to loosen the seven screws and get further into the shift5.1.
-
A plastic opening tool helps us prying away the plastic frame.
-
-
-
Bu adım çevrilmemiş. Çevrilmesine yardım edin
-
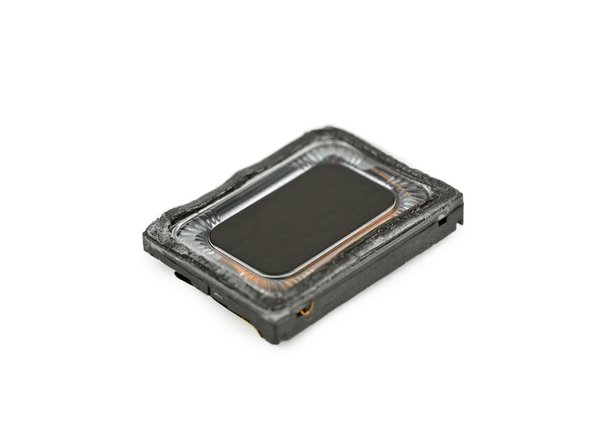
Before we take the frame aside we take a short look at the loudspeaker which is embedded with a mild double sided adhesive tape.
-
-
Bu adım çevrilmemiş. Çevrilmesine yardım edin
-
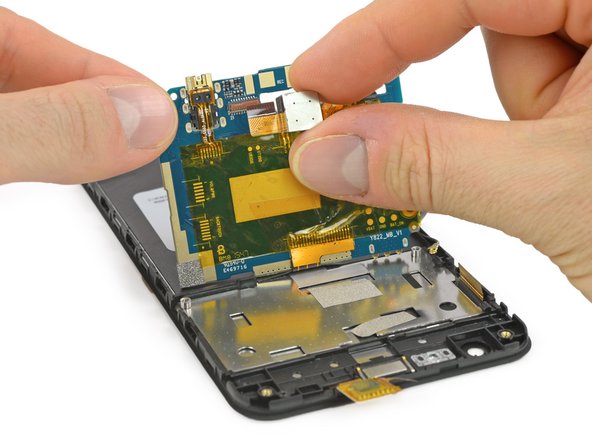
On the back of the display unit we see the motherboard with a multitude of components mounted on it.
-
We unplug both of the display connectors and peel the volume buttons and power button unit loose from the frame.
-
A single Phillips screw holds the motherboard in place.
-
-
Bu adım çevrilmemiş. Çevrilmesine yardım edin
-
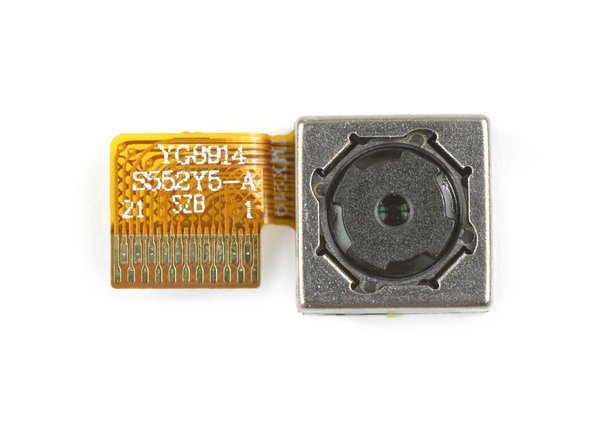
Now we can careful lift up the motherboard and take away the 8 MP rear camera.
-
-
Bu adım çevrilmemiş. Çevrilmesine yardım edin
-
In regular teardown fashion, we get to work peeling up the strongly-adhered plastic cover in the base of the battery housing.
-
This huge black adhesive plastic foil hides the interconnect cable running from the motherboard to the daughterboard.
-
There is also a little adhesive tape over the daughterboard.
-
-
Bu adım çevrilmemiş. Çevrilmesine yardım edin
-
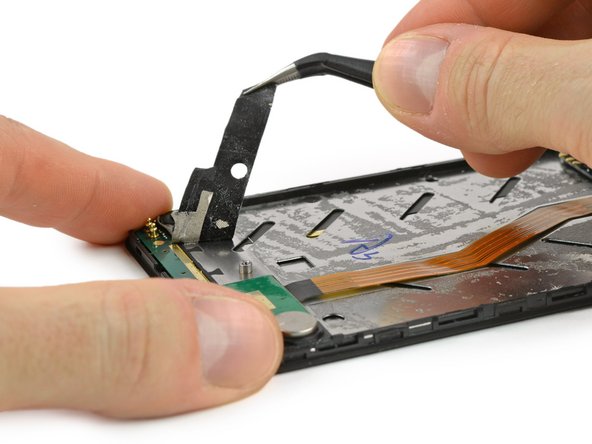
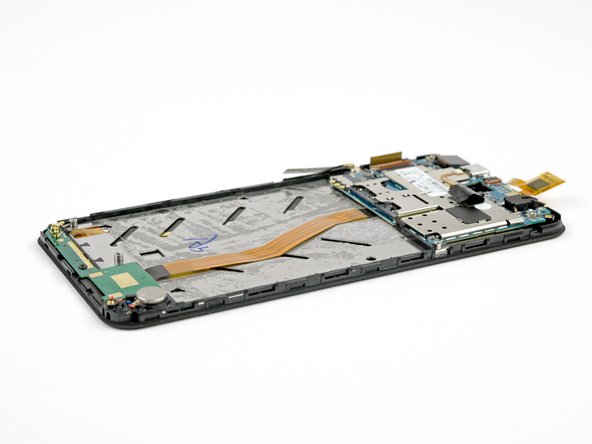
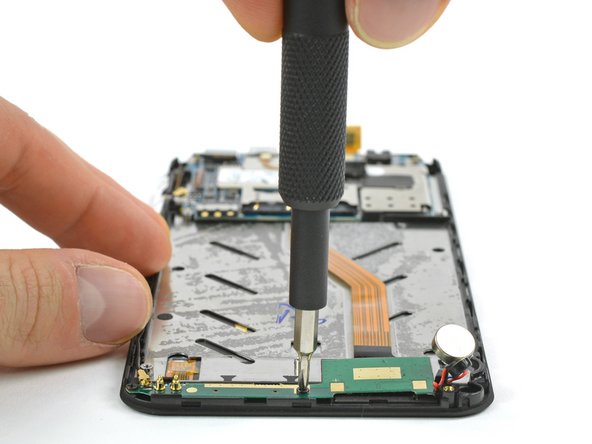
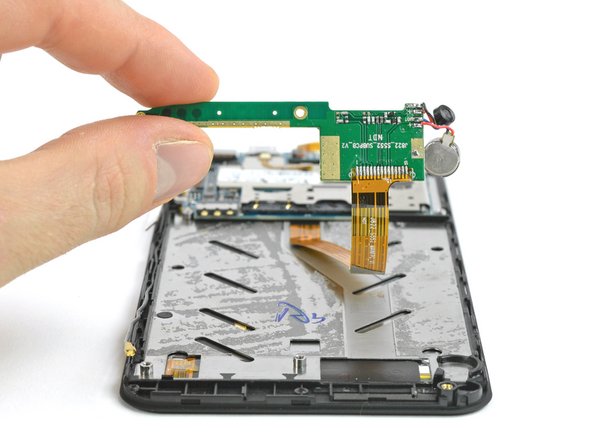
After lifting the vibrator and the microphone carefully out of their recesses we free the daughterboard by loosening two more Phillips screws.
-
-
Bu adım çevrilmemiş. Çevrilmesine yardım edin
-
And here we have the heart of the shift5.1:
-
Mediatek MT6582 SoC with an ARM Cortex A7
-
Samsung KMR820001M-B609 2GB LPDDR2 memory
-
Mediatek MT6627 Diplexer QVL for WIFI/BT/GPS
-
Mediatek MT6166V RF transceiver
-
Mediatek MT6323GA PMIC
-
AIROHA AP6684 quad-band GPRS front-end module
-
-
Bu adım çevrilmemiş. Çevrilmesine yardım edin
-
On the flip side we're met with an unfortunate surprise:
-
All the remaining components are soldered to the motherboard, including the front facing camera, headphone jack and the power and volume buttons.
-
-
Bu adım çevrilmemiş. Çevrilmesine yardım edin
-
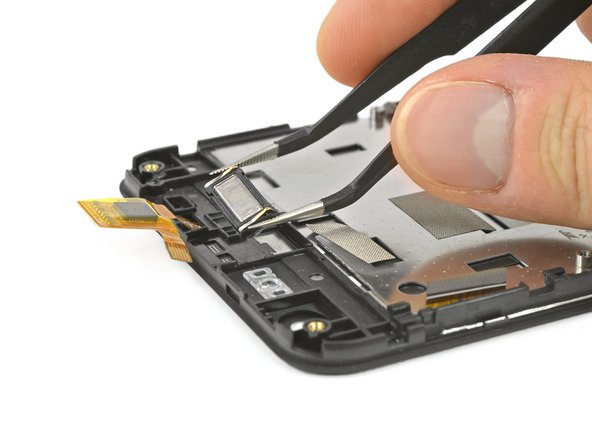
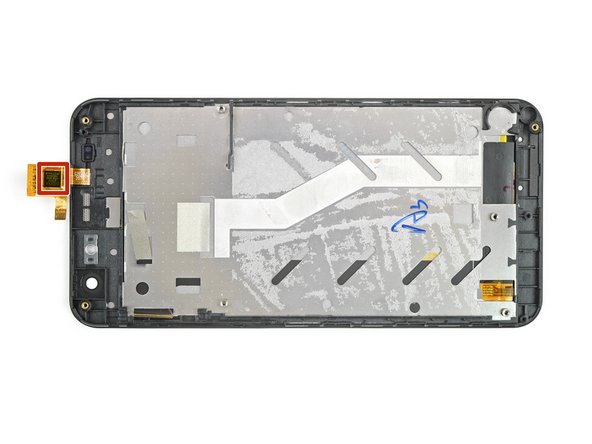
Last but not least we have the remaining display which carries the earpiece speaker.
-
Taking it out leaves us with the fused display which carries a GOODiX GT9147 touch screen controller on the flex cable.
-
-
Bu adım çevrilmemiş. Çevrilmesine yardım edin
-
And here we have the shift5.1 spread out on the teardown table showing us all it has to offer.
-
- Cover and battery are easy to remove and can be swapped without using tools.
- No excessive glue and no proprietary screws are used, only Phillips #000.
- Shift offers a forum and a youtube channel with some information and tutorials (unfortunately only in German).
- The fused display can be changed but you need to take out everything else reminding us of the iPhone 4 and 4s.
- Lots of components and connectors are soldered to the motherboard. They could be soldered by hand if needed but this makes repairs more difficult.
Son Düşünceler
Onarılabilirlik Puanı


(10 en kolay onarılabileni)
6 Yorum
the display can be changed in 2 ways:
either with the a-frame or without. if changing only display without a-frame, you only need to open 2 connectors and take of the display and stick the new one on with the sticker-set, that comes with the display. this way you do not need to take out the electronics and you will be done much faster ;-).
I do not unterstand why it have only a 6 I woud take it between 8 and 9
Only a handful of components aren’t soldered and you have to take a lot apart to change common parts like the display. I understand why it’s not a 8 or 9 but a fully agree I don’t understand why it’s a 6 and not e.g. a 5 or 7. Is there any comparison what has to exist to justify a specific grade?
LastDawn -
jup. we also think a 7 would have been fair.
i think the problem was that the iFixit team took the complicated repair-way. if they followed the instructions from SHIFT for sure it would have been a 7 score. but anyway… this is now long time ago :-)…
cwaldeck -


