Ana içeriğe geç

Skil 88 Motor Replacement

Neye ihtiyacın var

  1. Skil 88 Motor Replacement, Disassembling Skil 88 Front Housing: adım 1, 1 resimden 1.
    • On the front of the drill, remove the three 2" flathead screws connecting the front housing to the rear housing.

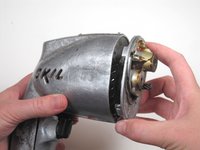
  2. Skil 88 Motor Replacement: adım 2, 2 resimden 1. Skil 88 Motor Replacement: adım 2, 2 resimden 2.
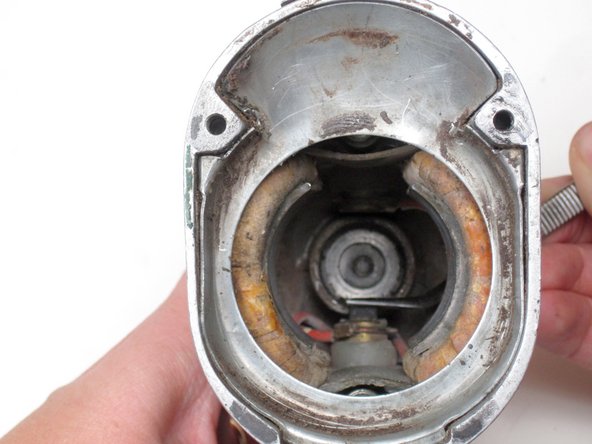
    • Pull the front housing apart from the rear.

    • The motor and gears might fall out when you are pulling it apart.

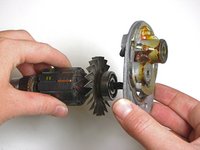
  3. Skil 88 Motor Replacement, Motor: adım 3, 2 resimden 1. Skil 88 Motor Replacement, Motor: adım 3, 2 resimden 2.
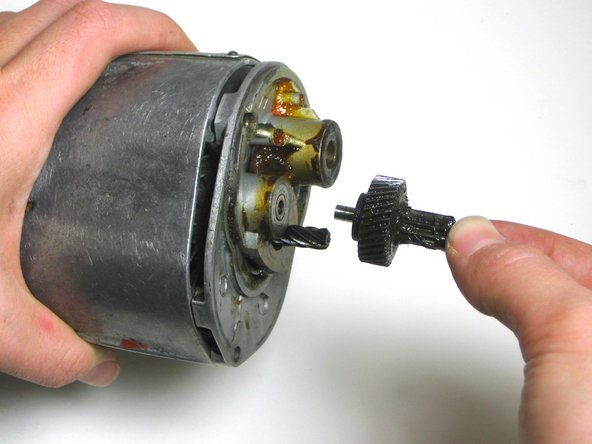
    • Remove the gear that is threaded onto the divider.

  4. Skil 88 Motor Replacement: adım 4, 2 resimden 1. Skil 88 Motor Replacement: adım 4, 2 resimden 2.
    • Remove the divider from the rear housing.

    • The motor may come out along with the divider.

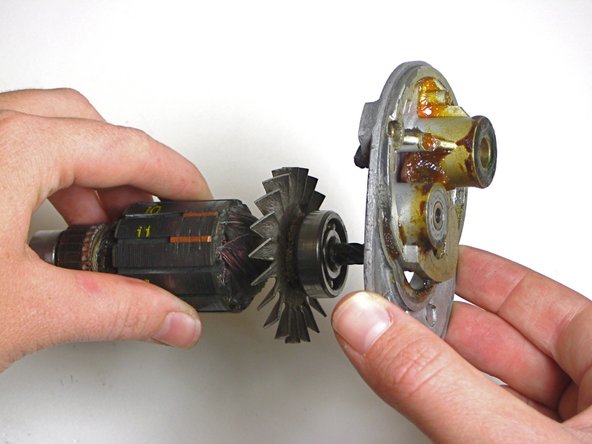
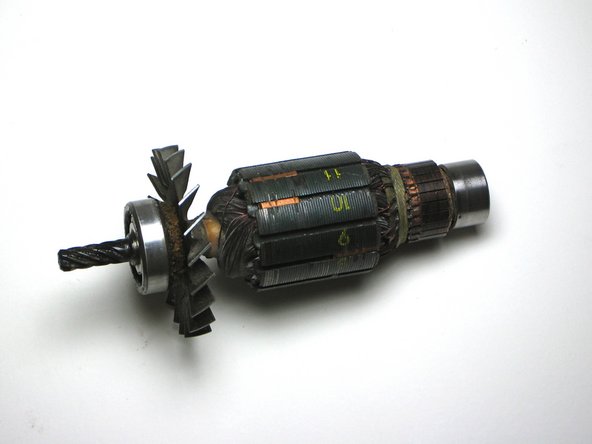
  5. Skil 88 Motor Replacement: adım 5, 2 resimden 1. Skil 88 Motor Replacement: adım 5, 2 resimden 2.
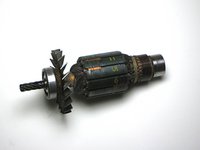
    • Pull out the motor.

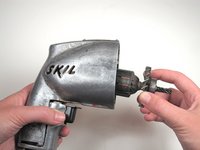
  6. Skil 88 Motor Replacement: adım 6, 3 resimden 1. Skil 88 Motor Replacement: adım 6, 3 resimden 2. Skil 88 Motor Replacement: adım 6, 3 resimden 3.
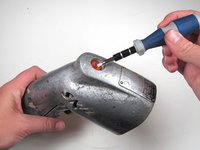
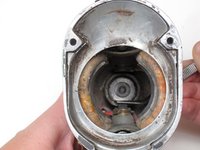
    • For reassembly, remove the orange cap on top using your flathead screwdriver. A bushing should come out with it.

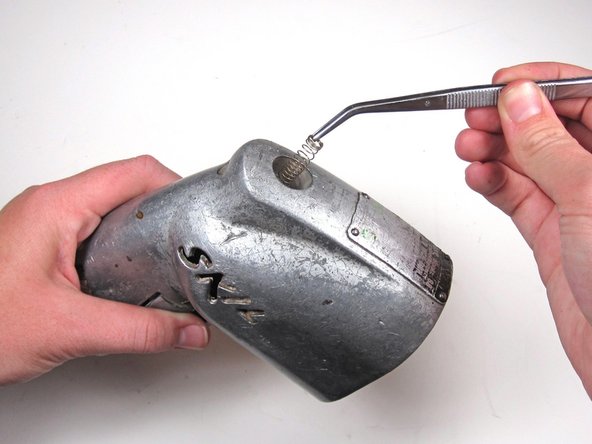
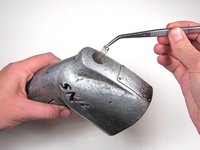
    • Depress the bushing on bottom using the tweezers. To reach the bushing you will have to put the tweezers through the "Skil" lettering. Insert the motor as it is depressed.

    • Using the tweezers, place the other bushing back in through the hole in the top. Screw the orange cap back on.

Sonuç

To continue reassembly, simply follow the guide backwards starting at step 2.

Matt

Üyelik tarihi: 10/10/10

365 İtibar

7 adet Kılavuz yazıldı

Ekip

Cal Poly, Team 5-17, Maness Fall 2010 Cal Poly, Team 5-17, Maness Fall 2010 üyesi

CPSU-MANESS-F10S5G17

3 Üyeler

7 adet Kılavuz yazıldı

0 Yorum

Yorum Ekle

İstatistikleri Görüntüle:

Son 24 Saat: 0

Son 7 gün: 0

Son 30 gün: 2

Her zaman: 634