Giriş
This disassembly includes the button panel and button motherboard.
Neye ihtiyacın var
-
-
Starting with the corners, gently pull the rubber cover off of the device.
 FixBot'a Sor
-
-
-
Using the T-6 hexagonal screwdriver, unscrew the four 10mm #6 hex screws on the right side of the device.
-
Remove the handle from the device.
-
-
-
Unscrew the two screws on the left side of the device using the phillips #00 screwdriver.
-
One 5mm Phillips screw.
-
One 8mm Phillips screw.
-
-
-
-
Gently pull the sides of the front plate outwards from the device.
-
Pull up on the front plate to remove it from the device.
-
-
-
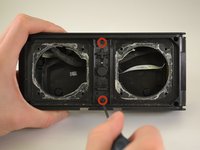
Using a Phillips #00 Precision Screwdriver, unscrew two 6 mm screws from the middle of the panel, specifically above and below the volume buttons.
-
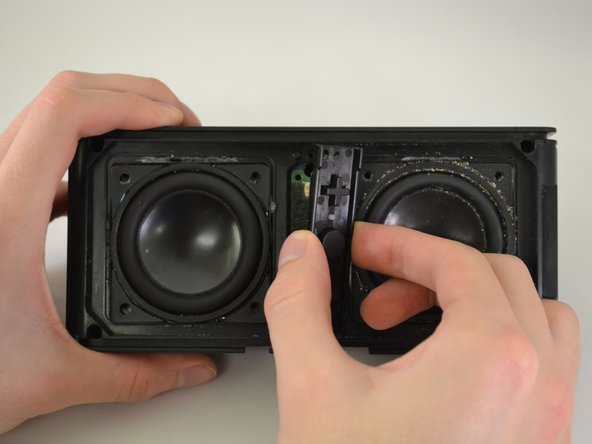
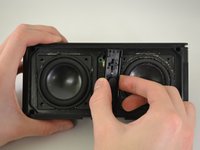
Lift the button panel.
-
-
-
Using a Phillips #00 Precision Screwdriver, unscrew two 6 mm screws from the button motherboard.
-
-
-
Using a plastic opening tool, pry up on the button motherboard to detach it from the device.
-
-
-
First, pull on the black attachment to disconnect it from the metal piece.
-
Release the cable from the back of the motherboard.
-




To reassemble your device, follow these instructions in reverse order.
İptal et: Bu kılavuzu tamamlamadım.
2 farklı kişi bu kılavuzu tamamladı.

Ekip

Eastern Washington University, Team 1-3, Carnegie Winter 2015 Eastern Washington University, Team 1-3, Carnegie Winter 2015 üyesi
EWU-CARNEGIE-W15S1G3
3 Üyeler
6 adet Kılavuz yazıldı
