Giriş
If your buttons keep getting stuck on your Blu-Ray Player, you will see in this guide that there are only a few screws to remove to easily get to the front panel.
Neye ihtiyacın var
-
-
-
Remove the 12mm screws with the Philips #2 screwdriver which keep the plastic panels in place.
-
Don't forget, there are two more 12mm screws on the other side as well.
 FixBot'a Sor
-
-
-
First, remove the three 12mm black screws holding the top panel on (Phillips #2).
-
Then, remove the two 12mm black screws - one on each side of the back of the device - holding the top panel on.
-
Lastly, remove the three 12mm black screws on each side of device.
-
-
-
After gently disconnecting the two ribbon cables (you can just pull them out with your hand), take the top off and set it to the side.
-
-
-
-
After the top is off, you'll see that there are two metal bars that go across the top of the device.
-
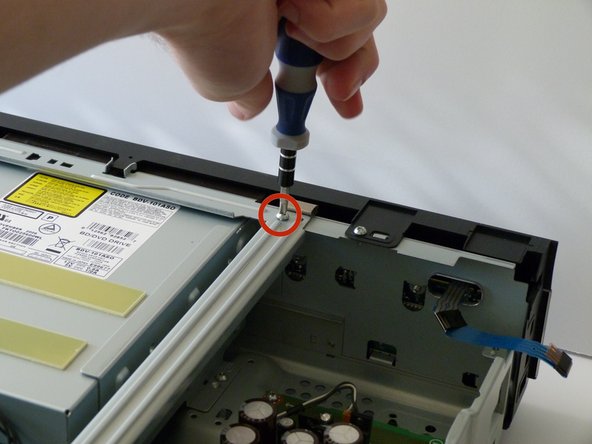
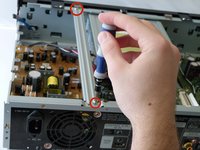
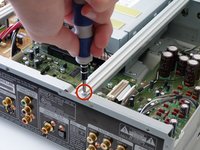
Remove each bar by unscrewing the two 10mm silver screws on each end.
-
-
-
-
-
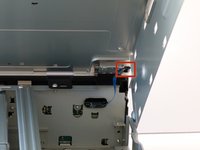
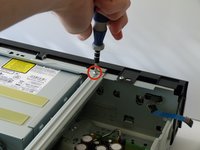
Now, on the front panel, you will want to remove the two 10mm screws on top of the device.
-
-
-
Place your blu-ray player so that it's facing the ceiling and support it with your non-dominant hand.
-
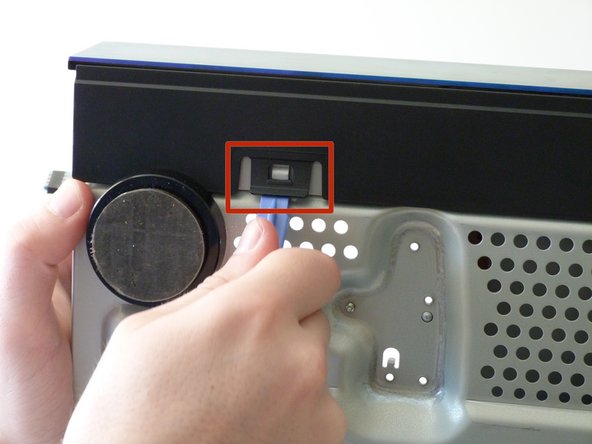
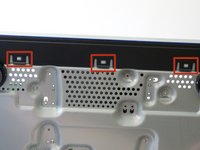
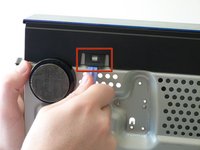
With your screwing hand, use the plastic opening tool to gently undo the three clips on the bottom of the device.
-
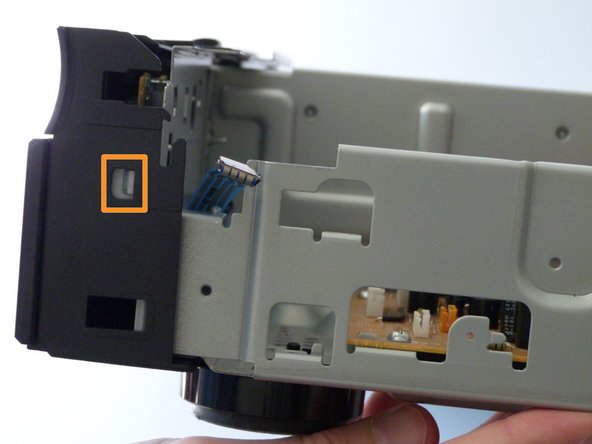
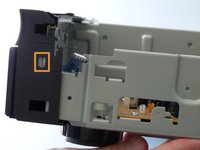
Then put the device back down and undo the two clips on the side.
-
-
-
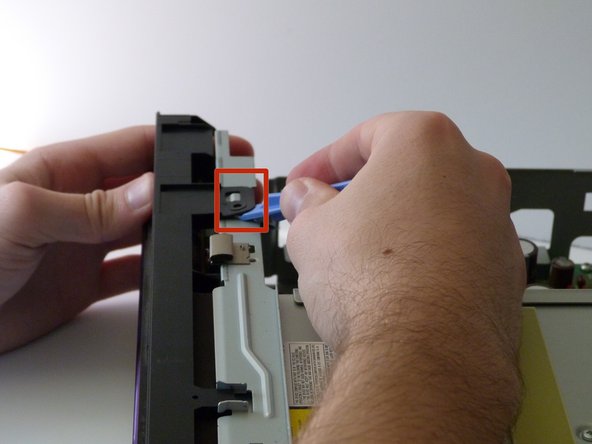
On the top of the panel, use the plastic opening tool to unhook the top two clips.
-
Now the front should be detached so you can remove the front panel from the rest of the device.
-
-
-
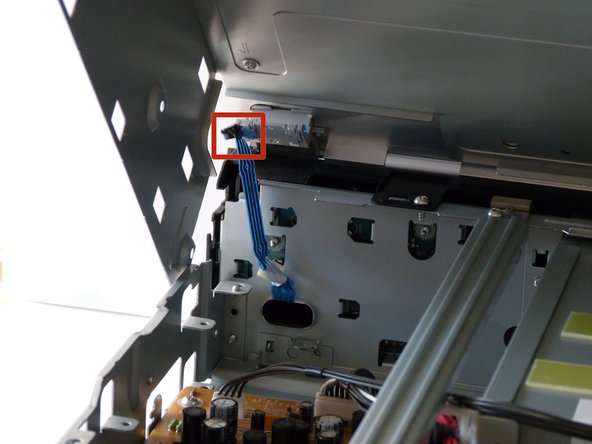
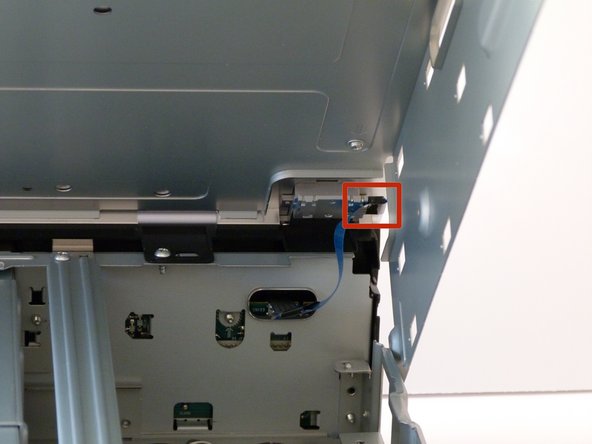
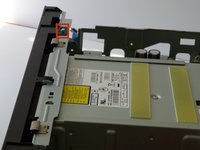
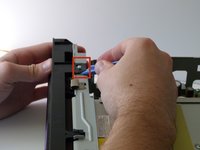
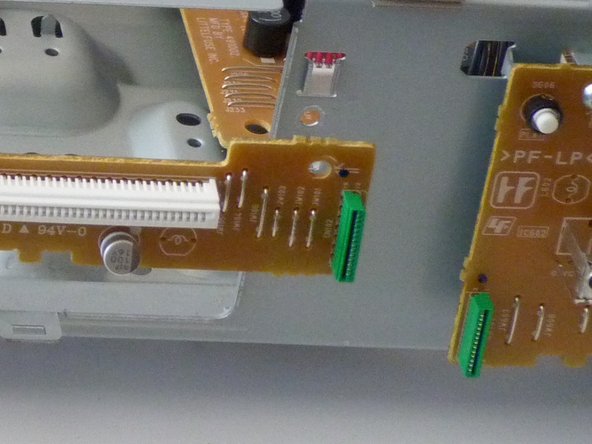
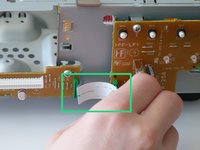
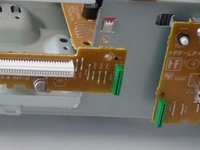
Remove the ribbon cable found on the front panel by gently pulling at the base of the cable at each end.
-
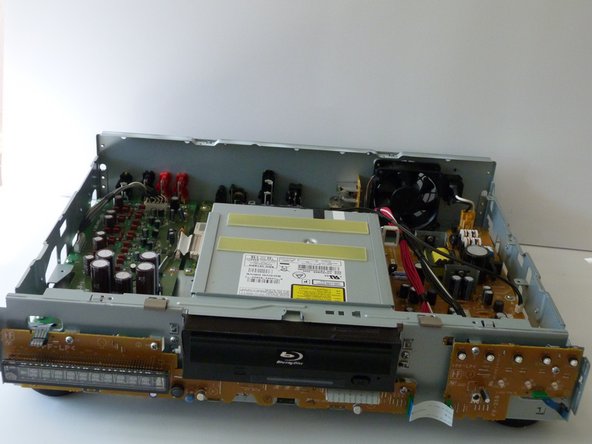
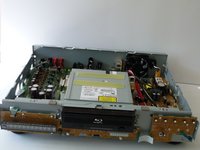
NOTE: In these photos, the disk drive is removed. You don't have to remove the disk drive during this particular guide.
-
-
-
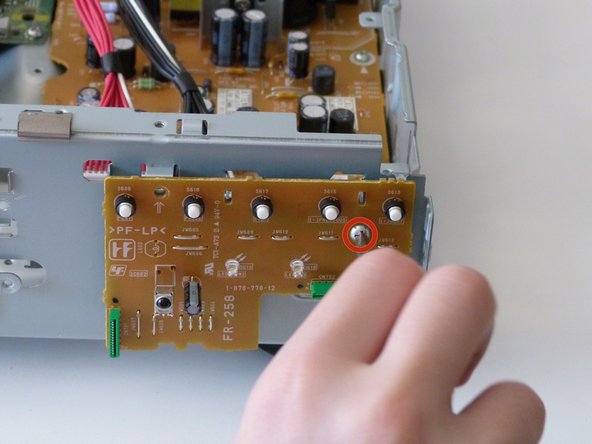
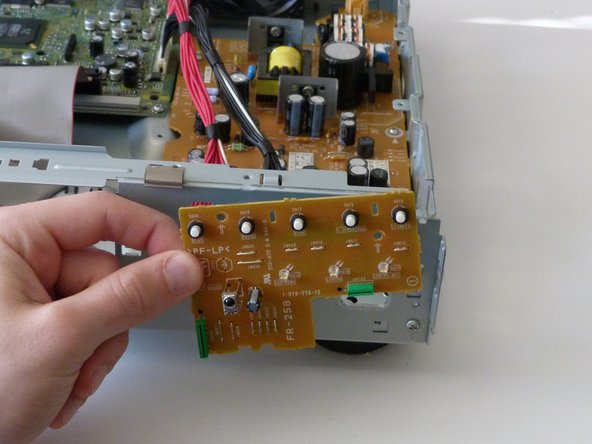
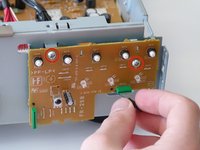
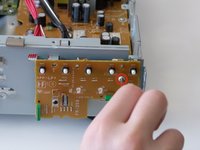
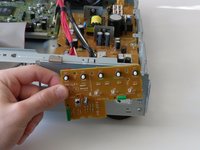
Finally, remove the two 10mm screws on the front.
-
Congratulations! You have taken out the front panel!
-
-









To reassemble your device, follow these instructions in reverse order.

Ekip

Cal Poly, Team 9-30, Maness Winter 2014 Cal Poly, Team 9-30, Maness Winter 2014 üyesi
CPSU-MANESS-W14S9G30
3 Üyeler
40 adet Kılavuz yazıldı
