Giriş
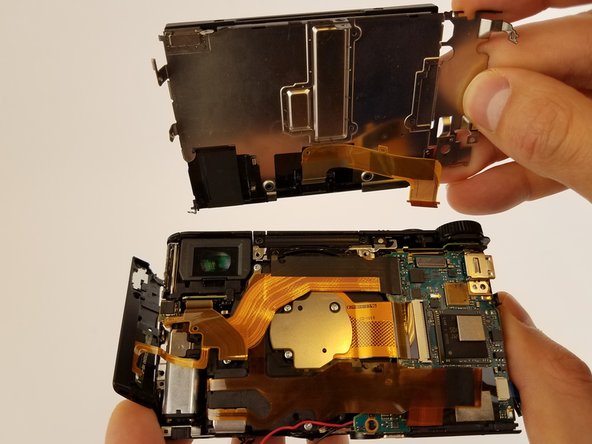
This guide will show you the steps to removing and replacing the motherboard of the camera.
Neye ihtiyacın var
-
-
Place the device so bottom of the camera is facing up .
-
Remove the five black M1.4 X 3.5 Phillips head screws with a Phillips #000 screwdriver.
-
-
-
-
Use the plastic opening tool with a prying motion to remove the side cover of the camera.
-
-
-
Orient the device so the lens is facing down.
-
Remove the two black M1.4 X 3.5 Phillips head screws using Phillips #000 screwdriver.
-
To reassemble your device, follow these instructions in reverse order.
To reassemble your device, follow these instructions in reverse order.
İptal et: Bu kılavuzu tamamlamadım.
Bir başkası bu kılavuzu tamamladı.
2Kılavuz Yorumları
super Anleitung, trotz aller Vorsicht ist ein Flachbandkabel kaputt gegangen, und zwar das 2 adrige zu Sucher. Wie kann man Flachbandkabel reparieren oder ersetzen?
LG
Michael
Hello!
Nice help to open the camera for fixing viewfinder problems: when not switching on, even when FINDER/MONITOR mode on FINDER, there might be a bad contact in the visor connector. It is a snap lock micro connector, open the lock, then carefully remove clean and replace ribbon cable:this may clear the trouble.
But attention: At least on HX9O without V ext. there are some more screws ;-) and niceties
- one in step 3, under the MULTI connector cap
- 3 on different places to remove LCD screen
Also, there is also an antenna , connected to the LCD assembly and lightly glued on the side


