Ana içeriğe geç

Sony Cyber-shot DSC-P9 Top Button Replacement

Neye ihtiyacın var

  1. Sony Cyber-shot DSC-P9 Top Button Replacement, Battery: adım 1, 1 resimden 1.
    • Slide the battery latch down the side of the camera with your hands.

    • The latch will automatically pop open.

  2. Sony Cyber-shot DSC-P9 Top Button Replacement: adım 2, 1 resimden 1.
    • Unlatch the clip over the battery.

    • The battery will partially pop out.

  3. Sony Cyber-shot DSC-P9 Top Button Replacement: adım 3, 2 resimden 1. Sony Cyber-shot DSC-P9 Top Button Replacement: adım 3, 2 resimden 2.
    • Remove the battery from the camera.

  4. Sony Cyber-shot DSC-P9 Top Button Replacement, Outer Casing: adım 4, 2 resimden 1. Sony Cyber-shot DSC-P9 Top Button Replacement, Outer Casing: adım 4, 2 resimden 2.
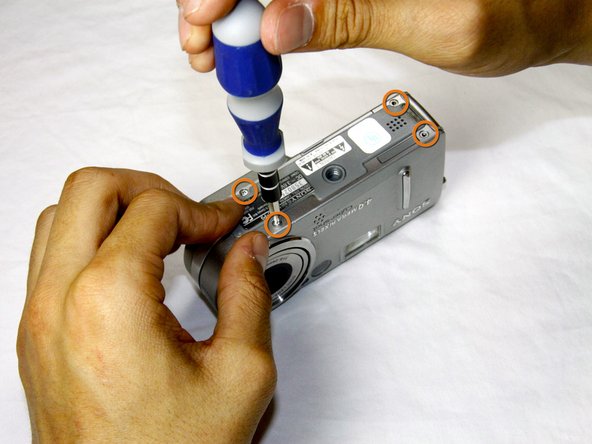
    • Remove the four 3.0mm Phillips #000 screws on the top of the camera with the phillips screwdriver.

    • Remove the additional four 3.0mm Phillips #000 screws on the bottom of the camera.

  5. Sony Cyber-shot DSC-P9 Top Button Replacement: adım 5, 2 resimden 1. Sony Cyber-shot DSC-P9 Top Button Replacement: adım 5, 2 resimden 2.
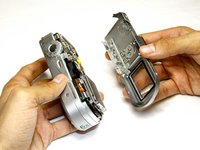
    • Once the screws are removed, slowly remove the back casing from the rest of the camera.

  6. Sony Cyber-shot DSC-P9 Top Button Replacement: adım 6, 2 resimden 1. Sony Cyber-shot DSC-P9 Top Button Replacement: adım 6, 2 resimden 2.
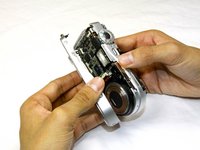
    • Then, pull the front case away from the rest of the camera.

  7. Sony Cyber-shot DSC-P9 Top Button Replacement: adım 7, 1 resimden 1.
    • After the casing is removed, the camera should look as shown.

  8. Sony Cyber-shot DSC-P9 Top Button Replacement, Top Button: adım 8, 1 resimden 1.
    • Remove the 3.0mm Phillips #000 screw above the battery door on the side of the camera.

  9. Sony Cyber-shot DSC-P9 Top Button Replacement: adım 9, 1 resimden 1.
    • Pull off the pieces of casing located on either side of the top button of the camera.

    • Both of the two pieces should slide off very easily. Do not force them off.

  10. Sony Cyber-shot DSC-P9 Top Button Replacement: adım 10, 1 resimden 1.
    • Remove the top button piece. You will need to detach a small blue ribbon cable before the button can be fully removed.

Sonuç

To reassemble your device, follow these instructions in reverse order.

Andrew Forster

Üyelik tarihi: 04/16/12

12 İtibar

2 adet Kılavuz yazıldı

Ekip

Cal Poly, Team 17-25, Amido Spring 2012 Cal Poly, Team 17-25, Amido Spring 2012 üyesi

CPSU-AMIDO-S12S17G25

4 Üyeler

14 adet Kılavuz yazıldı

0 Yorum

Yorum Ekle

İstatistikleri Görüntüle:

Son 24 Saat: 0

Son 7 gün: 0

Son 30 gün: 1

Her zaman: 699