Giriş
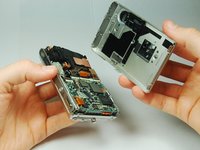
Taking out the LCD is one of the more difficult things to do on your Cyber-shot. Because the LCD is located at the back of the camera you will have to take apart the entire camera just to reach it.
Neye ihtiyacın var
-
-
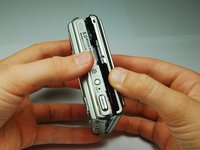
Locate the battery door at the bottom of the camera.
-
Press down on the door and slide it back. The door will pop open.
-
-
-
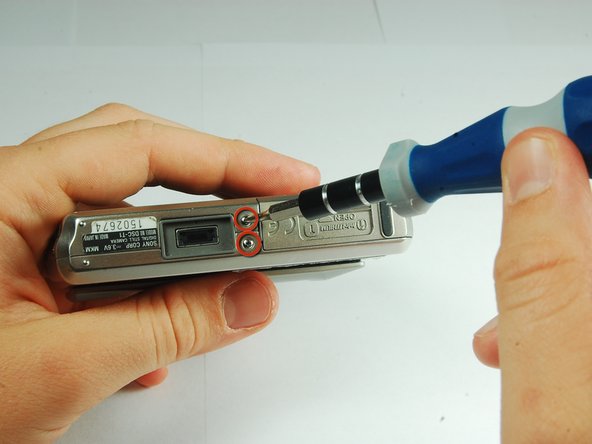
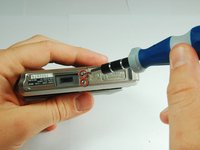
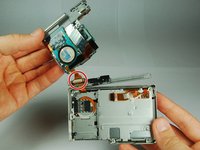
Use a PH00 screwdriver and remove the six 2.9mm screws.
-
-
-
-
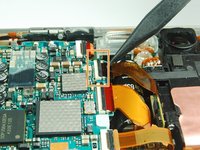
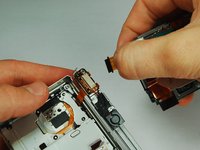
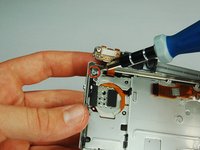
Use the tip of a spudger to flip up the tab on the ZIF connector securing the motherboard ribbon cable.
-
The second picture shows what these tabs look like in their open positions.
-
-
Bu adımda kullanılan alet:Tweezers$4.99
-
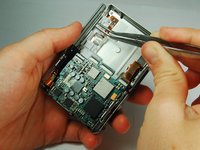
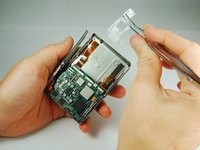
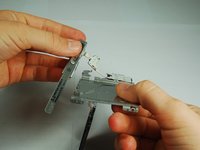
Use tweezers to slide the white piece on the back of the back cover to the right.
-
This will dislodge the white piece, allowing you to remove it from the back cover.
-
-
-
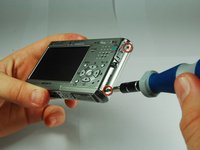
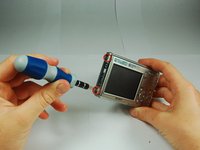
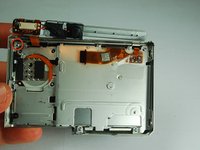
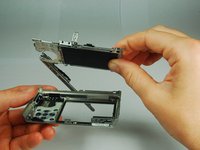
Use a PH00 screwdriver to remove the 2.9 mm phillips screw on the upper left side of the case.
-


To reassemble your device, follow these instructions in reverse order.
