Giriş
Make sure you have the necessary tools in order to complete the motherboard replacement for the Sony Cyber Shot WX80 and be sure to have a steady hand when dealing with the smaller and more fragile parts.
Neye ihtiyacın var
-
-
Remove all six #00 screws holding the outer chassis together with a Phillips #00 screwdriver.
-
-
-
Take note of the small free moving flap near the battery port seen in the first of the three photos.
-
Remove the front of the shell case with the spudger. Insert the spudger into the seam on the right side of the camera and pry away from the back case.
-
Using the spudger, repeat the process to remove the back of the case. Pry away from the front of the camera.
-
-
Bu adımda kullanılan alet:Tweezers$4.99
-
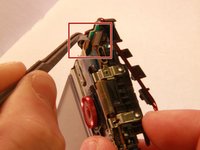
Use tweezers to remove the first of two ribbon cables holding the LCD screen in place. Pull directly out of the port.
-
Use tweezers to remove the second of the two ribbon cables using the same method.
-
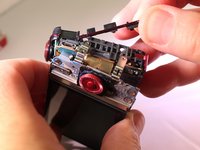
The LCD screen is now detached. Gently pull it apart from the rest of the camera with your hands.
-
-
-
-
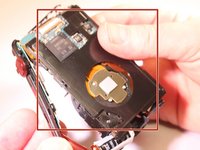
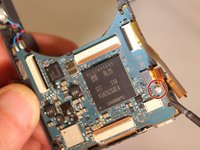
You should now be able to see the exposed motherboard and lens.
-
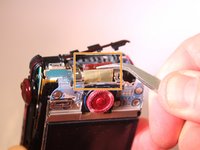
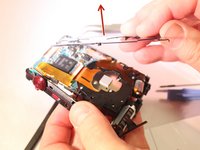
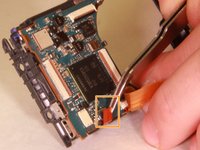
Remove the first ribbon cable (pictured first) with tweezers. Pull gently away from the camera.
-
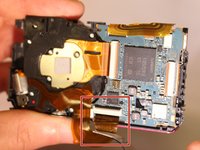
Remove the second ribbon cable (pictured second) with tweezers. Pull gently away from the camera.
-
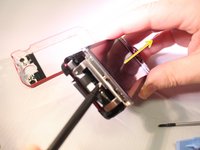
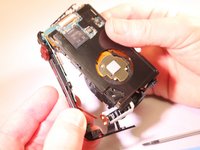
Use your fingers to gently lift the lens away from the motherboard and frame.
-


To reassemble your device, follow these instructions in reverse order.
To reassemble your device, follow these instructions in reverse order.
İptal et: Bu kılavuzu tamamlamadım.
2 farklı kişi bu kılavuzu tamamladı.

Ekip

Eastern Washington University, Team 2-5, Matresse Spring 2015 Eastern Washington University, Team 2-5, Matresse Spring 2015 üyesi
EWU-MATRESSE-S15S2G5
4 Üyeler
7 adet Kılavuz yazıldı