Ana içeriğe geç

Sony Ericsson T68i Microphone Replacement

Neye ihtiyacın var

  1. Sony Ericsson T68i Microphone Replacement, Keypad: adım 1, 2 resimden 1. Sony Ericsson T68i Microphone Replacement, Keypad: adım 1, 2 resimden 2.
    • Remove the battery from the back.

  2. Sony Ericsson T68i Microphone Replacement: adım 2, 3 resimden 1. Sony Ericsson T68i Microphone Replacement: adım 2, 3 resimden 2. Sony Ericsson T68i Microphone Replacement: adım 2, 3 resimden 3.
    • Pry off the plastic cover from the top with a thin plastic shim, then remove it from the two bottom clips.

    • Do not bend it too far down, or else you risk breaking the two bottom clips.

  3. Sony Ericsson T68i Microphone Replacement: adım 3, 3 resimden 1. Sony Ericsson T68i Microphone Replacement: adım 3, 3 resimden 2. Sony Ericsson T68i Microphone Replacement: adım 3, 3 resimden 3.
    • Unscrew all four Torx T6 screws.

    • Keep in a safe place.

  4. Sony Ericsson T68i Microphone Replacement: adım 4, 3 resimden 1. Sony Ericsson T68i Microphone Replacement: adım 4, 3 resimden 2. Sony Ericsson T68i Microphone Replacement: adım 4, 3 resimden 3.
    • After removing the screws, the two halves will separate. If not, then pry them gently apart.

  5. Sony Ericsson T68i Microphone Replacement, Microphone: adım 5, 3 resimden 1. Sony Ericsson T68i Microphone Replacement, Microphone: adım 5, 3 resimden 2. Sony Ericsson T68i Microphone Replacement, Microphone: adım 5, 3 resimden 3.
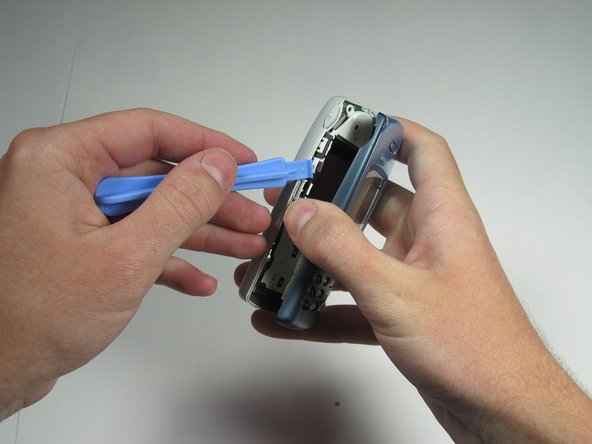
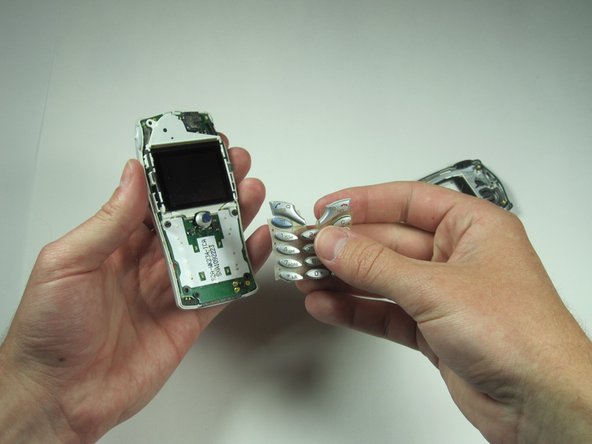
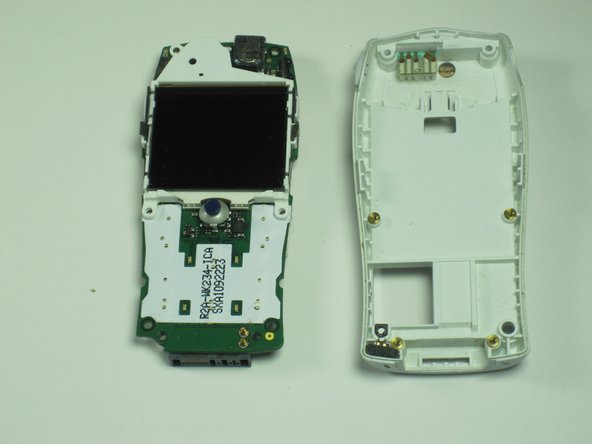
    • Next remove the circuit board and screen from the device.

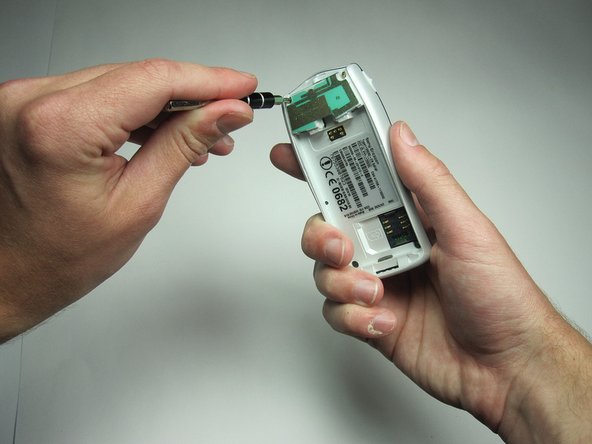
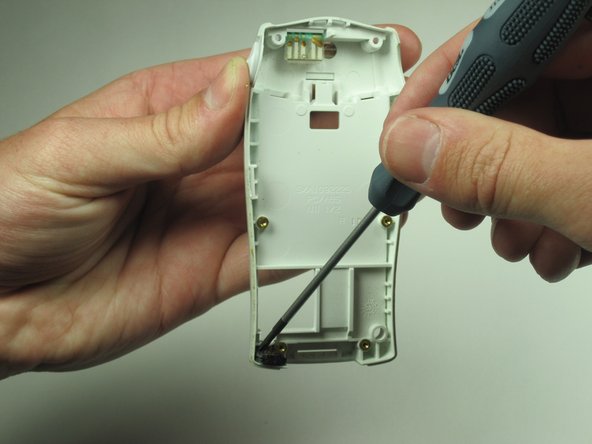
    • Use your T6 to remove the 4 screws holding the cover on.

  6. Sony Ericsson T68i Microphone Replacement: adım 6, 3 resimden 1. Sony Ericsson T68i Microphone Replacement: adım 6, 3 resimden 2. Sony Ericsson T68i Microphone Replacement: adım 6, 3 resimden 3.
    • The board and screen should just pop out at this point.

  7. Sony Ericsson T68i Microphone Replacement: adım 7, 2 resimden 1. Sony Ericsson T68i Microphone Replacement: adım 7, 2 resimden 2.
    • The microphone at the bottom of the rear housing can be levered out using a small screwdriver or any similar tool.

Sonuç

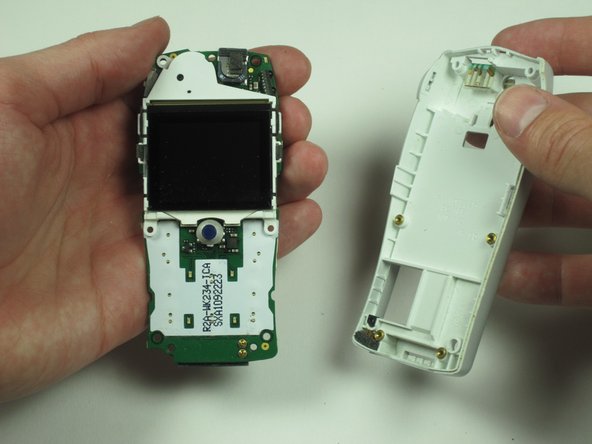
To reassemble your device, follow these instructions in reverse order.

Bir başkası bu kılavuzu tamamladı.

Tim Dascomb

Üyelik tarihi: 04/13/10

159 İtibar

7 adet Kılavuz yazıldı

Ekip

Cal Poly, Team 26-34, Regan Spring 2010 Cal Poly, Team 26-34, Regan Spring 2010 üyesi

CPSU-REGAN-S10S26G34

4 Üyeler

13 adet Kılavuz yazıldı

0 Yorum

Yorum Ekle

İstatistikleri Görüntüle:

Son 24 Saat: 0

Son 7 gün: 0

Son 30 gün: 2

Her zaman: 2,170