Ana içeriğe geç
Onarım Topluluğuna Katılın - Hesap Oluşturun

Sony Ericsson xPeria Active Screen Replacement

Neye ihtiyacın var

    1. Sony Ericsson xPeria Active Screen Replacement, Remove the back cover.: adım 1, 3 resimden 1. Sony Ericsson xPeria Active Screen Replacement, Remove the back cover.: adım 1, 3 resimden 2. Sony Ericsson xPeria Active Screen Replacement, Remove the back cover.: adım 1, 3 resimden 3.
      • Open the flaps and remove the back cover using the plastic opening device.

      FixBot'a Sor

      Yorum Ekle

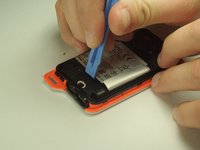
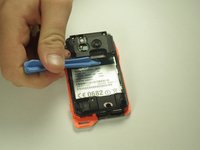
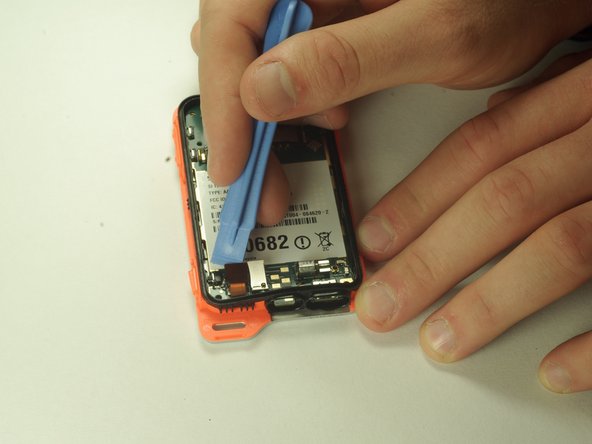
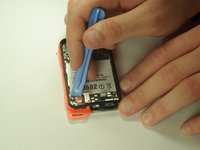
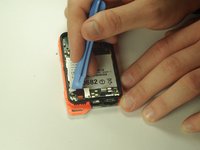
    2. Sony Ericsson xPeria Active Screen Replacement, Remove inside plastic battery cover.: adım 2, 2 resimden 1. Sony Ericsson xPeria Active Screen Replacement, Remove inside plastic battery cover.: adım 2, 2 resimden 2.
      • Remove the battery shield with the plastic opening device.

      FixBot'a Sor

      Yorum Ekle

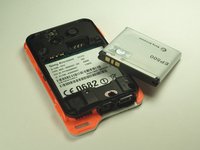
    3. Sony Ericsson xPeria Active Screen Replacement, Remove the battery: adım 3, 2 resimden 1. Sony Ericsson xPeria Active Screen Replacement, Remove the battery: adım 3, 2 resimden 2.
      • Remove the battery.

      FixBot'a Sor

      Yorum Ekle

    1. Sony Ericsson xPeria Active Screen Replacement, Unfastening The Motherboard Cover: adım 4, 1 resimden 1.
      • Unscrew the 5mm screws with the T5 head.

      • Unscrew the 6mm screw with the T6 head.

      FixBot'a Sor

      Yorum Ekle

    2. Sony Ericsson xPeria Active Screen Replacement, Removing The Motherboard Cover: adım 5, 2 resimden 1. Sony Ericsson xPeria Active Screen Replacement, Removing The Motherboard Cover: adım 5, 2 resimden 2.
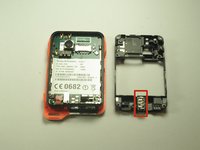
      • Remove the black cover with the plastic opening tool.

      • Remove the headphone jack from its slot.

      FixBot'a Sor

      Yorum Ekle

    1. Sony Ericsson xPeria Active Screen Replacement, Screen: adım 6, 2 resimden 1. Sony Ericsson xPeria Active Screen Replacement, Screen: adım 6, 2 resimden 2.
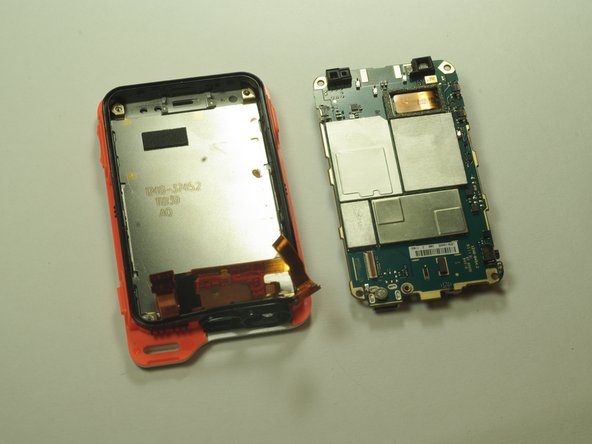
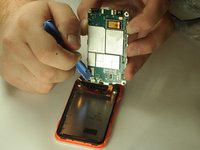
      • Unplug the power cable by carefully prying it away from the motherboard.

      FixBot'a Sor

      Yorum Ekle

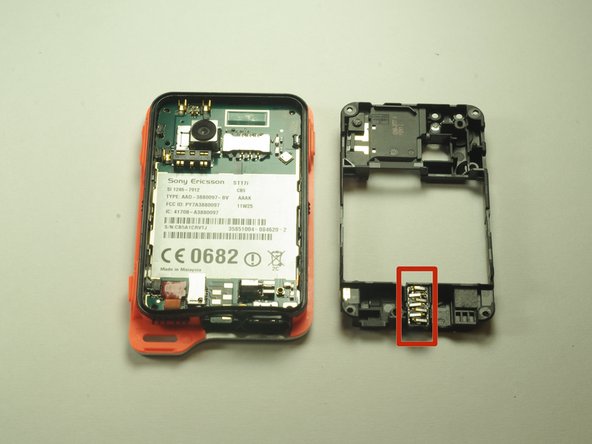
    2. Sony Ericsson xPeria Active Screen Replacement: adım 7, 2 resimden 1. Sony Ericsson xPeria Active Screen Replacement: adım 7, 2 resimden 2.
      • Remove the power strip on the back side of the motherboard.

      FixBot'a Sor

      Yorum Ekle

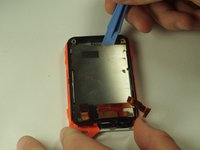
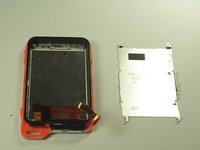
    3. Sony Ericsson xPeria Active Screen Replacement, Remove back screen shield: adım 8, 2 resimden 1. Sony Ericsson xPeria Active Screen Replacement, Remove back screen shield: adım 8, 2 resimden 2.
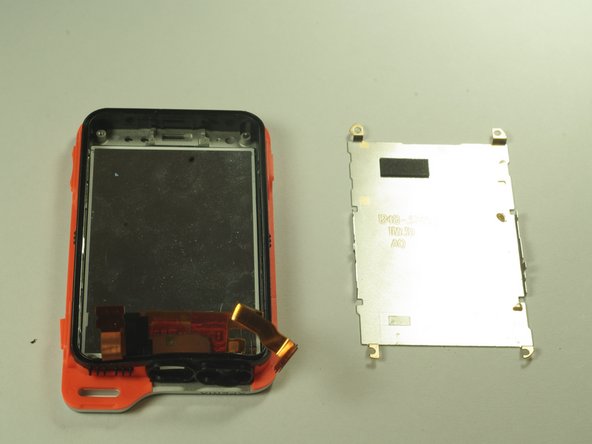
      • Remove the shield.

      FixBot'a Sor

      Yorum Ekle

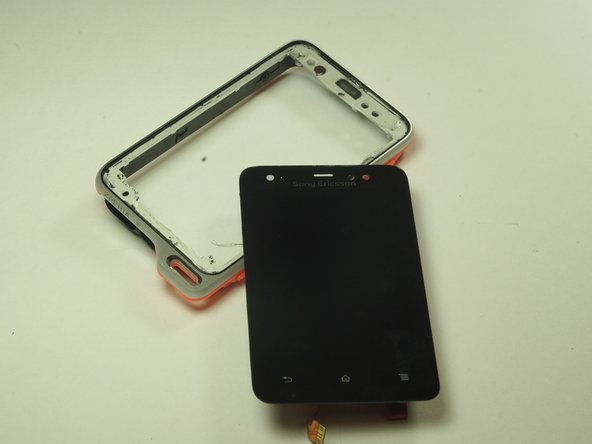
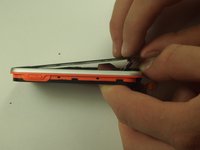
    4. Sony Ericsson xPeria Active Screen Replacement, Remove the screen module: adım 9, 2 resimden 1. Sony Ericsson xPeria Active Screen Replacement, Remove the screen module: adım 9, 2 resimden 2.
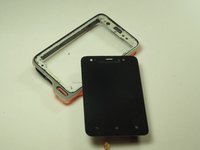
      • Push the screen through the front of the case, gently.

      • It may be a little tough, just work your way around the edges of the screen until it separates from the main case.

      FixBot'a Sor

      Yorum Ekle

Sonuç

To reassemble your device, follow these instructions in reverse order.

İptal et: Bu kılavuzu tamamlamadım.

5 farklı kişi bu kılavuzu tamamladı.

Alex Tobin

Üyelik tarihi: 10/06/14

430 İtibar

3 adet Kılavuz yazıldı

Ekip

USF Tampa, Team 14-5, Leahy Fall 2014 USF Tampa, Team 14-5, Leahy Fall 2014 üyesi

USFT-LEAHY-F14S14G5

3 Üyeler

60 adet Kılavuz yazıldı

1Rehber Yorum

hi can you add explain

abdnour master2 - Yanıt Paylaş

Yorum Ekle

İstatistikleri Görüntüle:

Son 24 Saat: 0

Son 7 gün: 6

Son 30 gün: 29

Her zaman: 2,734