Bu kılavuzda güncel değişiklikler var. En son onaylanmamış sürüme geçin.
Giriş
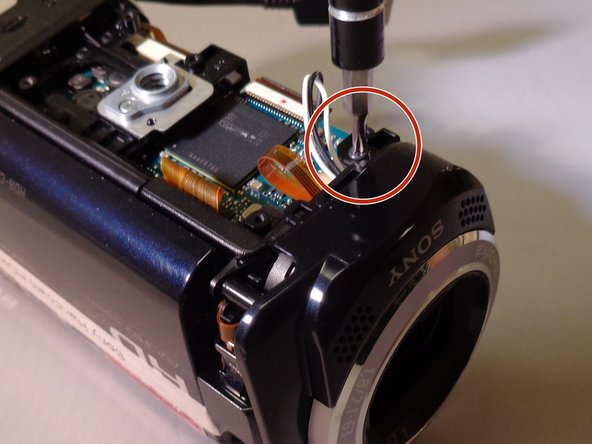
The user will learn how to disassemble the Sony CX260V Handy cam down to the point where all the main internal issues are accessible. There happens to be a lot of prerequisite steps before you can start to repair the device.
Neye ihtiyacın var
-
-
Set up the camera and all necessary tools in an open and clean workspace.
-


To reassemble your device, follow these instructions in reverse order.
To reassemble your device, follow these instructions in reverse order.
İptal et: Bu kılavuzu tamamlamadım.
2 farklı kişi bu kılavuzu tamamladı.
Ekip

Eastern Washington University, Team 1-5, Plummer Spring 2015 Eastern Washington University, Team 1-5, Plummer Spring 2015 üyesi
EWU-PLUMMER-S15S1G5
4 Üyeler
12 adet Kılavuz yazıldı