Ana içeriğe geç
Onarım Topluluğuna Katılın - Hesap Oluşturun

Sony Handycam DCR-HC30 CCD Image Sensor Replacement

Neye ihtiyacın var

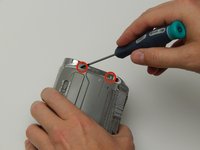
  1. Sony Handycam DCR-HC30 CCD Image Sensor Replacement, CCD Image Sensor: adım 1, 2 resimden 1. Sony Handycam DCR-HC30 CCD Image Sensor Replacement, CCD Image Sensor: adım 1, 2 resimden 2.
    • To begin, the LCD screen must be removed.

    • Bring the LCD screen to the fully open position.

    • Remove the three 5 MM Phillips #1 screws on the front of the LCD screen.

    FixBot'a Sor
  2. Sony Handycam DCR-HC30 CCD Image Sensor Replacement: adım 2, 3 resimden 1. Sony Handycam DCR-HC30 CCD Image Sensor Replacement: adım 2, 3 resimden 2. Sony Handycam DCR-HC30 CCD Image Sensor Replacement: adım 2, 3 resimden 3.
    • Flip the camera with the lens facing up.

    • Turn the LCD screen so you can see the 5 MM Phillips #1 screw on the inside; remove the screw.

    • Spin the LCD screen around to get the 5 MM Phillips #1 screw in the same place on the other side.

    • Use the plastic opening tool to gently separate the back of the screen from the unit.

    FixBot'a Sor
  3. Sony Handycam DCR-HC30 CCD Image Sensor Replacement: adım 3, 3 resimden 1. Sony Handycam DCR-HC30 CCD Image Sensor Replacement: adım 3, 3 resimden 2. Sony Handycam DCR-HC30 CCD Image Sensor Replacement: adım 3, 3 resimden 3.
    • The parts are very small and fragile and can break easily.

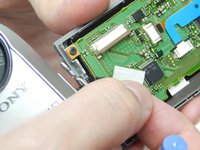
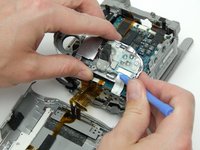
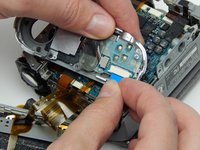
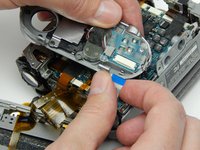
    • With the back off, spin the LCD screen back around.

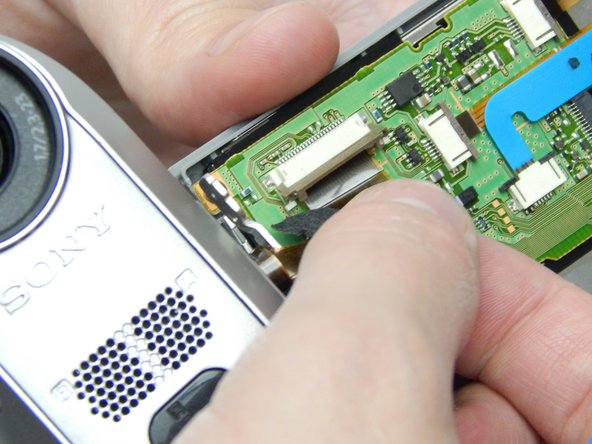
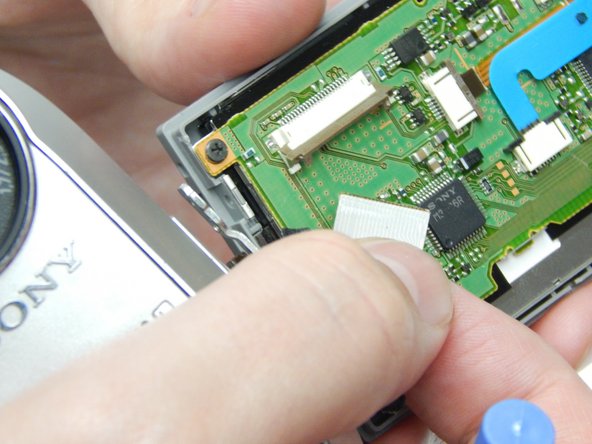
    • Using the plastic opening tool, gently lift up the holder that keeps the ribbon in place.

    • Gently slip the ribbon from its housing.

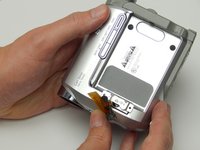
    • When this step is completed the camera will separate from the LCD screen. From here on you will only be working with the camera itself.

    FixBot'a Sor
  4. Sony Handycam DCR-HC30 CCD Image Sensor Replacement: adım 4, 3 resimden 1. Sony Handycam DCR-HC30 CCD Image Sensor Replacement: adım 4, 3 resimden 2. Sony Handycam DCR-HC30 CCD Image Sensor Replacement: adım 4, 3 resimden 3.
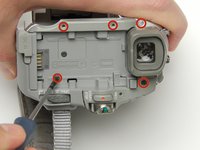
    • With the LCD screen off the unit it is time to work on the rest of the screws.

    • Face the camera with the viewfinder towards you.

    • Remove the five 5 MM Phillips #1 screws circled here.

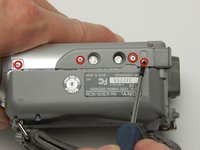
    • Flip the camera where the bottom faces toward you.

    • Remove the four circled 5 MM Phillips #1 screws.

    FixBot'a Sor
  5. Sony Handycam DCR-HC30 CCD Image Sensor Replacement: adım 5, 3 resimden 1. Sony Handycam DCR-HC30 CCD Image Sensor Replacement: adım 5, 3 resimden 2. Sony Handycam DCR-HC30 CCD Image Sensor Replacement: adım 5, 3 resimden 3.
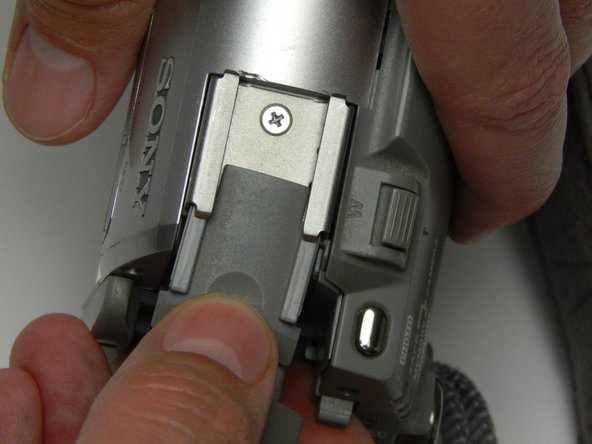
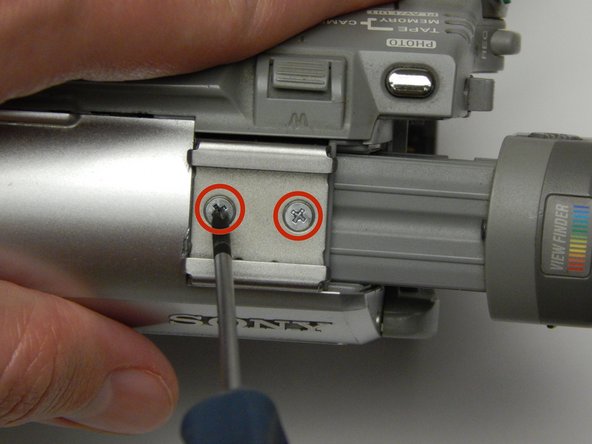
    • Looking downward on the camera pull the viewfinder to its fully extended position.

    • Slip the plastic covering off the top of the unit.

    • Remove the two 10 MM Phillips #1 screws that were under the covering.

    FixBot'a Sor
  6. Sony Handycam DCR-HC30 CCD Image Sensor Replacement: adım 6, 3 resimden 1. Sony Handycam DCR-HC30 CCD Image Sensor Replacement: adım 6, 3 resimden 2. Sony Handycam DCR-HC30 CCD Image Sensor Replacement: adım 6, 3 resimden 3.
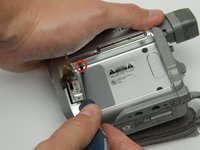
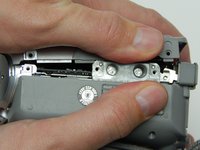
    • Remove the last 5 MM Phillips #1 screw that is somewhat hidden in the resting place of the LCD screen.

    • For the next step make sure to be careful so as to not break any of the clips that hold the camera's two halves together.

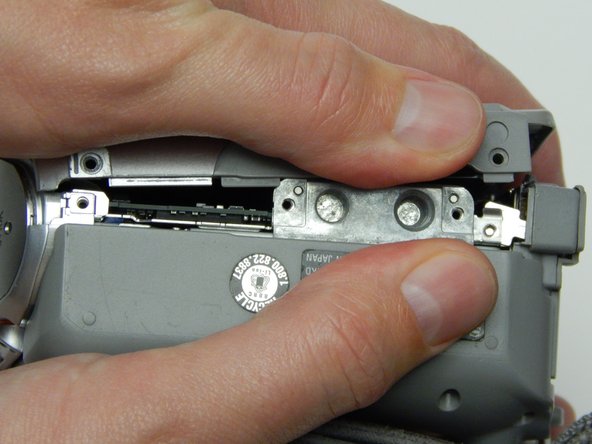
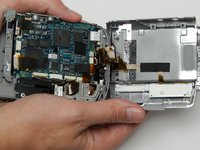
    • With the bottom of the camera facing you grasp each half of the camera and gently pull the halves apart.

    • There will be some slight popping sounds as the clips release.

    FixBot'a Sor
  7. Sony Handycam DCR-HC30 CCD Image Sensor Replacement: adım 7, 3 resimden 1. Sony Handycam DCR-HC30 CCD Image Sensor Replacement: adım 7, 3 resimden 2. Sony Handycam DCR-HC30 CCD Image Sensor Replacement: adım 7, 3 resimden 3.
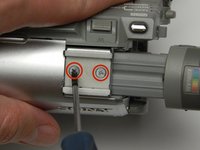
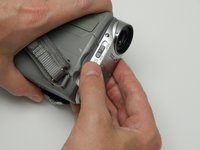
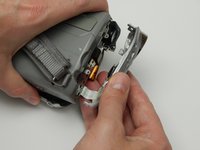
    • Face the camera with the strap toward you and remove the two 5 MM Phillips #1 screws indicated here.

    • Firmly grasp the silver part of the camera below the lens and pull away.

    • Be careful not to pull the ribbon from its housing.

    FixBot'a Sor
  8. Sony Handycam DCR-HC30 CCD Image Sensor Replacement: adım 8, 3 resimden 1. Sony Handycam DCR-HC30 CCD Image Sensor Replacement: adım 8, 3 resimden 2. Sony Handycam DCR-HC30 CCD Image Sensor Replacement: adım 8, 3 resimden 3.
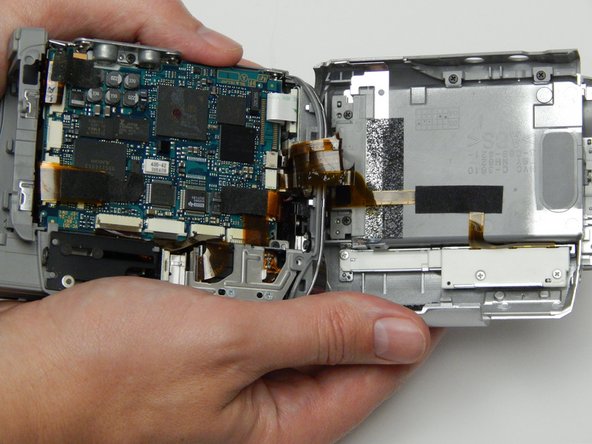
    • Flip the camera on its side with the strap facing down and lay the other half as shown in the photo.

    • Using the plastic opening tool remove the ribbon from its housing.

    FixBot'a Sor
  9. Sony Handycam DCR-HC30 CCD Image Sensor Replacement: adım 9, 3 resimden 1. Sony Handycam DCR-HC30 CCD Image Sensor Replacement: adım 9, 3 resimden 2. Sony Handycam DCR-HC30 CCD Image Sensor Replacement: adım 9, 3 resimden 3.
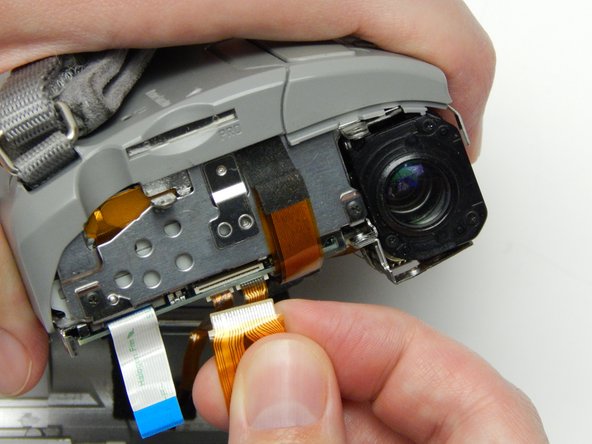
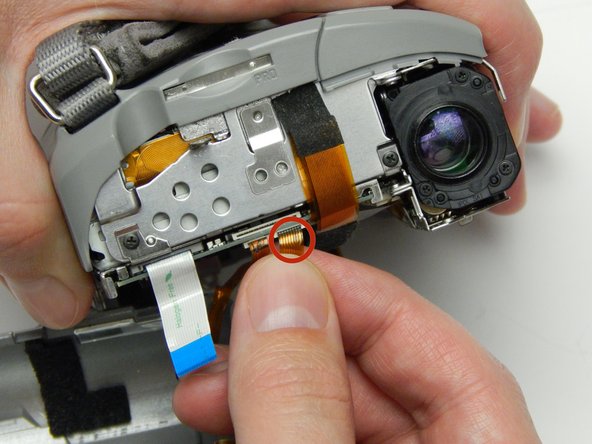
    • Face the lens of the camera toward you.

    • Gently remove the two ribbons that are keeping the other half linked to the camera.

    FixBot'a Sor
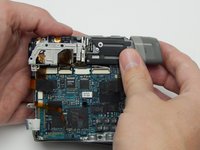
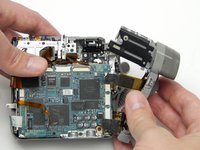
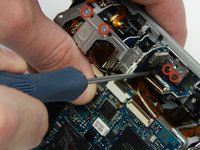
  10. Sony Handycam DCR-HC30 CCD Image Sensor Replacement: adım 10, 3 resimden 1. Sony Handycam DCR-HC30 CCD Image Sensor Replacement: adım 10, 3 resimden 2. Sony Handycam DCR-HC30 CCD Image Sensor Replacement: adım 10, 3 resimden 3.
    • Pull back the viewfinder piece to expose the screws holding the lens in place.

    • Remove the four indicated 5 MM Phillips #1 screws.

    FixBot'a Sor
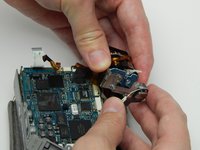
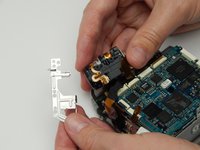
  11. Sony Handycam DCR-HC30 CCD Image Sensor Replacement: adım 11, 3 resimden 1. Sony Handycam DCR-HC30 CCD Image Sensor Replacement: adım 11, 3 resimden 2. Sony Handycam DCR-HC30 CCD Image Sensor Replacement: adım 11, 3 resimden 3.
    • Be very careful when handling the lens. DO NOT touch the glass aperture or wiggle the piece too much because it can cause display issues after the unit is fixed.

    • While gently holding the lens piece, remove the 5 MM Phillips #1 screw.

    • Slip the aluminum arm off of the lens piece.

    FixBot'a Sor
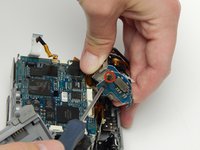
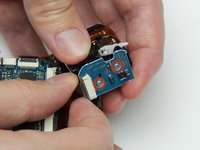
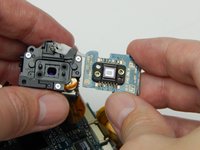
  12. Sony Handycam DCR-HC30 CCD Image Sensor Replacement: adım 12, 2 resimden 1. Sony Handycam DCR-HC30 CCD Image Sensor Replacement: adım 12, 2 resimden 2.
    • Remove the two 6 MM Phillips #1 screws holding the CCD image sensor in place.

    • Remove the CCD image sensor.

    FixBot'a Sor
Sonuç

To reassemble your device, follow these instructions in reverse order.

2 farklı kişi bu kılavuzu tamamladı.

Matthew Hurt

Üyelik tarihi: 01/15/15

613 İtibar

3 adet Kılavuz yazıldı

Ekip

1Rehber Yorum

I guess this needs to be soldered out and new one re soldered in tits place

Johnny Bravo - Yanıt Paylaş
Yorum Ekle

İstatistikleri Görüntüle:

Son 24 Saat: 2

Son 7 gün: 9

Son 30 gün: 75

Her zaman: 3,277