Ana içeriğe geç

Sony Handycam DCR-SR68 HDD Replacement

Neye ihtiyacın var

  1. Sony Handycam DCR-SR68 HDD Replacement, HDD: adım 1, 1 resimden 1.
    Bu adımda kullanılan alet:
    Anti-Static Wrist Strap
    $7.95
    Satın Al
    • Wash and dry your hands, then put on a properly grounded anti-static wrist strap, before handling internal electronic components. To ground the wrist strap, attach it to the metal chassis of a plugged-in three prong power supply, of a computer for example.

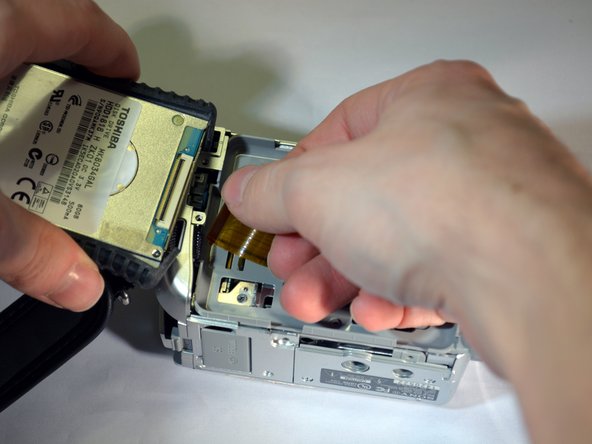
    • Unfasten the hand strap.

    • Remove the battery.

  2. Sony Handycam DCR-SR68 HDD Replacement: adım 2, 2 resimden 1. Sony Handycam DCR-SR68 HDD Replacement: adım 2, 2 resimden 2.
    • Place device on left side with front lens facing right.

    • Using a JIS size #00 precision Phillips screwdriver, unscrew the left middle 3mm Phillips screw.

    • Open the "DC IN" plastic tab (Second 3mm Phillips screw is revealed).

    • Unscrew the second 3mm Phillips screw.

  3. Sony Handycam DCR-SR68 HDD Replacement: adım 3, 1 resimden 1.
    • Turn device over onto its top with the front lens facing right.

    • Unscrew the top left and top right 3mm Philips screws.

    • The right side case panel is now unfastened (the case panel facing up in the photo).

  4. Sony Handycam DCR-SR68 HDD Replacement: adım 4, 2 resimden 1. Sony Handycam DCR-SR68 HDD Replacement: adım 4, 2 resimden 2.
    • Remove the right side case panel by pulling up.

    • The Hard Drive (HDD) is now revealed.

  5. Sony Handycam DCR-SR68 HDD Replacement: adım 5, 3 resimden 1. Sony Handycam DCR-SR68 HDD Replacement: adım 5, 3 resimden 2. Sony Handycam DCR-SR68 HDD Replacement: adım 5, 3 resimden 3.
    • Using your fingers, lift the HDD from its right end, pivoting on its left end.

    • The HDD ribbon wire is now exposed.

  6. Sony Handycam DCR-SR68 HDD Replacement: adım 6, 2 resimden 1. Sony Handycam DCR-SR68 HDD Replacement: adım 6, 2 resimden 2.
    • While securely holding the HDD in your left hand, use the soft pad of your right hand fingers to gently pull the ribbon wire out of its socket, toward your right.

    • The HDD is now free from the device.

    • Replace HDD.

Sonuç

To reassemble your device, follow these instructions in reverse order.

Bir başkası bu kılavuzu tamamladı.

2 Yorum

Dónde puedo adquirir ese HDD?

Juan Jose Rojas - Yanıt

Buenas, tardes. Necesito ese HDD. Dónde lo puedo conseguir.Soy de Perú. Gracias.

Juan Jose Rojas - Yanıt

Yorum Ekle

İstatistikleri Görüntüle:

Son 24 Saat: 0

Son 7 gün: 3

Son 30 gün: 17

Her zaman: 1,036