Giriş
The replacement of the screen is needed if the image on the screen is not the desired image or if the screen is physically damaged.
Neye ihtiyacın var
-
-
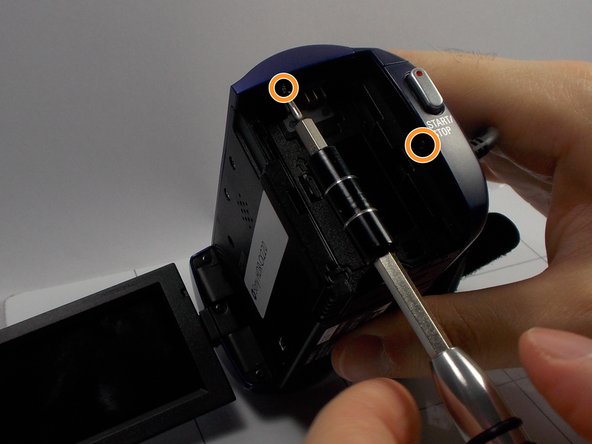
Use the Phillips #0 screwdriver to remove the two 5mm screws.
-
Use the Phillips #0 screwdriver to remove the two 5mm screws.
-
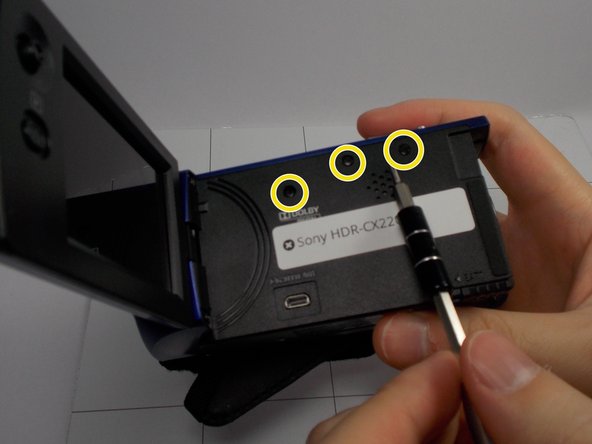
Use the Phillips #0 screwdriver to remove the three 5mm screws.
-
-
-
-
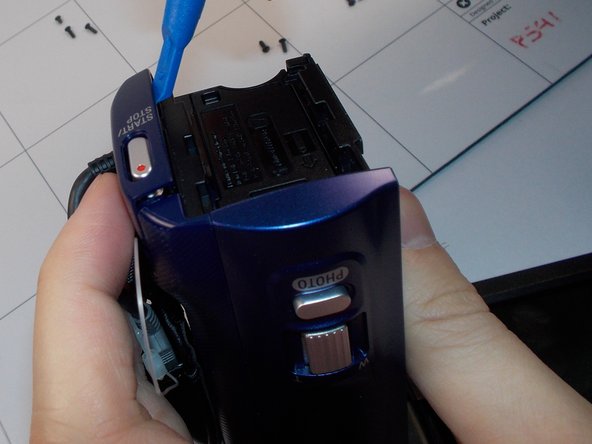
Use the Phillips #0 screwdriver to remover the two (5mm) screws on the outer part and one (3mm) in the middle.
-
In the second image, there is a second screw on the opposite side of the screen hinge. This screw is not shown, but must also be removed.
-


To reassemble your device, follow these instructions in reverse order.
To reassemble your device, follow these instructions in reverse order.
İptal et: Bu kılavuzu tamamlamadım.
4 farklı kişi bu kılavuzu tamamladı.
Ekip

UMass Dartmouth, Team 8-5, Botvin Spring 2016 UMass Dartmouth, Team 8-5, Botvin Spring 2016 üyesi
UMASSD-BOTVIN-S16S8G5
3 Üyeler
12 adet Kılavuz yazıldı