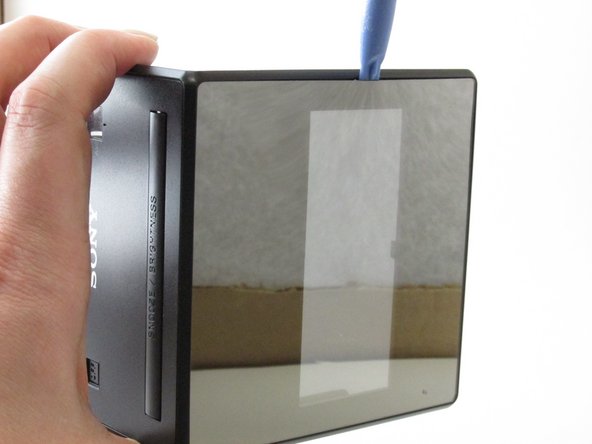
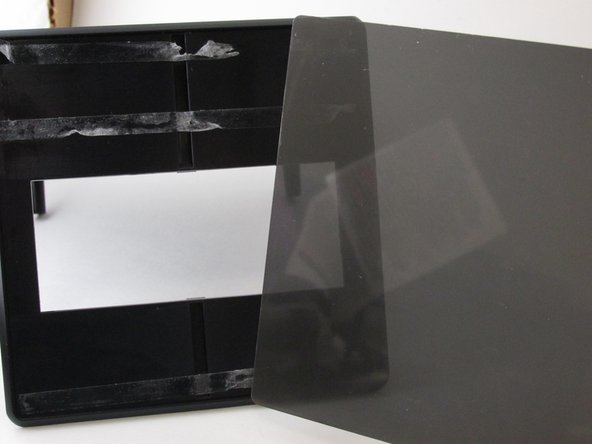
Ana içeriğe geç

Sony ICF-C1T Screen Replacement

Neye ihtiyacın var

  1. Sony ICF-C1T Screen Replacement, Screen: adım 1, 1 resimden 1.
    • Make sure the clock is unplugged from the wall and the replacement battery has been taken out of the clock to prevent harm to you and to the clock.

    • Use a Phillips 00 head screwdriver to remove the four 14 mm screws from the bottom of the clock.

  2. Sony ICF-C1T Screen Replacement: adım 2, 1 resimden 1.
    • Insert the plastic opening tool to pry apart the top and sides of the device gently.

  3. Sony ICF-C1T Screen Replacement: adım 3, 2 resimden 1. Sony ICF-C1T Screen Replacement: adım 3, 2 resimden 2.
    • Carefully pull the top of clock off as the clock display is located directly behind the face plate and is still connected by multiple wires.

    • Pull the top of the device away from the rest of the clock to expose the inside.

  4. Sony ICF-C1T Screen Replacement: adım 4, 2 resimden 1. Sony ICF-C1T Screen Replacement: adım 4, 2 resimden 2.
    • Do not use too much pressure on the plastic to not break it.

    • Add pressure to the inside of the screen so that a small area is loosened enough to be able to use an opening tool.

    • Use the plastic opening tool to separate the screen from the device.

  5. Sony ICF-C1T Screen Replacement: adım 5, 2 resimden 1. Sony ICF-C1T Screen Replacement: adım 5, 2 resimden 2.
    • Apply a tinted spray to dim the brightness once the tinted sheet is out of the way.

    • Another way to solve the brightness problem is to apply a tinted color sheet protector.

Sonuç

To reassemble your device, follow these instructions in reverse order.

Bir başkası bu kılavuzu tamamladı.

0 Yorum

Yorum Ekle

İstatistikleri Görüntüle:

Son 24 Saat: 0

Son 7 gün: 6

Son 30 gün: 31

Her zaman: 4,508