Ana içeriğe geç

Sony VAIO PCG-3E2L Hard Drive Replacement

Neye ihtiyacın var

  1. Sony VAIO PCG-3E2L Hard Drive Replacement, Hard Drive: adım 1, 1 resimden 1.
    • Using a #00 Phillips screwdriver, remove the screw

  2. Sony VAIO PCG-3E2L Hard Drive Replacement: adım 2, 1 resimden 1.
    • Remove the cover

  3. Sony VAIO PCG-3E2L Hard Drive Replacement: adım 3, 1 resimden 1.
    • Using a #00 Phillips screwdriver, remove the screw

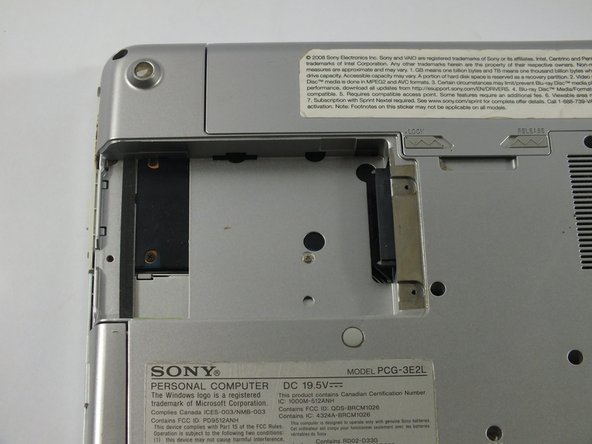
  4. Sony VAIO PCG-3E2L Hard Drive Replacement: adım 4, 2 resimden 1. Sony VAIO PCG-3E2L Hard Drive Replacement: adım 4, 2 resimden 2.
    • Grab the black plastic handle and pull the hard drive out slowly.

    • Only pull the hard drive horizontally. Do not lift the hard drive vertically

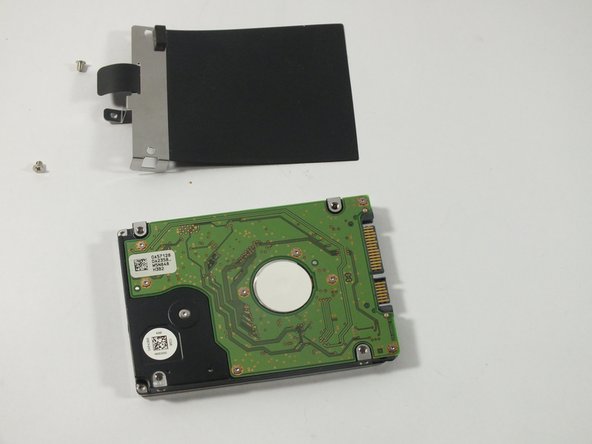
  5. Sony VAIO PCG-3E2L Hard Drive Replacement: adım 5, 2 resimden 1. Sony VAIO PCG-3E2L Hard Drive Replacement: adım 5, 2 resimden 2.
    • Using a #00 Phillips screwdriver, remove the screw

Sonuç

To reassemble your device, follow these instructions in reverse order.

Chengyang Chen

Üyelik tarihi: 03/27/15

918 İtibar

5 adet Kılavuz yazıldı

Ekip

UMass Dartmouth, Team 5-2, Kish Spring 2015 UMass Dartmouth, Team 5-2, Kish Spring 2015 üyesi

UMASSD-KISH-S15S5G2

4 Üyeler

10 adet Kılavuz yazıldı

0 Yorum

Yorum Ekle

İstatistikleri Görüntüle:

Son 24 Saat: 4

Son 7 gün: 5

Son 30 gün: 15

Her zaman: 2,124