Ana içeriğe geç

Sony Vaio Fit SVF14A190X Fan Replacement

Neye ihtiyacın var

  1. Sony Vaio Fit SVF14A190X Fan Replacement, Battery Replacement: adım 1, 1 resimden 1.
    • Make sure the battery is drained or the computer is turned off.

    • Use the Phillips head screw driver to remove the eleven 6 mm screws.

    • Use the Phillips head screw driver to remove the one 4 mm screw securing the CD drive.

  2. Sony Vaio Fit SVF14A190X Fan Replacement: adım 2, 3 resimden 1. Sony Vaio Fit SVF14A190X Fan Replacement: adım 2, 3 resimden 2. Sony Vaio Fit SVF14A190X Fan Replacement: adım 2, 3 resimden 3.
    • Insert the plastic opening tool into the slit of the CD drive.

    • Then pull it outwards.

    • Grab the CD drive with your hand.

    • Take the CD drive all the way out.

  3. Sony Vaio Fit SVF14A190X Fan Replacement: adım 3, 3 resimden 1. Sony Vaio Fit SVF14A190X Fan Replacement: adım 3, 3 resimden 2. Sony Vaio Fit SVF14A190X Fan Replacement: adım 3, 3 resimden 3.
    • Insert the plastic opening tool into the slit between the back cover and the rest of the computer.

    • Move the plastic opening tool around all sides of the device.

    • Peel off the back cover.

  4. Sony Vaio Fit SVF14A190X Fan Replacement: adım 4, 2 resimden 1. Sony Vaio Fit SVF14A190X Fan Replacement: adım 4, 2 resimden 2.
    • Use the Phillips head screw driver to remove the four 7 mm screws.

    • Lift the battery out with your hand.

  5. Sony Vaio Fit SVF14A190X Fan Replacement, Fan Replacement: adım 5, 1 resimden 1.
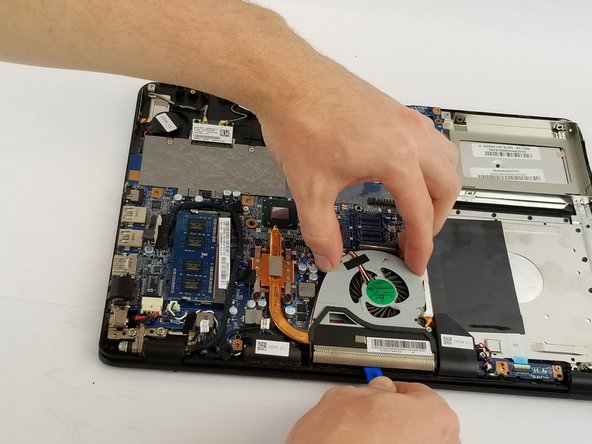
    • Use the Phillips head screw driver to remove the two 5 mm screws on the fan.

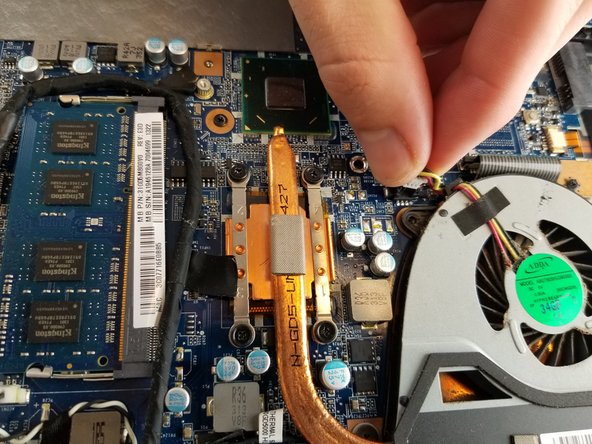
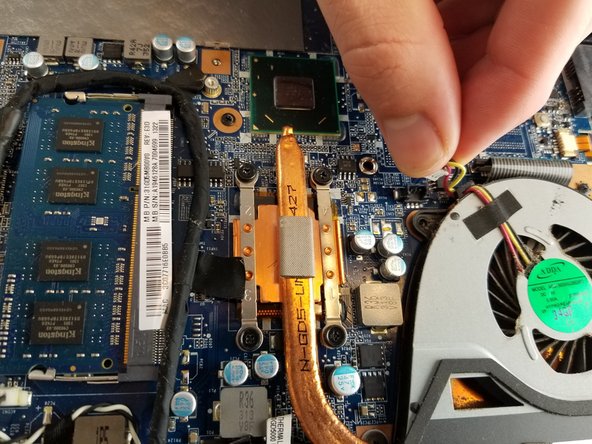
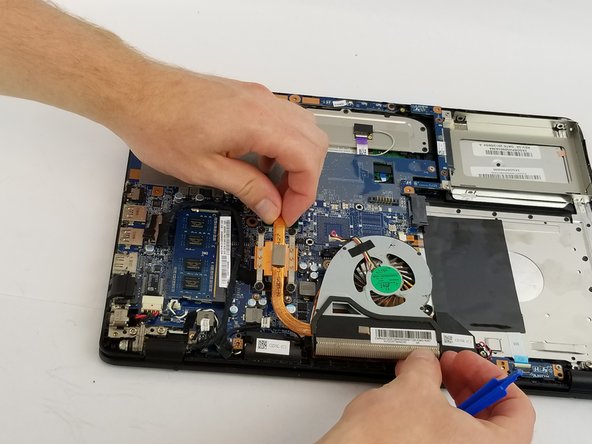
    • Loosen the four screws with the Phillips head screw driver on the copper cooling component. These screws will not come all of the way out.

  6. Sony Vaio Fit SVF14A190X Fan Replacement: adım 6, 3 resimden 1. Sony Vaio Fit SVF14A190X Fan Replacement: adım 6, 3 resimden 2. Sony Vaio Fit SVF14A190X Fan Replacement: adım 6, 3 resimden 3.
    • Gently grab the base of the fan wire connection.

    • Pull the base of the wire connection from the motherboard to disconnect the wires.

  7. Sony Vaio Fit SVF14A190X Fan Replacement: adım 7, 3 resimden 1. Sony Vaio Fit SVF14A190X Fan Replacement: adım 7, 3 resimden 2. Sony Vaio Fit SVF14A190X Fan Replacement: adım 7, 3 resimden 3.
    • Once the prior two steps have been completed, obtain the plastic opening tool.

    • Gently place the plastic opening tool underneath the fan and separate the fan from the device by sliding the tool along the bottom of the fan.

    • Once separated, you can now lift the fan out by hand.

Sonuç

To reassemble your device, follow these instructions in reverse order.

Bryan J. Hartman

Üyelik tarihi: 02/13/18

255 İtibar

2 adet Kılavuz yazıldı

Ekip

USF Tampa, Team S11-G3, Cheng Spring 2018 USF Tampa, Team S11-G3, Cheng Spring 2018 üyesi

USFT-CHENG-S18S11G3

4 Üyeler

11 adet Kılavuz yazıldı

Bir Yorum

Nice

This my problem In my PC

abbass aljobara - Yanıt

Yorum Ekle

İstatistikleri Görüntüle:

Son 24 Saat: 0

Son 7 gün: 0

Son 30 gün: 0

Her zaman: 560