Ana içeriğe geç

Sony Vaio Fit SVF13N1ASNS Display Replacement

Neye ihtiyacın var

  1. Sony Vaio Fit SVF13N1ASNS Display Replacement, Battery: adım 1, 2 resimden 1. Sony Vaio Fit SVF13N1ASNS Display Replacement, Battery: adım 1, 2 resimden 2.
    • Remove the following ten screws from the bottom case of the laptop:

    • Two 6.5mm Phillips #00 Phillips screws.

    • Four 8.95mm Phillips #00 screws.

    • Four 6.25mm Phillips #00 screws.

    • The screws may be hidden underneath a rubber foot that can be removed with a spudger.

  2. Sony Vaio Fit SVF13N1ASNS Display Replacement: adım 2, 2 resimden 1. Sony Vaio Fit SVF13N1ASNS Display Replacement: adım 2, 2 resimden 2.
    • Use a plastic opening tool to separate the bottom cover from the laptop.

    • Lift the lower cover and pull away from the laptop.

  3. Sony Vaio Fit SVF13N1ASNS Display Replacement: adım 3, 3 resimden 1. Sony Vaio Fit SVF13N1ASNS Display Replacement: adım 3, 3 resimden 2. Sony Vaio Fit SVF13N1ASNS Display Replacement: adım 3, 3 resimden 3.
    • Remove the eight Phillips #00 screws from the battery:

    • Six 4.65mm screws.

    • Two 4.65mm screws.

  4. Sony Vaio Fit SVF13N1ASNS Display Replacement: adım 4, 1 resimden 1.
    • Lift the battery up and pull it out of the laptop.

  5. Sony Vaio Fit SVF13N1ASNS Display Replacement, Display: adım 5, 1 resimden 1.
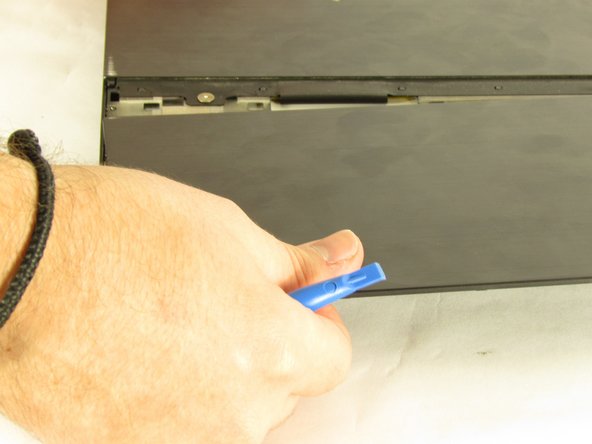
    • Open the laptop and rotate the screen to the back side.

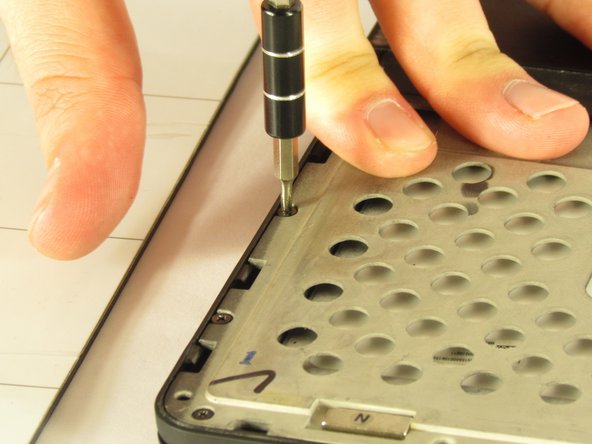
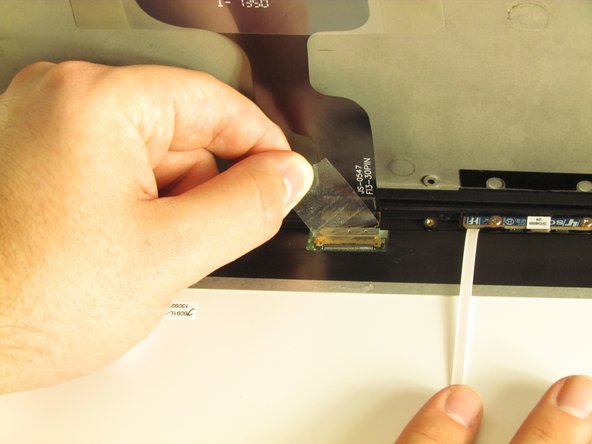
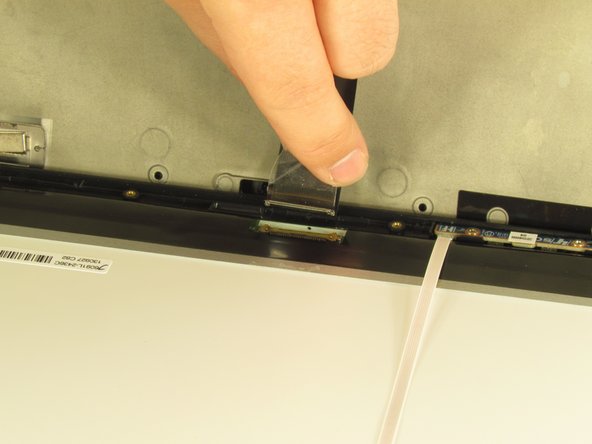
    • Remove the eight 2.85mm Phillips #00 screws from the back of the screen.

  6. Sony Vaio Fit SVF13N1ASNS Display Replacement: adım 6, 2 resimden 1. Sony Vaio Fit SVF13N1ASNS Display Replacement: adım 6, 2 resimden 2.
    • Rotate the screen back and close the laptop.

    • Use a plastic opening tool to carefully pry up the back plastic case.

    • Remove the back plastic case by sliding it down and pulling upwards.

  7. Sony Vaio Fit SVF13N1ASNS Display Replacement: adım 7, 2 resimden 1. Sony Vaio Fit SVF13N1ASNS Display Replacement: adım 7, 2 resimden 2.
    • Remove the thirteen 2.85mm Phillips #00 screws from the screen.

  8. Sony Vaio Fit SVF13N1ASNS Display Replacement: adım 8, 3 resimden 1. Sony Vaio Fit SVF13N1ASNS Display Replacement: adım 8, 3 resimden 2. Sony Vaio Fit SVF13N1ASNS Display Replacement: adım 8, 3 resimden 3.
    • Use a spudger to lift up the black latch on the ZIF connector.

    • Pull the display ribbon cable out of the ZIF connector.

  9. Sony Vaio Fit SVF13N1ASNS Display Replacement: adım 9, 3 resimden 1. Sony Vaio Fit SVF13N1ASNS Display Replacement: adım 9, 3 resimden 2. Sony Vaio Fit SVF13N1ASNS Display Replacement: adım 9, 3 resimden 3.
    • Remove the display cable peeling up the tape.

    • The display cable locking mechanism is attached to the tape.

  10. Sony Vaio Fit SVF13N1ASNS Display Replacement: adım 10, 1 resimden 1.
    • Remove the display.

Sonuç

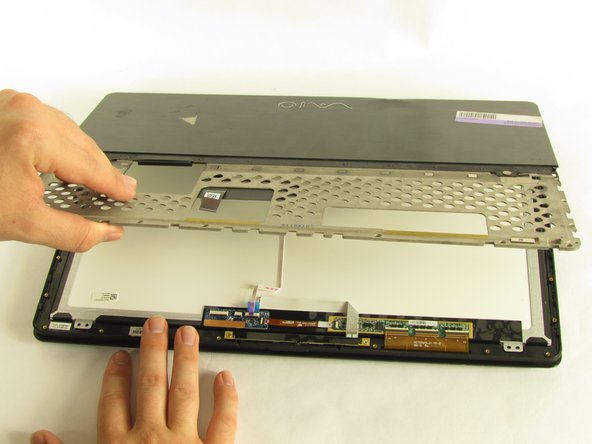
To reassemble your device, follow these instructions in reverse order.

3 farklı kişi bu kılavuzu tamamladı.

Althea McDavid

Üyelik tarihi: 02/14/18

857 İtibar

6 adet Kılavuz yazıldı

Ekip

USF Tampa, Team S2-G4, Nance Spring 2018 USF Tampa, Team S2-G4, Nance Spring 2018 üyesi

USFT-NANCE-S18S2G4

4 Üyeler

12 adet Kılavuz yazıldı

0 Yorum

Yorum Ekle

İstatistikleri Görüntüle:

Son 24 Saat: 0

Son 7 gün: 1

Son 30 gün: 5

Her zaman: 2,493