Bu sürüm, hatalı düzenlemeler içerebilir. En son doğrulanmış bellek kopyası dönün.
Neye ihtiyacın var
-
Bu adım çevrilmemiş. Çevrilmesine yardım edin
-
Remove the covers for the two 3mm Phillips head screws at the base of the screen.
-
-
Bu adım çevrilmemiş. Çevrilmesine yardım edin
-
Use a metal spudger to separate the top cover on the back of the screen. It will be a long, thin plastic section that has the SONY logo in the middle of it. This enables the disassembly of the rest of the screen frame.
-
-
-
Bu adım çevrilmemiş. Çevrilmesine yardım edin
-
Use the metal spudger on the sides of the frame to remove it from the screen.
-
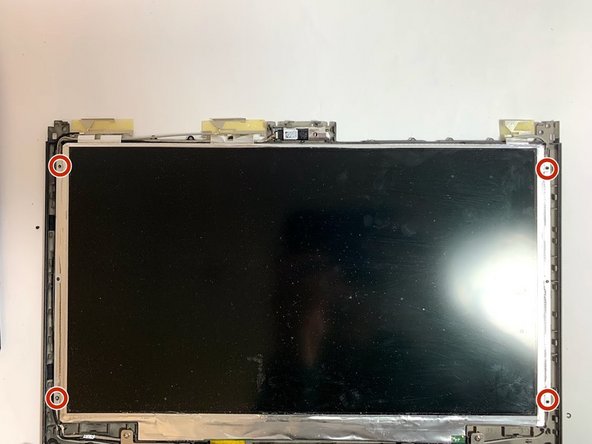
Remove the four 3mm Phillips head screws that secure the screen to the exterior of the laptop.
-
-
Bu adım çevrilmemiş. Çevrilmesine yardım edin
-
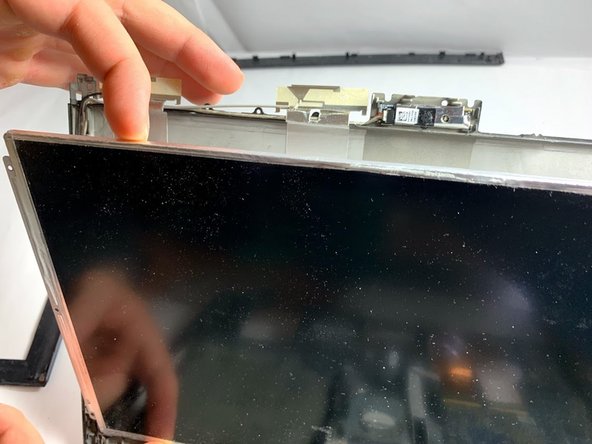
Carefully remove the screen from the supporting frame and lay it down on the keyboard of the laptop.
-
-
Bu adım çevrilmemiş. Çevrilmesine yardım edin
-
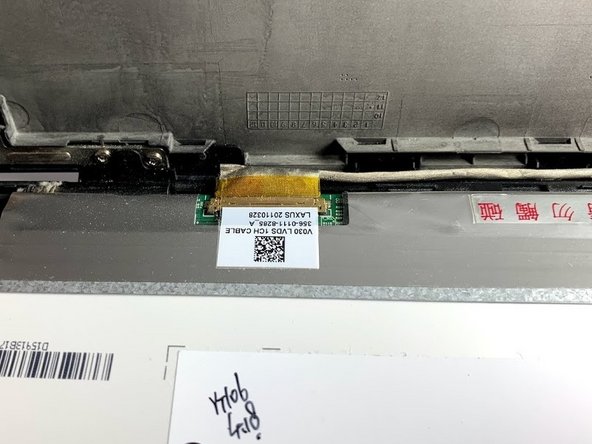
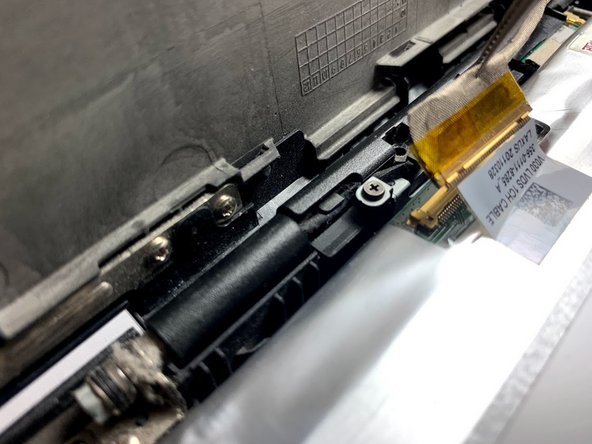
Locate the ribbon cable connecting the screen to the rest of the laptop.
-
-
Bu adım çevrilmemiş. Çevrilmesine yardım edin
-
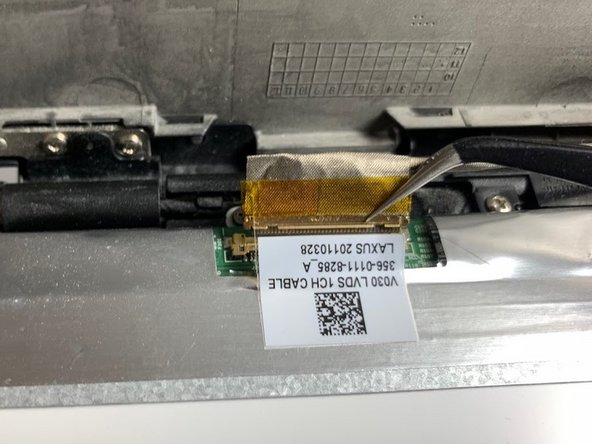
Use a pair of tweezers to remove the ribbon cable from the screen.
-


İptal et: Bu kılavuzu tamamlamadım.
Bir başkası bu kılavuzu tamamladı.
Ekip

Oregon Institute of Technology, Team S1-G4, Lancaster Winter 2019 Oregon Institute of Technology, Team S1-G4, Lancaster Winter 2019 üyesi
OIT-LANCASTER-W19S1G4
3 Üyeler
10 adet Kılavuz yazıldı
Bir Yorum
content de voir qu'il ne faut pas démonter l arrière du pc pour retirer la broche de l'écran merci pour ce topic