Bu sürüm, hatalı düzenlemeler içerebilir. En son doğrulanmış bellek kopyası dönün.
Neye ihtiyacın var
-
Bu adım çevrilmemiş. Çevrilmesine yardım edin
-
Remove the two 3mm Phillips #0 screws on the bottom of the computer that secure the plastic backing.
-
-
Bu adım çevrilmemiş. Çevrilmesine yardım edin
-
Pull the bottom plate towards yourself until it unhinges fully.
-
Once the plate is free from the backing remove it completely.
-
-
Bu adım çevrilmemiş. Çevrilmesine yardım edin
-
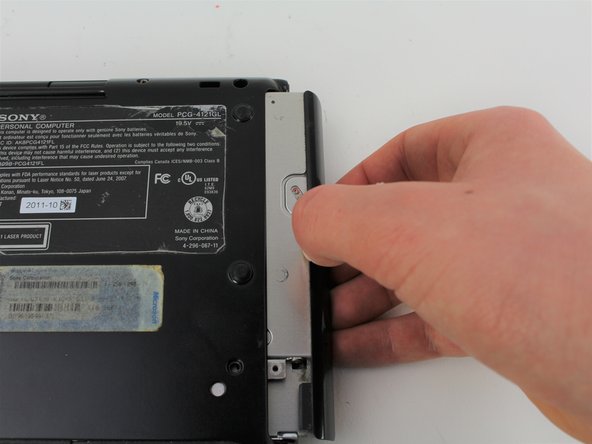
Look for the blue tab that is located to the bottom left of the battery.
-
-
Bu adım çevrilmemiş. Çevrilmesine yardım edin
-
Pull the blue tab towards yourself until you hear a click.
-
Once the blue tab is released, pull up on the battery.
-
Once the battery can move freely, take it out completely.
-
-
-
Bu adım çevrilmemiş. Çevrilmesine yardım edin
-
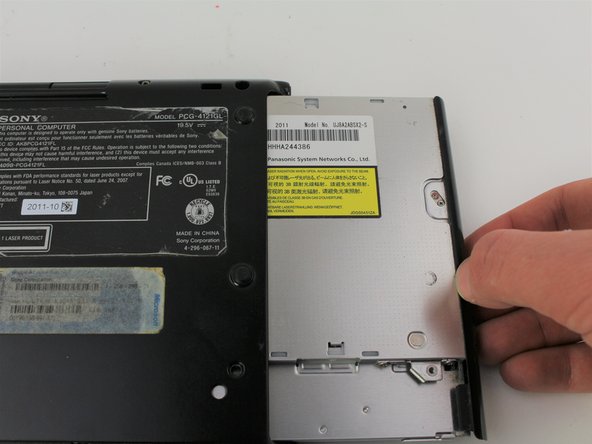
Remove seven 3mm Phillips #0 screws from the bottom of the computer.
-
Remove eight 5mm Phillips #0 screws.
-
-
Bu adım çevrilmemiş. Çevrilmesine yardım edin
-
Remove the three 2mm Phillips #00 screws located on the top right edge.
-
-
Bu adım çevrilmemiş. Çevrilmesine yardım edin
-
Gently pull apart the top and bottom plastic bodies.
-
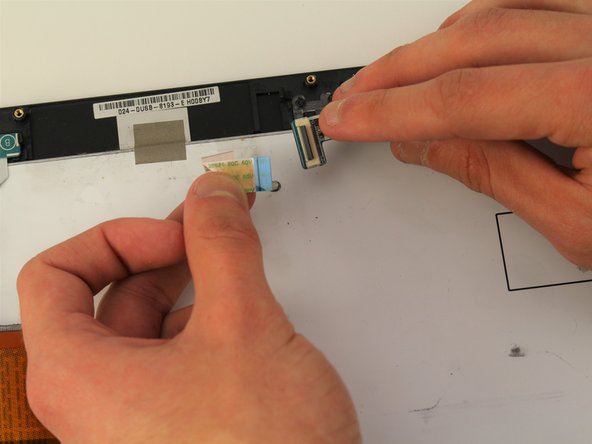
Carefully remove the cable connectors.
-
-
Bu adım çevrilmemiş. Çevrilmesine yardım edin
-
Pull apart your device and set aside the screen of your laptop.
-
Locate the AUX Board in the top right of the computer body.
-
-
Bu adım çevrilmemiş. Çevrilmesine yardım edin
-
Remove the 2mm Phillips #0 screw.
-
Carefully pull the cable connector out to the left.
-
Once both are no longer connected remove the AUX Board completely.
-


İptal et: Bu kılavuzu tamamlamadım.
2 farklı kişi bu kılavuzu tamamladı.
Ekip

Cal Poly, Team S2-G2, White Winter 2019 Cal Poly, Team S2-G2, White Winter 2019 üyesi
CPSU-WHITE-W19S2G2
4 Üyeler
10 adet Kılavuz yazıldı