Bu sürüm, hatalı düzenlemeler içerebilir. En son doğrulanmış bellek kopyası dönün.
Neye ihtiyacın var
-
Bu adım çevrilmemiş. Çevrilmesine yardım edin
-
Flip the laptop so the bottom is facing up with the model number visible.
-
-
Bu adım çevrilmemiş. Çevrilmesine yardım edin
-
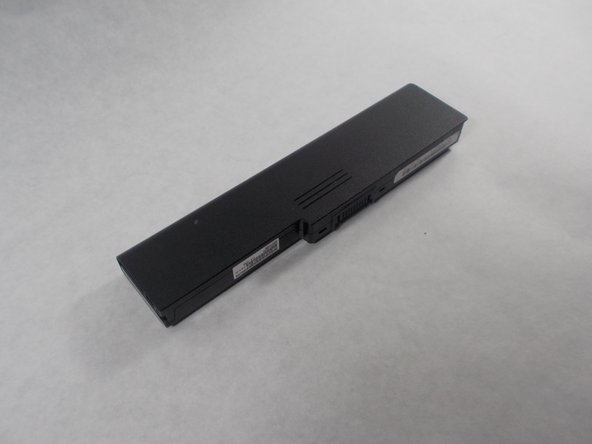
Slide the lock switch down until you hear a click to unlock the battery.
-
-
Bu adım çevrilmemiş. Çevrilmesine yardım edin
-
Slide the release slider up and simultaneously push the battery upwards away from the device until it falls out of place.
-
-
Bu adım çevrilmemiş. Çevrilmesine yardım edin
-
Loosen the two (7mm) screws that hold the hard drive panel in place with a JIS #0 screwdriver.
-
-
-
Bu adım çevrilmemiş. Çevrilmesine yardım edin
-
Remove the plastic and unscrew the screw on the hard drive using the JIS #0 screwdriver.
-
-
Bu adım çevrilmemiş. Çevrilmesine yardım edin
-
Push the hard drive towards the optical reader to unlock it.
-
-
Bu adım çevrilmemiş. Çevrilmesine yardım edin
-
After you remove the battery, there is a small rectangular panel underneath where the battery was housed.
-
-
Bu adım çevrilmemiş. Çevrilmesine yardım edin
-
Remove the single screw holding the panel in place using the JIS #0 screwdriver.
-
-
Bu adım çevrilmemiş. Çevrilmesine yardım edin
-
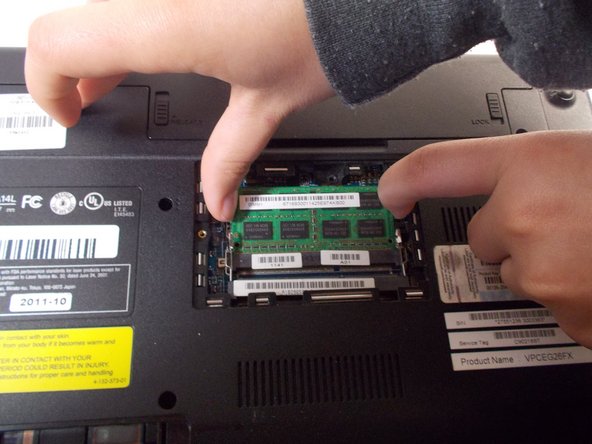
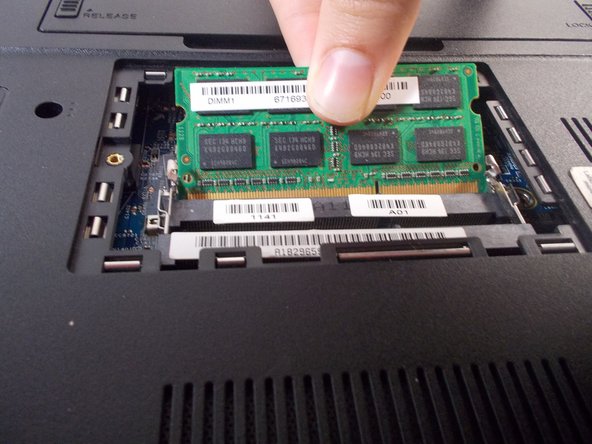
Remove the green circuit board by dislodging the circuit it is attached to.
-
Unhook it and remove it from the device.
-
-
Bu adım çevrilmemiş. Çevrilmesine yardım edin
-
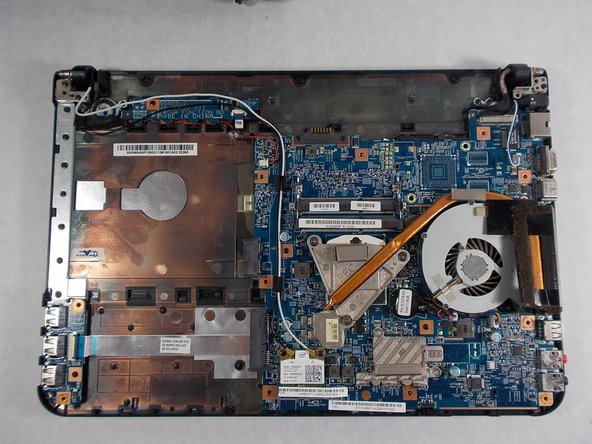
Remove the remaining eleven 7mm screws from back panel using the JIS #0 screwdriver.
-


Ekip

UMass Dartmouth, Team S1-G4, Botvin Spring 2019 UMass Dartmouth, Team S1-G4, Botvin Spring 2019 üyesi
UMASSD-BOTVIN-S19S1G4
4 Üyeler
10 adet Kılavuz yazıldı