Bu sürüm, hatalı düzenlemeler içerebilir. En son doğrulanmış bellek kopyası dönün.
Neye ihtiyacın var
-
Bu adım çevrilmemiş. Çevrilmesine yardım edin
-
Locate the battery on the bottom of the computer.
-
Flip the computer so that the battery faces you.
-
-
Bu adım çevrilmemiş. Çevrilmesine yardım edin
-
Locate the two latches with the words “lock” and “release” on them.
-
-
Bu adım çevrilmemiş. Çevrilmesine yardım edin
-
Push the latches towards each other and lift the battery to remove it.
-
-
Bu adım çevrilmemiş. Çevrilmesine yardım edin
-
Remove the memory door on the bottom of the computer to access the screw for the keyboard.
-
-
-
Bu adım çevrilmemiş. Çevrilmesine yardım edin
-
Remove the 6.7 mm screw that holds the keyboard assembly in place.
-
-
Bu adım çevrilmemiş. Çevrilmesine yardım edin
-
Slide the wires out, away from the solder connections.
-
Flip the computer over and open it.
-
-
Bu adım çevrilmemiş. Çevrilmesine yardım edin
-
Gently pry the keyboard assembly from the screen side, using an opening tool. You will need to lift the keyboard about two inches.
-
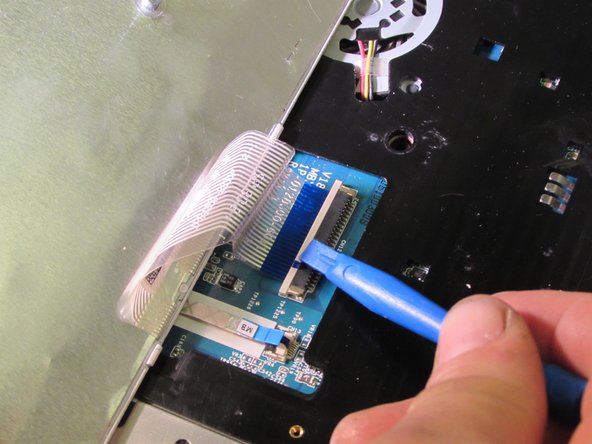
Using an opening tool, gently pull out and slightly up on the connector clip.
-
Gently lift the keyboard assembly up and out.
-
-
Bu adım çevrilmemiş. Çevrilmesine yardım edin
-
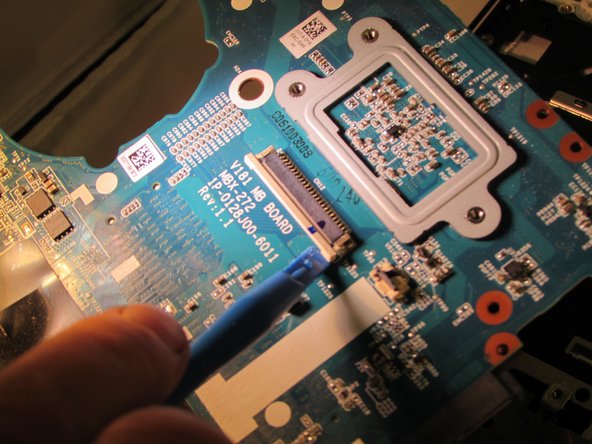
Locate the wires and connectors, and gently unplug them.
-
-
Bu adım çevrilmemiş. Çevrilmesine yardım edin
-
Locate and remove the 6.7 mm screws that hold the fan assembly.
-


İptal et: Bu kılavuzu tamamlamadım.
Bir başkası bu kılavuzu tamamladı.
Ekip

Eastern Washington University, Team 1-5, Crane Fall 2016 Eastern Washington University, Team 1-5, Crane Fall 2016 üyesi
EWU-CRANE-F16S1G5
4 Üyeler
10 adet Kılavuz yazıldı
Bir Yorum
There are missing steps. For example - after removing keyboard assembly, there are 4 screws under it.
Keyboard assembly is not ment to be removed in way showed in pictures. There are melted plastic tabs to keep top cover in place. By prying that, you will broke them and top cover will not be possible to put back as before.
Only keyboard itself should be removed by prying it out, starting from bottom (thoucpad). Top of keyboard has larger “ears“ and they are hooked under top cover.