Giriş
The display replacement for the Sony Vaio T13 series of laptops the most intricate and time-consuming replacement process. Allocate about 1-2 hours for this replacement, making sure to take your time and keep your screws organized.
The replacement display should be 13.3" in size, and should specify a native resolution of 1366x768.
Neye ihtiyacın var
-
-
-
Carefully grab the edges of the laptop and flip it over to reveal the back panel.
-
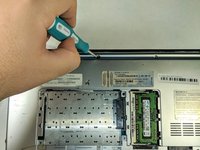
The battery is located on the lower half of the back panel, and contains three 10mm flat-head screws.
-
Unscrew the three 10mm flat-head screws using a flat-head screw driver.
-
Lift the battery from the lip closest to the middle screw to remove the battery entirely.
 FixBot'a Sor
-
-
-
-
-
The middle Phillips head screw is 10mm in length and will only fit in this thread. Unscrew the 10mm Phillips head screw and keep it separate from the other two screws in this step.
-
Unscrew the two remaining 5mm Phillips head screws on the left and right side of the hard drive bay cover.
-
Lift the panel to remove it.
-
-
-
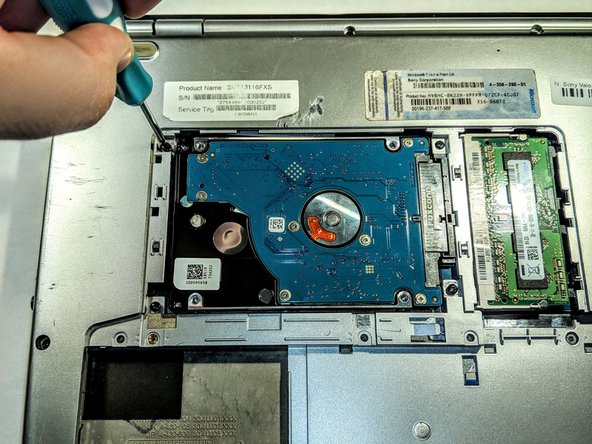
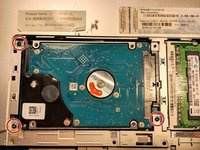
Remove the three 5mm Phillips head screws that secure the Hard Drive bay to the back panel.
-
-
-
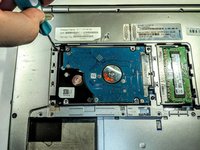
Remove the Hard Drive bay by gently pulling the black plastic tab away from the SATA connector.
-
-
-
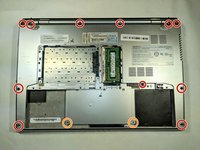
Remove the eleven 5mm in length Phillips head screws around the perimeter of the back panel of the laptop.
-
Remove the two 5mm in length Phillips head screws holding down the track pad panel to the track pad.
-
-
Bu adımda kullanılan alet:Tweezers$4.99
-
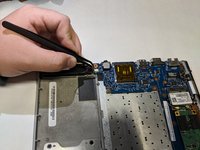
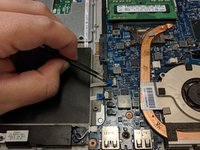
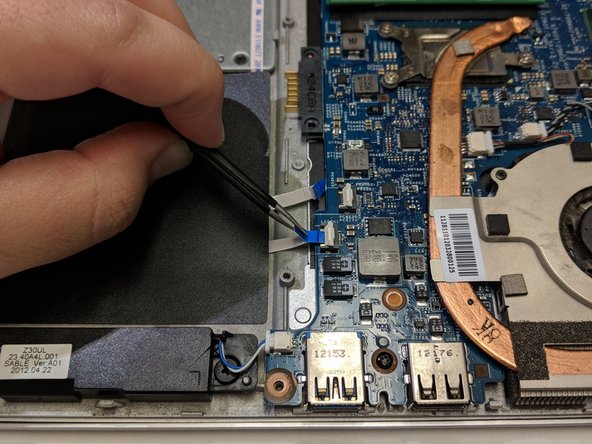
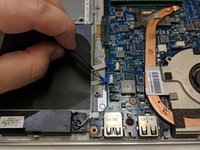
Using a pair of tweezers, remove the two cables connecting both speakers to the motherboard panel.
-
-
-
Locate the ribbon cable connecting the trackpad to the motherboard.
-
Lift the white plastic tab holding the ribbon cable in place to release it.
-
Remove the ribbon cable by pulling the blue tab away from the motherboard.
-
-
-
-
Locate the ribbon cable connecting the LED Array to the motherboard.
-
Lift the white plastic tab holding the ribbon cable in place to release it.
-
Remove the ribbon cable by pulling the blue tab away from the motherboard.
-
-
-
Locate the cable that connects the charging port to the motherboard.
-
Grab the head of the cable and pull up and away from motherboard to disconnect it.
-
-
-
Locate the ribbon cable connecting the keyboard to the motherboard.
-
Lift the white plastic tab up to release the keyboard ribbon cable.
-
Pull the blue tab away from the connector to remove the cable.
-
-
-
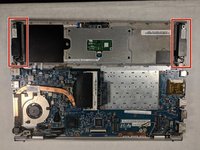
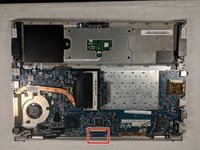
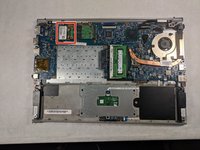
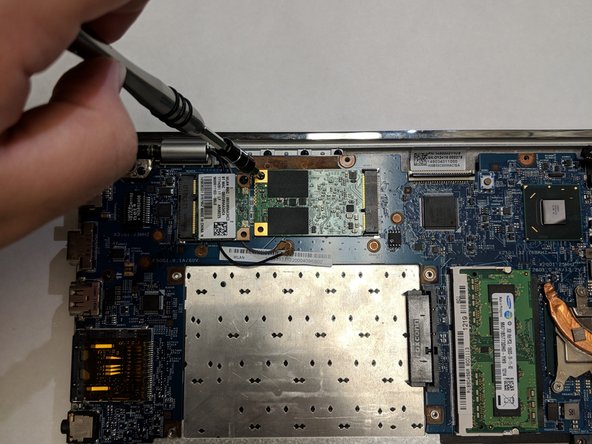
Locate the wireless network interface card (NIC) above the area where the hard drive bay sits normally.
-
Using a plastic opening tool, remove the two cable head wires connecting the NIC to the motherboard.
-
-
-
Unscrew the 5mm Phillips head screw holding the NIC to the motherboard.
-
Remove the NIC from the PCIe slot on the motherboard.
-
-
-
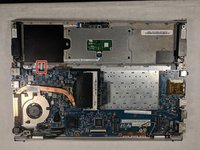
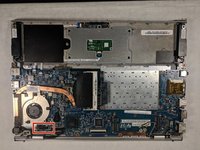
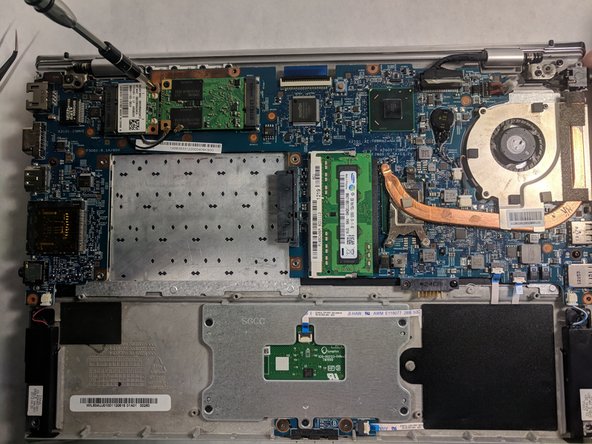
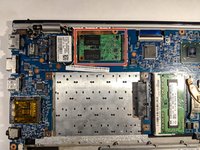
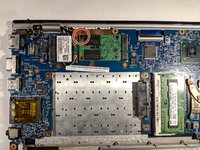
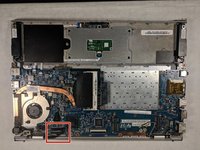
Locate the Solid State Drive (SSD) on the motherboard.
-
Unscrew the 5mm Phillips head screw securing the SSD in place on the motherboard.
-
Remove the SSD from the PCIe slot on the motherboard.
-
-
-
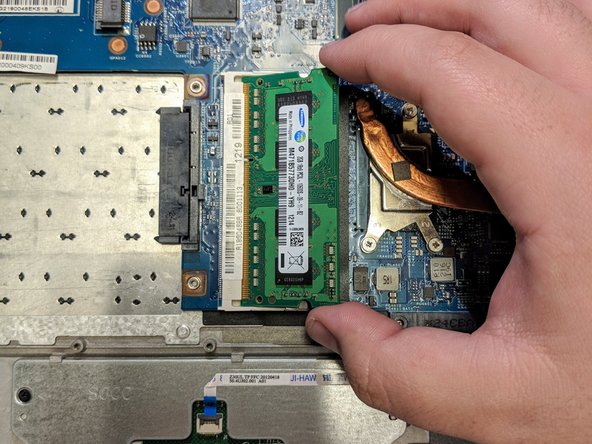
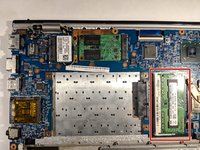
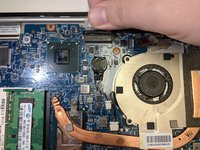
Locate the Random Access Memory (RAM) card on the motherboard.
-
Pull the two metal clips securing the RAM apart, releasing the card from the DIMM slot.
-
Remove the RAM from the motherboard, be sure to store this safely as your replacement motherboard with NOT come with a new one.
-
-
-
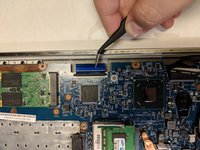
Locate the display cable connecting the keyboard to the motherboard.
-
Grab the clear plastic tab attached to the top of the connector, and pull away from the motherboard to separate it from the board.
-
-
-
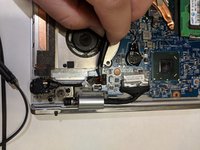
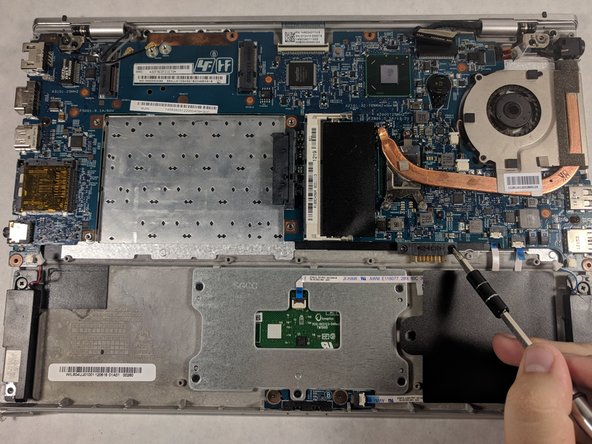
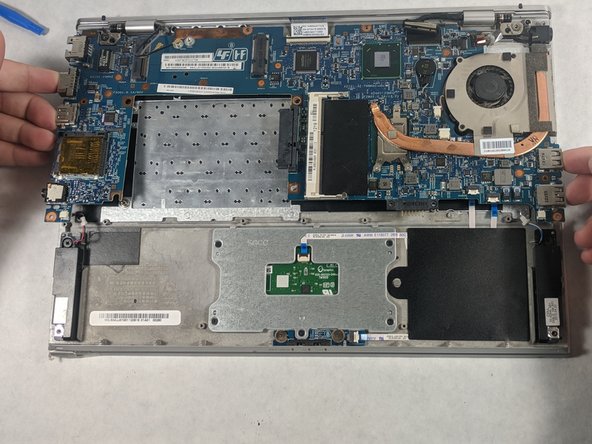
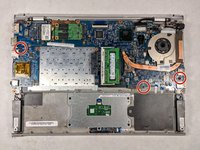
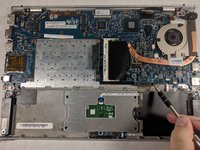
Unscrew the three 5mm Phillips head screws holding the motherboard to the laptop.
-
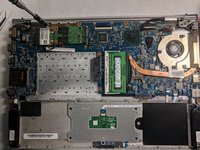
Grab the edges of the motherboard and lift the it slowly up and away from the back panel of the laptop.
-
-
-
-
-
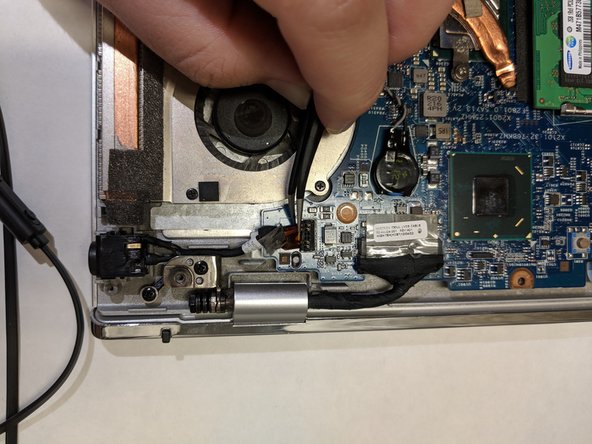
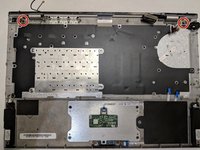
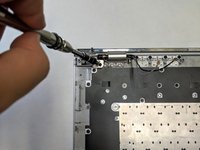
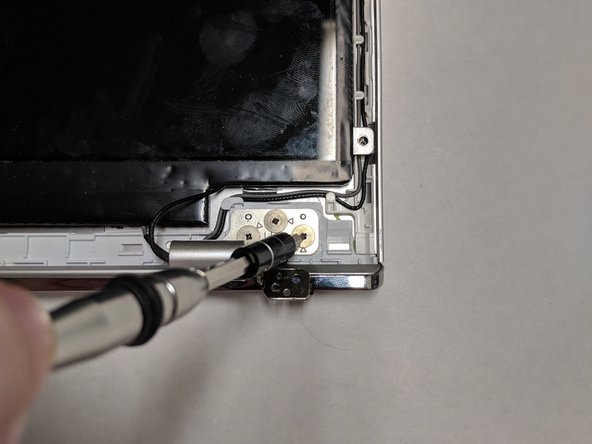
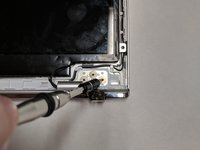
Unscrew the two 5mm Phillips head screws that secure the two display hinges to the back panel of the laptop.
-
Carefully lift the metal hinges that secure the top panel to the bottom panel of the laptop.
-
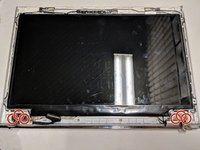
Slowly slide the bottom panel of the laptop out from under the metal hinges. Your display panel will now be separated from the rest of your device.
-
-
Bu adımda kullanılan alet:Tweezers$4.99
-
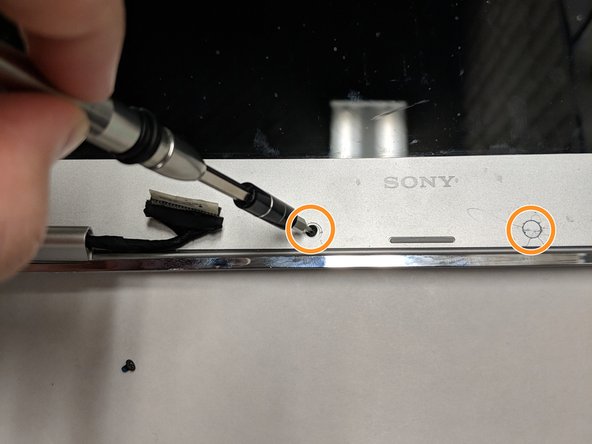
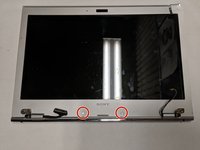
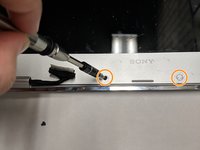
Locate the round plastic covers and pry them off with a thin pry tool or pair of tweezers to reveal two 5mm Phillips heads screws.
-
Unscrew the two 5mm Phillips head screws.
-
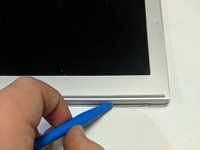
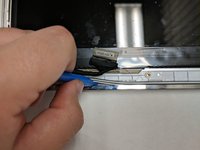
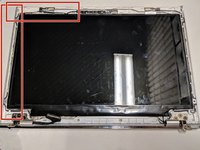
Using a prying tool, pry around the edge of the front screen panel, separating the plastic edges of the panel.
-
-
-
Unscrew the four 3mm Phillips head screws that secure the display to the plastic frame.
-
-
-
Unscrew the six 3mm Phillips head screws that attach the hinges to the display panel.
-
-
-
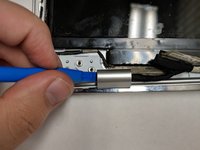
Using a pry tool, separate the plastic housing that holds the hinges in place from the display panel.
-
Pry open the housing of the display cable in order to completely remove it from the top panel of the laptop.
-
-
-
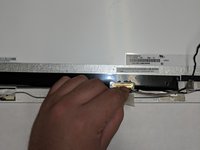
Separate the display cable by removing it from the plastic clips that hold it in place along the edge of the display panel.
-
After the cable is detached from the panel, lift the display up and remove it from the display panel.
-
-


To reassemble your device, follow these instructions in reverse order.
İptal et: Bu kılavuzu tamamlamadım.
5 farklı kişi bu kılavuzu tamamladı.
Ekip

UMass Dartmouth, Team S4-G5, Julie Fall 2017 UMass Dartmouth, Team S4-G5, Julie Fall 2017 üyesi
UMASSD-JULIE-F17S4G5
3 Üyeler
10 adet Kılavuz yazıldı